Make Your Own Magic Erasers For Next To No Cost!
Do you love a spotless home but hate spending a fortune on cleaning supplies? You’re not alone! Many of us rely on shop bought magic erasers to tackle tough stains, but the cost can add up quickly. What if you could achieve the same sparkling results for just pennies?
With this simple DIY guide, you’ll learn how to make your own magic erasers using inexpensive, easy to find ingredients. These homemade versions work just as well as their pricey counterparts, effortlessly removing scuff marks, grime, and stubborn stains from walls, floors, and more.
Say goodbye to overspending and hello to a cleaner home with this budget friendly cleaning hack. Keep reading to unlock the secret to powerful, homemade magic erasers!
Why Use Magic Erasers?
Magic erasers are a powerhouse in home cleaning, capable of tackling stubborn stains, scuff marks, and grime that regular sponges simply can’t handle. These erasers are made from melamine foam, which features tiny, abrasive pores that work like ultra fine sandpaper, lifting dirt with ease.
However, shop bought versions can be pricey. The good news? You can make them at home at a fraction of the cost!
What You Need To Make DIY Magic Erasers
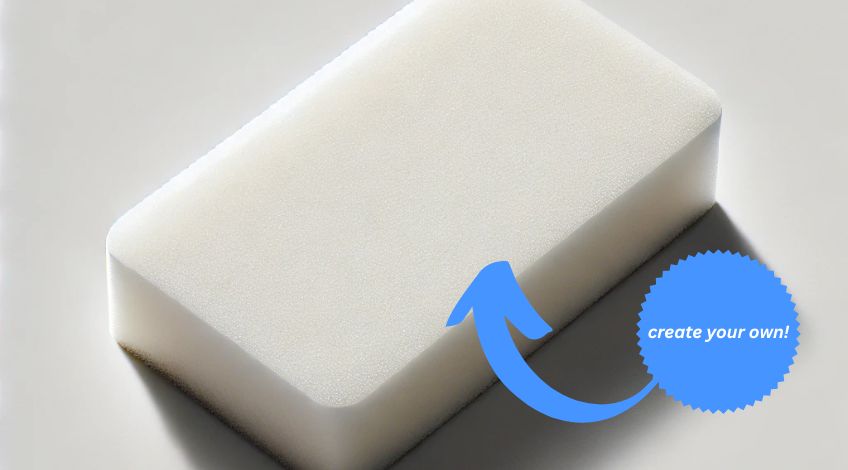
The foundation of any magic eraser is the sponge itself. Unlike standard sponges, magic erasers are made from melamine foam, a material that is both lightweight and highly effective in scrubbing away dirt.
Fortunately, buying melamine sponges in bulk is an affordable option. One of the best deals can be found on Amazon, where you can purchase a pack of 50 for less than £6.50, often with free delivery included.
Homemade Magic Eraser Solution
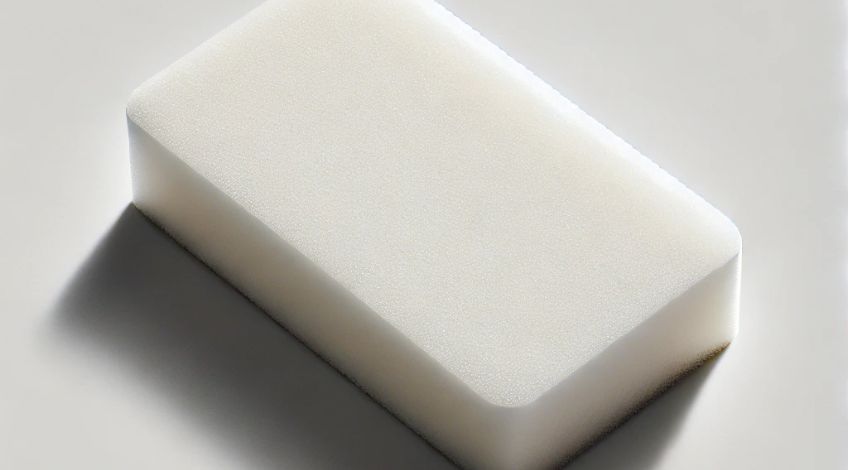
Once you have your melamine sponges, it’s time to prepare the cleaning solution that will enhance their effectiveness.
You Will Need
- 1/2 cup warm water (per 2 sponges)
- 1 teaspoon Borax
- 1 tablespoon baking soda
How To Make Them
- Mix The Ingredients
In a bowl, mix the warm water, Borax, and baking soda until fully dissolved. - Soak Your Sponges
Submerge your melamine sponges in the solution, ensuring they are completely soaked. - Remove Liquid
Gently squeeze out excess liquid, leaving them damp but not dripping. Don’t rinse them at this stage!
You can either use your sponges immediately for cleaning or let them dry for future use.
How To Use Your DIY Magic Erasers
Just like shop bought versions, your homemade magic erasers can be used either dry or slightly dampened with warm water. They are perfect for removing crayon marks, scuff marks, soap scum, and even stubborn stains on kitchen counters and appliances.
Pro Tips For Maximum Effectiveness:
To get the best from your homemade magic erasers you should;
- Test Before Use
Always test on an inconspicuous area before scrubbing delicate surfaces. - Keep Away From Polished Surfaces
Do not use on glossy or polished finishes, as the abrasiveness may cause dulling. - Rinse Frequently
Rinse the eraser frequently to prevent dirt build-up.
Why These DIY Magic Erasers Works
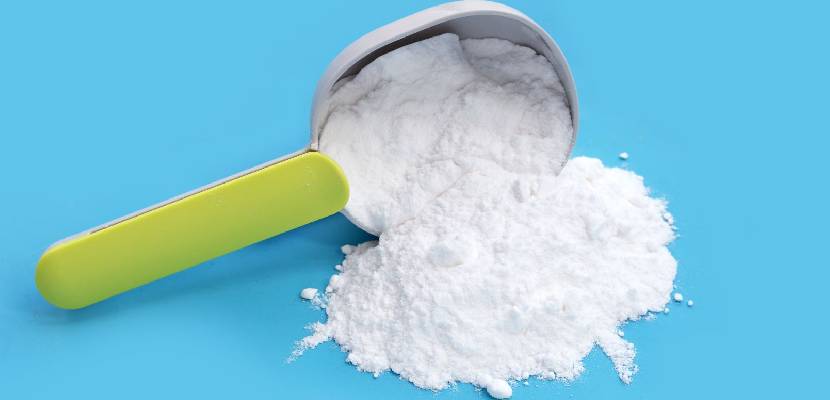
Borax acts as a natural disinfectant and deodoriser, while baking soda enhances scrubbing power. Combined with the fine abrasiveness of melamine foam, this formula creates an unbeatable cleaning tool at an incredibly low cost.
Save Money And Keep Your Home Sparkling!
With these homemade magic erasers, you can enjoy a spotless home without constantly repurchasing expensive cleaning products. Whether tackling everyday messes or deep cleaning your home, these DIY erasers will save you time, effort, and money.
Give it a try and experience the magic for yourself! If you found this article helpful or even slightly interesting, share it with your socials so everyone can enjoy the power of magic erasers at a fraction of the cost!
SEE ALSO: If your laundry comes out the washer dripping wet, check THIS immediately
Also, follow us on Pinterest ...