
How to Fix a Warped Pan (Before It’s Too Late!)
Has your favourite frying pan developed an annoying wobble? Don’t bin it just yet!
Whether you’re someone who cooks every single day and needs reliable cookware that performs perfectly or you’re watching your pennies and can’t afford to replace pans at the first sign of trouble, learning how to fix a warped pan is an essential kitchen skill that will save you both frustration and money.
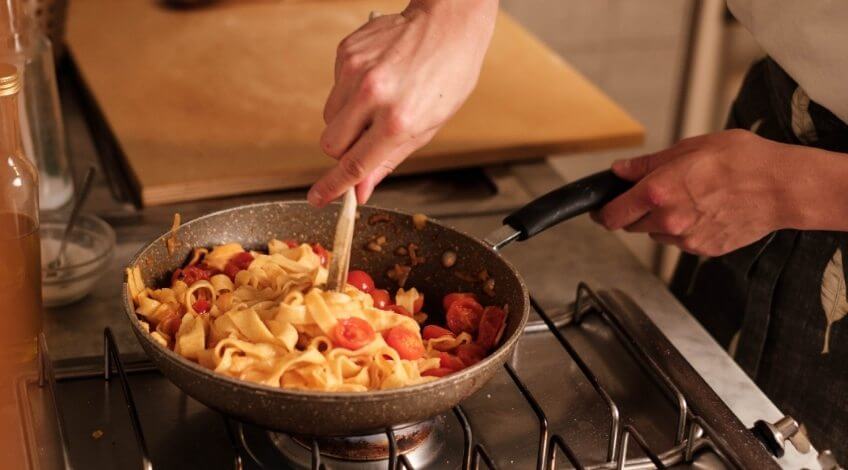
A warped pan isn’t just annoying, it can seriously impact your cooking results. Uneven heat distribution means some parts of your food burn while others remain undercooked. Plus, that irritating rocking motion on your hob is enough to drive anyone bonkers!
But before you chuck your wonky pan in the bin, let me show you how to bring it back to life with some surprisingly simple techniques.
Why Do Pans Warp In The First Place?
Let’s face it, we’ve all been guilty of kitchen sins that damage our cookware. Understanding why pans warp is the first step to preventing the problem from recurring after you’ve fixed it!
Shocking Temperature Changes
We’ve all done it. You’ve just cooked a delicious meal, served it up, and immediately plunged the hot pan into cold water to “soak” it. That satisfying sizzle might feel cleansing, but it’s actually the sound of your pan warping!
The rapid change from hot to cold causes the metal to contract unevenly, forcing it to bend out of shape. For budget conscious cooks, this is essentially watching money go down the drain with each sizzle. Always let your pans cool naturally before washing them, and your wallet will thank you.
Cranking The Heat Too High Too Fast
When you’re in a rush to get dinner on the table, it’s tempting to whack the hob up to maximum heat right away. This sudden temperature change is just as damaging as the cold water shock. The concentrated heat causes the metal at the bottom of the pan to expand more quickly than the sides, creating stress that leads to warping.
For busy home cooks who rely on their pans daily, taking an extra minute to heat your pans gradually can add years to their lifespan!
Mismatched Burner Size
Using a small burner for your large pan might seem economical, but it’s a false economy. The concentrated heat in the center while the edges stay cool creates uneven expansion and, eventually, warping. Match your pan size to your burner size for even heating and longer lasting cookware.
Poor Quality Materials
Let’s be honest, not all pans are created equal. Thin, lightweight pans might be easier on your wrists, but they’re much more prone to warping. If you’re budget conscious, investing in one high quality pan that lasts for years is actually cheaper than replacing flimsy ones every few months.
How To Tell If Your Pan Is Warped
Not sure if your pan has warped? Here’s a quick test:
- Place your pan on a flat surface like your kitchen counter or table
- Press down on the handle
- If the pan rocks or spins, it’s warped
- You can also hold a ruler across the bottom of the pan to check for gaps
Even slight warping can affect your cooking, especially for temperature sensitive foods like pancakes, eggs, or delicate fish fillets.
Fix It At Home: DIY Pan Repair Methods
Now for the good stuff! Here are two proven methods to fix your warped pans at home, saving you both money and a trip to the shops.
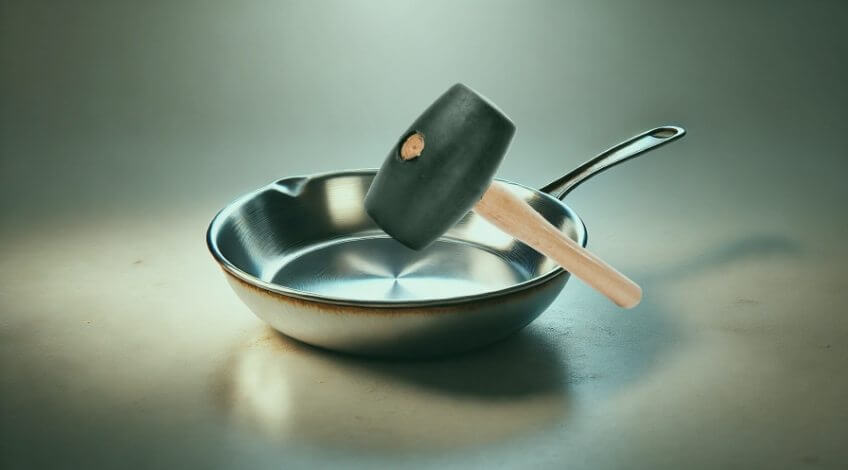
Method 1: The Heat And Hammer Technique
Perfect for pans with mild to moderate warping.
What You’ll Need:
- Work gloves
- 2 thick towels
- A hammer (rubber mallet preferred, but regular hammer works too)
- A heat resistant surface (concrete floor, paving stone, or sturdy workbench)
Step By Step:
- Warm the pan slightly on low heat for about 3 minutes. You want it warm, not hot!
- Put on your work gloves and carefully move the pan to your work surface
- Place one towel on your work surface to cushion the pan
- Position the warped pan upside down on the towel
- Cover the warped area with the second towel to protect the pan’s surface
- Gently but firmly tap the warped area with your hammer, working from the outside edges toward the centre
- Check your progress frequently by placing the pan on a flat surface
- Continue until the pan sits flat
Home cooks who use their pans daily will find this technique particularly valuable for saving favourite, well seasoned cookware that’s developed a slight wobble.
Method 2: The Wood Block Method
This method works brilliantly for more severely warped pans.
What You’ll Need:
- Work gloves
- A wooden block (a scrap piece of 4×2 is perfect)
- A hammer
- Thick towel
- Heat resistant work surface
Step By Step:
- Warm the pan gently on low heat
- Place the towel on your work surface
- Position the pan upside down on the towel
- Place the wooden block on the warped area
- Hammer the wooden block, not the pan directly
- The wood distributes the force evenly, preventing dents
- Check frequently and adjust as needed
- Continue until flat
For budget conscious cooks, this method can resurrect even seriously warped pans, saving you the cost of replacement.
Prevention: Stop Warping Before It Starts
Now that you’ve fixed your pan, keep it that way with these simple habits:
- Cool Before Cleaning
Always let your pans cool completely before washing. If you’re in a hurry, set them aside and wash up after dinner rather than plunging them into water while hot. - Heat Gradually
Start on a lower heat setting and gradually increase it. This extra minute or two protects your cookware and actually improves your cooking by allowing for more even heating. - Match Pan To Burner Size
Always use a burner that’s close to the size of your pan’s base. This prevents the concentrated heat that leads to warping. - Invest In Quality
If possible, spend a bit more on thicker, heavier pans. Multi ply, stainless steel or cast iron pans might cost more initially, but they’ll save you money in the long run by virtually eliminating warping problems.
For home cooks who use their cookware daily, quality pans are tools, not expenses. Think of them as investments that pay dividends with each meal!
When To Say Goodbye: Signs A Pan Is Beyond Repair
Sometimes, despite our best efforts, a pan reaches the end of its useful life. Here are signs it’s time to replace rather than repair:
- Severe warping that doesn’t respond to fixing attempts
- Damaged non stick coating that’s flaking off
- Deep scratches or gouges in the cooking surface
- Loose handles that can’t be tightened
Even budget conscious cooks should replace pans with these issues, as they can affect food safety as well as cooking performance.
Do you have a beloved pan you’ve rescued from the brink of the bin? Share your cookware restoration success stories in the comments!
SEE ALSO: The “5 Things” Decluttering Method That Transforms Homes In 15 Minutes
Also, follow us on Pinterest ...