

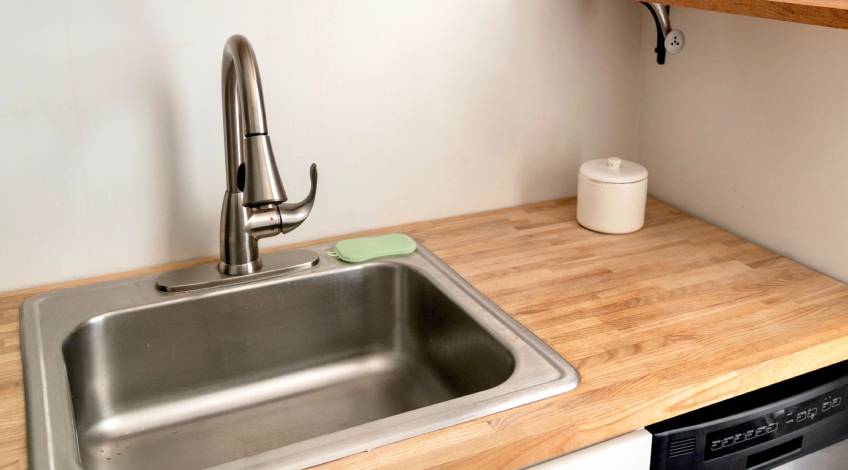
This Is the Right Way to Clean a Stainless Steel Sink
If you’ve ever gazed at your stainless steel sink and wondered why it looks more like a crime scene than the gleaming centrepiece it once was, you’re not alone. Between water spots, food stains, and that mysterious film that seems to appear overnight, keeping your sink spotless can feel like an uphill battle.
The good news? Getting your stainless steel sink to sparkle like new is actually simpler than you think. With just a few household ingredients you probably already have tucked away in your pantry, you can transform your sink from grimy to gorgeous in under 20 minutes. These proven techniques will have your kitchen looking immaculate and give you that satisfying sense of accomplishment that comes with a truly clean space.
What You’ll Need For A Perfect Clean
Before we tackle the grime, let’s gather your cleaning arsenal. Having everything ready beforehand means you can work efficiently without interrupting your flow.
Essential Tools And Cleaning Materials:
- Microfibre cloths (at least two, one for cleaning and one for drying)
- Soft sponge (avoid anything abrasive that could scratch the surface)
- Spray bottle (for your vinegar solution)
- Bicarbonate of soda
- Fresh lemon or lime
- White vinegar
- Olive oil (for that final glossy finish)
Optional extras that can make the job even easier include rubber gloves to protect your hands and an old toothbrush for tackling stubborn spots around the tap area.
The Complete Step By Step Deep Clean Method
This top to bottom approach ensures you won’t miss any spots and prevents you from having to redo sections. After all, nobody wants to clean their sink twice!
Step 1: Clear Everything Out First
Start by completely emptying your sink. Remove any washing up bowls, dish racks, sponges, and soap dispensers. Give everything a quick rinse under hot water to remove loose debris and food particles.
This initial rinse is crucial because it prevents you from just pushing dirt around during the cleaning process. Use your hottest tap water and don’t be afraid to really blast away any stubborn bits clinging to the sides.
Step 2: Create Your Bicarbonate Of Soda Base
With your sink still damp from rinsing, generously sprinkle bicarbonate of soda across the entire surface. Don’t forget the sides, the area around the plughole, and that often overlooked space where the sink meets the worktop.
The bicarbonate of soda acts as a gentle abrasive that lifts stains and neutralises odours without scratching your stainless steel. You want enough to create a thin, even coating, but don’t worry about being too precise here.
Step 3: Scrub With The Grain
Here’s where technique matters! Using your damp sponge, scrub the sink in long strokes following the grain of the stainless steel. You’ll see the grain pattern running in one direction, typically from side to side rather than up and down.
Working with the grain prevents scratches and ensures an even clean. Pay special attention to areas around the taps where soap scum builds up, and the bottom where food particles tend to collect. The water and bicarbonate of soda will form a paste as you work, which helps lift even stubborn stains.
Step 4: Harness The Power Of Citrus
Cut your lemon in half and use it like a natural scrubbing tool over the bicarbonate of soda paste. The citric acid in the lemon works brilliantly to break down mineral deposits and adds a fresh, clean scent that says “proper clean kitchen.”
This step is particularly effective for homes with hard water, where limescale can build up over time. The lemon’s natural acidity cuts through these deposits whilst being completely safe for food preparation areas.
Step 5: Rinse Away The Residue
Thoroughly rinse the entire sink with hot water, making sure to wash away all traces of the bicarbonate of soda and lemon juice. Don’t forget to run those used lemon halves through your waste disposal if you have one, this will freshen it up nicely!
Take your time with this step. Any residue left behind can create streaks or dull patches once everything dries.
Step 6: Tackle Water Spots With Vinegar
Fill your spray bottle with white vinegar and spray the entire sink surface. Don’t worry about the strong smell, it’ll disappear quickly and take any lingering odours with it.
Using a clean microfibre cloth, buff the vinegar into the surface. The acetic acid in vinegar is brilliant at dissolving water spots and soap film whilst also disinfecting the surface naturally.
Step 7: The Final Shine
Once you’ve thoroughly dried the sink with a clean cloth, it’s time for the finishing touch that really makes the difference. Pour a small amount of olive oil onto a dry cloth and rub it into the surface, again following the grain direction.
This creates a protective barrier that repels water and fingerprints whilst giving your sink that showroom shine. Wipe away any excess oil, and step back to admire your handiwork!
Quick Solutions For Common Sink Problems
Even the most well maintained kitchens encounter the occasional sink disaster. Whether you’re dealing with the aftermath of a big family dinner or your little ones have been “helping” with the washing up, these targeted solutions will sort you right out.
Stubborn Grease Spots?
Make a paste with bicarbonate of soda and a few drops of washing up liquid. The combination cuts through grease like nothing else, and it’s safe enough that you won’t worry about residue on your dishes.
Mysterious Dark Stains?
These are often caused by wet steel wool or metal utensils left in the sink. Create a paste with bicarbonate of soda and lemon juice, let it sit for 10 minutes, then gently scrub with a soft cloth. The citric acid helps lift metal stains without damaging the surface.
Water Spots That Won’t Budge?
Sometimes standard vinegar isn’t strong enough for really stubborn mineral deposits. Try heating the vinegar slightly (not boiling!) before applying it. The warmth helps it work more effectively on tough limescale.
Scratches From Previous Cleaning Mistakes?
Light scratches can often be minimised by rubbing gently with a cloth dipped in olive oil, always following the grain. For deeper scratches, you might need a specialist stainless steel polish, but prevention is definitely better than cure here.
Lingering Food Odours?
After your regular clean, sprinkle bicarbonate of soda in the sink and leave it overnight. In the morning, rinse with hot water and follow up with a lemon rub for the freshest possible scent.
Your Sparkling Sink Success Story
There’s something deeply satisfying about a gleaming stainless steel sink that reflects the light and makes your entire kitchen feel cleaner and more organised. It’s one of those small changes that makes a surprisingly big difference to how you feel about your space.
Ready to share your success? Pop a photo in your family WhatsApp group or tag us on social media, because nothing beats that “after” shot of a perfectly clean sink. Your future self will thank you every time you walk into your sparkling kitchen!
SEE ALSO: If You Own Vintage Corelle Dinnerware, Read This Before Your Next Meal!
Also, follow us on Pinterest ...


