
The Living Room Decluttering Guide That Will Change Your Space
Is your living room starting to feel more like a storage unit than a place to relax? Whether you’re a busy professional drowning in paperwork, a parent constantly tripping over toys, or just someone who’d love a more minimalist space, this guide will help you transform your living room from chaos to calm without losing your mind in the process!
Let’s break everything down into bite sized tasks that actually work in real life, not just in those perfectly staged photos we all wish we could live in! Plus, you’ll get a free living room decluttering checklist as a freebie at the end!
Getting Started: Your Decluttering Kit
Before jumping in, let’s get you set up for success. These tools will make your life so much easier:
- Storage Boxes: Grab a variety of sizes, clear ones are brilliant for seeing what’s inside without having to open every single box. Plus, they stack nicely when you’re trying to maximise space!
- Labels And A Good Marker: Trust me, you’ll thank yourself later when you’re not playing the “what’s in this box” game for the hundredth time.
- Donation Bags: Keep these handy because once you start decluttering, you’ll want to get things out of your house quickly before you change your mind!
- A Timer: This is your secret weapon against getting overwhelmed. We’re going to work in short bursts, not marathon sessions that leave you exhausted.
Quick Clean Kit
Keep these nearby:
- Microfibre cloths (they’re amazing for quick dusting)
- All purpose cleaner
- Glass cleaner (for those fingerprint magnets)
- Vacuum for quick clean ups
- Furniture polish (because why not make things shine while we’re at it?)
PRO TIP: Create a portable cleaning caddy for the small stuff so you’re not running back and forth looking for supplies!
Let’s Get Started
Step 1: The Great Clear Out
Time to be honest with yourself about what’s actually living in your living room! Pull everything out (yes, everything) and sort it into piles:
- Keep: Things you actually use and love, not just things you think you should keep
- Donate: Someone else might love that decorative bowl you’ve never quite liked
- Sell: If it’s worth something and you’re willing to actually list it (be realistic!)
- Bin: Be brutal with broken items, we’re not running a repair shop here
Step 2: Tackling The Trouble Spots
Entertainment Zone
The entertainment area tends to be the heart of most living rooms, but it’s also one of the biggest clutter magnets in the house.
Between streaming devices, gaming consoles, and that drawer full of cables that might be important (but who really knows?), this zone can quickly become overwhelming. The trick is to be ruthless with outdated technology while making the things you actually use easy to access and maintain.
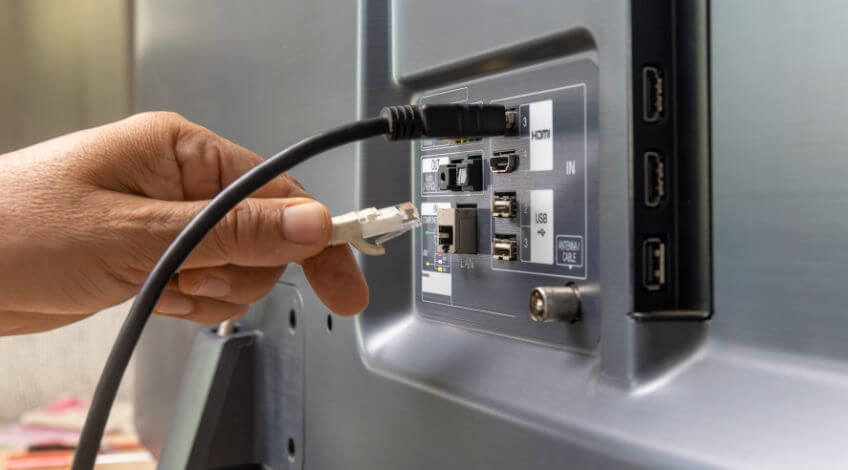
Start by taking everything out and sorting through it properly. If you’re hanging onto DVDs “just in case,” remember that most content is available to stream now. Those old gaming consoles gathering dust? If you haven’t plugged them in for the last six months, it might be time to find them a new home.
Time to:
- Finally sort through those DVDs (when did you last watch them?)
- Say goodbye to those game consoles nobody’s touched in years
- Tackle the cable monster hiding behind the TV
- Keep only the remotes that actually control something
Book And Display Areas
We all love the idea of a beautifully styled bookshelf, but the reality often looks more like an overcrowded charity shop display. Books have a sneaky way of multiplying when we’re not looking, and before you know it, your carefully curated display areas are bursting at the seams.
The secret to a beautiful book display isn’t just about organisation, it’s about being honest with yourself about what you actually want to keep.
Consider your books like you would your wardrobe, if you haven’t touched it in a year and it doesn’t bring you joy, maybe it’s time to let it go. The same goes for decorative items, each piece should earn its place on your shelves, either through function or by making you smile every time you see it.
Time to:
- Be honest about which books you’ll actually read again
- Create proper breathing space between items (cramming isn’t organising!)
- Keep only the decor pieces that make you smile
- Add some proper storage solutions that look good AND work hard
The Famous “Dumping Grounds”
Every living room has them, those surfaces that somehow become magnets for everything that doesn’t have a home. It starts innocently enough, maybe with today’s mail or a coffee cup, but before you know it, you’re playing a constant game of “what’s under that pile?”
The problem isn’t just about clutter, it’s about creating habits that stop these areas from becoming dumping grounds in the first place.
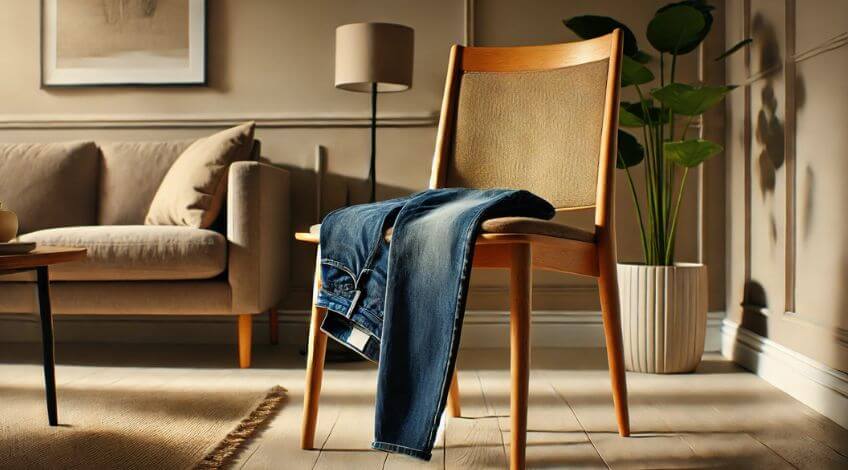
The key is to tackle these areas head on and create systems that prevent future pile ups. This might mean adding a proper mail sorting station near your entrance, or designating specific homes for items that tend to accumulate. Remember, flat surfaces are not storage solutions!
Here are the usual suspects:
- Coffee tables (not meant to be secondary storage!)
- Side tables (currently holding your “I’ll sort that later” piles)
- That one chair that’s never seen a human because it’s always covered in stuff
- The floor around your favourite spot (we all have that pile!)
Toy Territory (If You’ve Got Little Ones)
Let’s talk about the elephant in the room, or rather, the army of toys that’s taken over your living room. If you’ve got kids, you know the struggle is real.
One minute your room is perfectly tidy, the next it looks like a tornado hit the toy shop. The goal isn’t to eliminate toys from your living space (that’s probably not realistic), but to create systems that make it easy for everyone to keep things tidy.
The secret is to make cleanup as easy as possible, both for you and the kids. Storage solutions need to be simple enough that even young children can use them independently.
Think about it from their perspective, if they can’t easily see where things go or can’t open the storage containers, they’re not going to put things away.
Create a kid friendly system with these tips:
- Set up easy to use storage (if kids can’t open it, they won’t use it)
- Use clear bins so everyone can see what’s inside
- Label everything (pictures work great for little ones)
- Implement the “one in, one out” rule (good luck!)
Step 3: Daily Habits That Keep The Chaos Away
Starting your day with a quick tidy sets the tone for everything that follows. You’ll be amazed by how much better you’ll feel walking into a room that’s been given even just five minutes of attention.
Make these tasks part of your morning coffee routine:
- Quick cushion fluff (makes everything look better instantly, and takes seconds)
- Clear away any cups or plates from last night’s Netflix session
- Open those curtains (natural light hides a multitude of sins and boosts your mood!)
- Quick surface scan for anything out of place while you sip your morning brew
And before you sleep, it’s best to:
- Do a family speed tidy (set a timer for 10 minutes and make it a game)
- Return things to their proper homes, no excuses!
- Clear those surfaces for tomorrow’s fresh start
- Quickly vacuum high traffic areas if needed (focus on visible spaces)
Why Take On This Challenge?
Let’s face it, keeping a living room tidy can feel like an impossible task, especially when it’s the most used room in your house. The beauty of this guide is that it works for real people with real lives, whether you’re:
- A busy professional who barely has time to eat lunch, let alone organise
- A parent whose living room looks like a toy shop exploded in it
- Someone dreaming of a minimalist paradise but drowning in stuff
- Or just feeling completely overwhelmed by the chaos
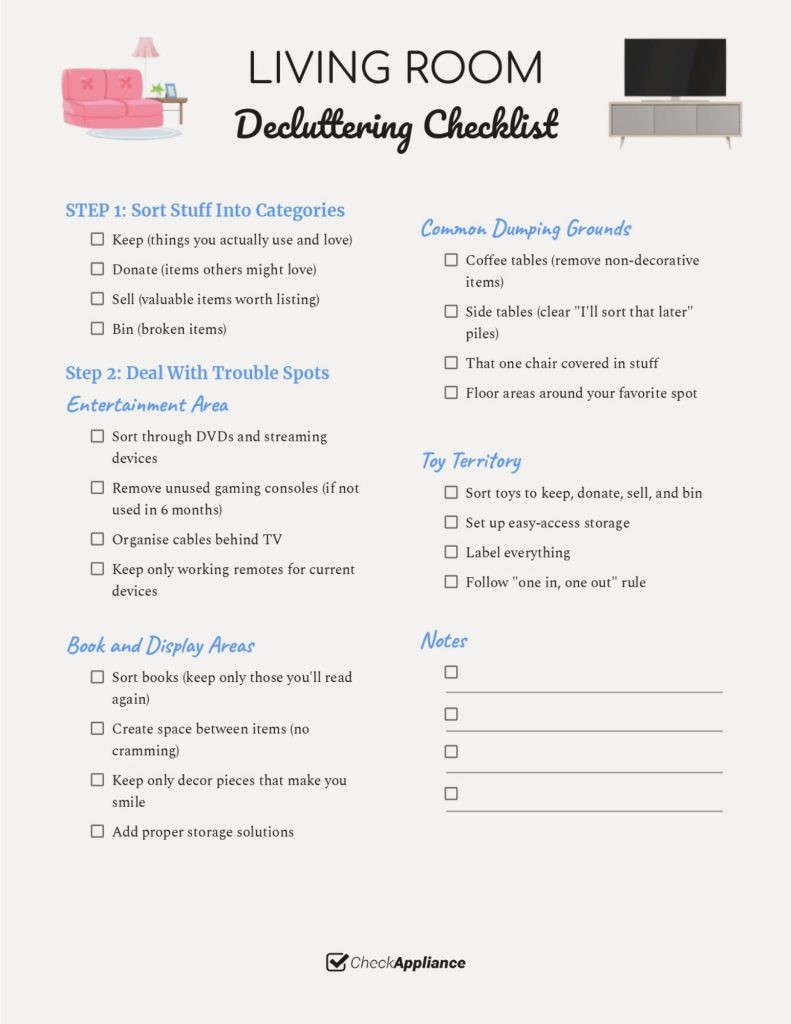
This plan will make it all manageable, promise! To further help you, we have a checklist you can download to be your decluttering guide.
DOWNLOAD THE FREE PRINTABLE LIVING ROOM DECLUTTERING CHECKLIST HERE
Share these ideas with friends who could use some decluttering motivation, because everyone deserves a living room they can actually live in!
SEE ALSO: If your laundry comes out the washer dripping wet, check THIS immediately
Also, follow us on Pinterest ...