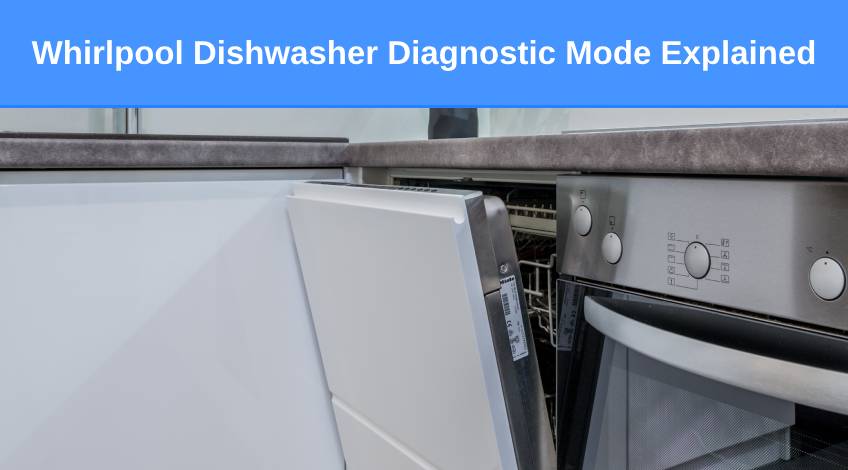
Whirlpool Dishwasher Diagnostic Mode Explained
If you own a Whirlpool dishwasher you will probably already know that it has a diagnostic mode. Once the diagnostic mode is activated, your appliance will run certain internal tests to check that various components are operating as they should.
It’s an important function which Whirlpool has built into their dishwashers to help you accurately pinpoint any faults and allow you to go straight to the problem and get it fixed.
In this article, we look at the Whirlpool diagnostic mode and explain how to activate it, how to exit it, as well as what it does and we also explain what the various error codes that the diagnostic mode might present to you are and how to fix the faults it identifies.
Why Use The Diagnostic Mode On Your Whirlpool Dishwasher?
The diagnostic mode is designed to check the various functions of your Whirlpool dishwasher and report on any faults or failings it finds. This can be extremely helpful in finding out why your dishwasher isn’t performing as it should.
You should run the diagnostic mode if;
- The Dishwasher Won’t Turn On
- The Dishes Don’t Get Cleaned Properly
- The Water Fails To Drain From The Appliance
- Dishes Don’t Dry
- The Water Temperature Is Incorrect

How To Put Your Whirlpool Dishwasher Into Diagnostic Mode
There are different ways to put your Whirlpool dishwasher into diagnostic mode, depending on the model you own. You should consult your user manual for specific instructions but in the absence of specific instructions try one of the following;
Activate Diagnostic Mode By Using “Cycles” & “Start/Cancel” Buttons
To initiate the diagnostic mode all you need to do is;
- Turn the dishwasher off and ensure all LED lights are off.
- Unplug the dishwasher from the main power supply (or switch the circuit breaker to off)
- After 2 to 3 minutes reconnect the power supply
- Open the dishwasher door and press the “cycles” and the “start/cancel” buttons once
- Then press and hold both buttons for around 1 minute
- Close the door
This should initiate the diagnostic mode.
Activate Diagnostic Mode By Using “On/Off” & “Start/Pause” Buttons
This method entails;
- Turn the dishwasher off and ensure all LED lights are off
- Disconnect the power from the dishwasher
- Wait 2 to 3 minutes before restoring the power to the dishwasher
- As soon as the power is reconnected, open the door and press and hold the “on/off” and “start/pause” buttons (this needs to be done within 1 minute of restoring the power to the dishwasher)
- Close the door
The dishwasher should now enter diagnostic mode.
Activate Diagnostic Mode By Using “Start” & “Rinse” Buttons
This process follows exactly the same path as the previous two, you need to;
- Turn off the appliance and make sure the LED lights are off
- Disconnect the appliance from the power supply
- Allow 2 to 3 minutes to pass and then reconnect the power
- Immediately open the door and press and hold the “start” and “rinse” buttons simultaneously for around 60 seconds
- Close the door
This should initiate the diagnostic mode.
Activate Diagnostic Mode By Pressing 3 Buttons
This method which is used on some Whirlpool dishwashers to enter the diagnostic mode involves pressing a set of 3 buttons in a 1-2-3 sequence. You can select any 3 buttons except “start”, “delay” or “cancel” and you need to press each one in quick succession.
On some models you’ll need to press the 2nd button and then shut the door to start the cycle.
What Does Your Whirlpool Dishwasher Do When It’s In Diagnostic Mode?
Once the diagnostic mode has been activated on your Whirlpool dishwasher it will start performing a series of tests to check that it’s working as it should.
First up, it checks the water inlet valve by activating the inlet valve and allowing around 3 litres of water into the unit. It checks how much water has entered via the flow meter.
The appliance then activates the wash pump heater for around 10 seconds after which the machine beeps to signify that the water temperature has risen by 3 to 5 degrees C. As soon as the water reaches 57 C the dishwasher will stop and you’ll need to press the “start” button to get it to move onto the next test.
After you have pressed the “start” button, the appliance starts the high wash pump dispenser for around 8 seconds, it will keep running for about 45 seconds before pausing for around 30 seconds.
It then activates the drain pump for around another 30 seconds. After the drain pump has run for its 30 second test cycle, the dishwasher will beep and display a code on the LED display screen.
What Do The Error Codes Displayed After The Diagnostic Mode Has Finished Mean?
After the diagnostic mode has completed its tests, it will display any faults via an error code on the LED display screen or by flashing a light a set number of times.Error Code Number Of Light Flashes Fault Indicated E1 1 Water inlet test failed/water taking too long to drain E3 3 Heater test failed E4 4 Dishwasher overflowing water E6 6 Temperature sensor fault E7 7 Short Circuit Failure
Let’s take a closer look at each of these error codes and faults and find ways to fix them.
Whirlpool Dishwasher Diagnostic Error Code E1 (1 flash)
Water Inlet Or Drain Failure
This error code indicates that the flow meter couldn’t detect a proper fill after 4 minutes of fill time during the water inlet valve test. You will need to check the inlet hose for any twists or kinks and that the water tap is fully opened.
If the above are both fine, it’s probably the inlet valve is faulty and will need to be replaced.
It could also indicate that the appliance is taking too long to drain water from the dishwasher. This is usually caused by insufficient back pressure to the drain pump.
The reason could be a water leak in the drainage system. You’ll need to check the hoses and connections for any leaks. It could also be caused by the drain hose not having a proper loop, check the drain hose and if it looks OK, the fault is most likely the drain pump.
Whirlpool Dishwasher Diagnostic Error Code E3 (3 flashes)
Heater Test Failed
This code indicates that the temperature of the unit failed to reach its expected level during the entire 90 minute testing of the wash pump test.
You’ll need to check the heater, thermistor and control for any faults and replace each part as necessary.
Whirlpool Dishwasher Diagnostic Error Code E4 (4 flashes)
Water Overflow
This error code signifies that the reservoir inside your Whirlpool dishwasher is full and cannot take any more water. This is usually caused if the water pressure is too high, or the water inlet hose could be too loose or the drainage system could be blocked.
Check all of the above and fix as necessary and then check the power flow switch to ensure it’s operating correctly. If not, replace it with a new part. This could also be caused by a faulty overflow switch which will need to be replaced if it proves to be faulty.
Another simple cause for this problem is the use of inferior quality detergent that creates too many soap suds or clogs the drainage system. We recommend always using the best quality detergent you can buy to keep your dishwasher running as it should.
Whirlpool Dishwasher Diagnostic Error Code E6 (6 flashes)
Temperature Sensor Fault
If the error code E6 is displayed or the appliance flashes 6 times it indicates that the temperature sensor has an open circuit. You will need to check the water temperature, the thermistor and the control for any problems and replace each part as necessary.
Whirlpool Dishwasher Diagnostic Error Code E7 (7 flashes)
Short Circuit Failure
This also relates to the temperature sensor but indicates a short circuit somewhere in the system. You will need to check the inlet water temperature, the thermistor and the control and replace any faulty parts as necessary.
How To Get Your Whirlpool Dishwasher Out Of Diagnostic Mode
There is no button or combination of buttons to exit the diagnostic mode. All you need to do is disconnect the appliance from the power supply for 3 to 5 minutes and then reconnect it. You will now have exited diagnostic mode and your dishwasher will work again.
SEE ALSO: Whirlpool Dishwasher Fills With Water Then Stops? (here’s why & what to do)
Frequently Asked Questions
The best way to troubleshoot your Whirlpool dishwasher is to run a diagnostic mode. This will determine which parts (if any) are not operating as they should.
There is no dedicated “off” button for exiting the diagnostic mode on a Whirlpool dishwasher. All you need to do is disconnect the power supply for 3 to 5 minutes to exit the diagnostic mode. When the power is reinstated the dishwasher will have cleared the diagnostic mode.
To start the diagnostic mode on your Whirlpool dishwasher you will need to do one of the following; Press “cycles” and “start/cancel” buttons simultaneously for around 1 minute, or press and hold “on/off” and “start/pause” for 60 seconds, or press and hold the “start” and “rinse” buttons for 60 seconds or press any 3 buttons in a 1-2-3 sequence except “start”, “delay” or “cancel” in fast succession. Different models use different buttons and methods to activate the diagnostic mode, consult your handbook for specific instructions.
Also, follow us on Pinterest ...