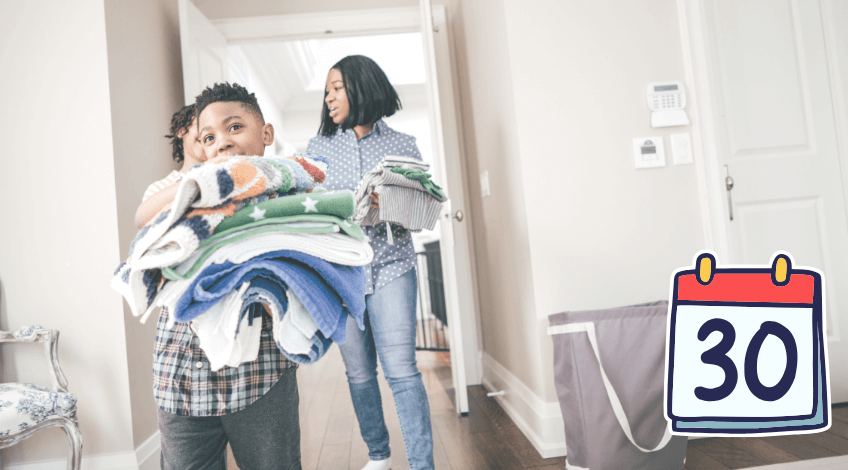
30 Day Deep Cleaning Challenge!
Is your home in need of a proper clean-up?
Whether you’re a busy professional trying to balance work and life, a parent managing a household, a new homeowner ready to start fresh, or simply feeling overwhelmed by clutter, this 30-day deep cleaning challenge is your solution!
Let’s break it down into manageable steps to get your home sparkling without the stress.
Why Take On This Challenge?
Let’s face it, keeping a home clean can feel like an impossible task. The beauty of this 30-day challenge is that it breaks everything down into bite-sized tasks, each taking no more than 30 minutes. It’s perfect for anyone who wants to make a big impact without dedicating entire days to cleaning.
Whether you’re:
- A busy professional, short on time but keen on keeping your space tidy
- A parent, looking for structure to fit around family life
- A new homeowner, eager to create a spotless space
- Or just a person overwhelmed by mess, and unsure where to begin
This plan will make it manageable and rewarding!
Getting Started: Your Essential Guide
Before jumping in, set yourself up for success. Make sure to stock up and follow these simple rules.
Stock Your Cleaning Kit
Gather these essentials to keep the process smooth:
- All-purpose cleaner
- White vinegar
- Bicarbonate of soda
- Magic erasers
- Microfibre cloths
- Disinfecting wipes
- Glass cleaner
- Scrub brushes
- Bucket
- Mop
- Vacuum cleaner
PRO TIP: Create a portable cleaning caddy to save time when moving from room to room.
The Golden Rules
- Always clean from top to bottom to avoid doubling your efforts.
- Focus on one room at a time for a sense of accomplishment.
- Declutter before deep cleaning to make the process easier.
- Keep cleaning supplies in key areas for quick touch-ups.
- Set a timer for 30 minutes per task to stay focused and efficient.
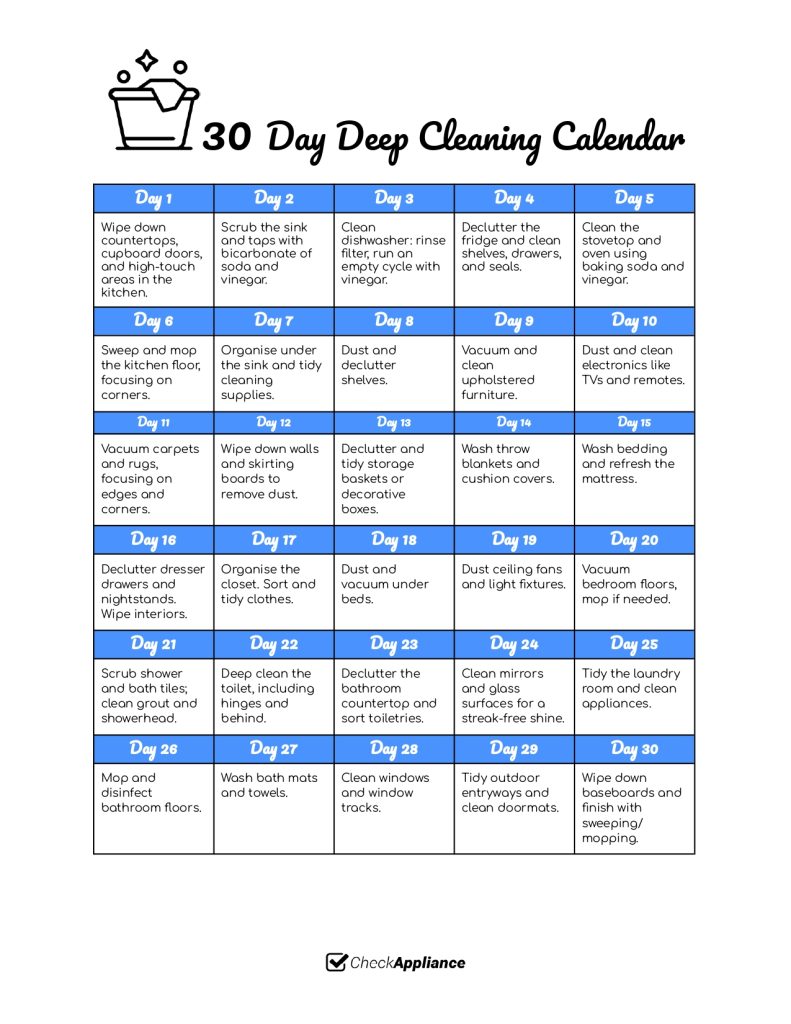
Your 30-Day Cleaning Plan
Day 1: Quick Kitchen Surfaces
The kitchen is the heart of your home, so let’s start with the basics. Wipe down countertops, cupboard doors, and other high touch areas like light switches and appliance handles. Use an all-purpose cleaner to remove food spills, sticky spots, and fingerprints.
Focusing on these surfaces creates an instant feeling of cleanliness. Plus, it’s a great way to set the tone for the rest of your deep cleaning journey!
Day 2: Clean The Sink And Taps
Your sink sees plenty of action every day, so it deserves a good scrub. Sprinkle bicarbonate of soda around the sink and taps, scrub gently, and rinse with white vinegar to dissolve grime and hard water stains.
Pay attention to the edges and drain, as these areas can accumulate hidden dirt. For an extra shine, finish by buffing the taps with a microfibre cloth.
Day 3: Dishwasher Refresh
Even your dishwasher needs cleaning! Remove and rinse the filter to clear out food debris, then run an empty cycle with a cup of white vinegar placed on the top rack.
After the cycle, wipe down the inside of the door and seals with a damp cloth. This will not only improve performance but also leave your dishes sparkling clean.
Day 4: Declutter The Fridge
Take everything out of the fridge and discard expired items. Wipe down shelves, drawers, and walls with a mix of warm water and a little washing up liquid.

Don’t forget to clean the rubber seals and fridge handles, these often overlooked areas can harbour grime. Once everything is spotless, organise items neatly before putting them back.
Day 5: Stovetop And Oven Clean-Up
Tackle grease and food splatters on your stovetop by using a degreaser or baking soda paste. Remove burner grates and soak them in hot, soapy water for easier cleaning.
For the oven, apply a mix of vinegar and baking soda to any baked on messes, let it sit for 10 minutes, and then wipe clean. This step is especially satisfying!
Day 6: Sweep And Mop Kitchen Floors
Sweep your kitchen floor to remove crumbs and debris, paying attention to corners and under appliances. Follow up with a mop using warm, soapy water or a floor specific cleaner.
Clean floors make the entire kitchen feel polished and fresh, especially if you have little ones constantly running in and out.
Day 7: Organise Under The Sink
Clear out the cupboard under the sink, throwing away empty bottles or broken tools. Wipe down the interior with disinfectant, and restock neatly.
This area often becomes a dumping ground for random items, so take the time to make it functional. Use small bins or organisers to keep cleaning supplies tidy.
Day 8: Dust And Declutter Shelves
Remove everything from shelves and dust thoroughly, starting from the top and working your way down. Use a microfibre cloth to avoid scattering dust.
As you put items back, declutter books, decor, or knick-knacks that no longer spark joy. A tidy shelf instantly makes a room feel more organised.
Day 9: Deep Clean Furniture
Vacuum your upholstered furniture, paying extra attention to crevices where crumbs like to hide. Flip and rotate cushions to distribute wear evenly.
For stains, use a fabric specific cleaner and gently blot (not rub) until the spot is gone. Your furniture will look and feel refreshed.
Day 10: Clean Electronics
Dust all electronics, including TVs, game consoles, and remotes. Use a slightly damp microfibre cloth to clean screens and remove smudges.
Electronics can quickly gather dust and fingerprints, so this step makes a noticeable difference in the room’s overall cleanliness.
Day 11: Vacuum Carpets And Rugs
Vacuum all carpets and rugs, focusing on edges, corners, and underneath furniture. A vacuum with a crevice tool works wonders for hard-to-reach spots.
If there are stains, treat them with a carpet cleaner or a vinegar and water solution. Regular vacuuming extends the life of your flooring.
Day 12: Wipe Walls And Skirting Boards
Walls and skirting boards can get surprisingly dusty and grimy over time. Use a damp cloth or a magic eraser to remove marks, scuffs, and dust.
Start at the top and work your way down to avoid re-cleaning. Clean walls instantly brighten any room.
Day 13: Tidy Storage Spaces
Go through storage baskets, drawers, or decorative boxes in your living areas. Remove items you no longer use or need, and reorganise what’s left.
By decluttering these spaces, you’ll make your home feel lighter and more functional.
Day 14: Wash Throw Blankets And Cushion Covers
Soft furnishings like throw blankets and cushion covers can trap dust and odours. Launder them according to care instructions and let them air dry if possible.
This simple refresh adds cosiness to your living areas while making them feel fresh and inviting.
Day 15: Wash Bedding
Strip your beds and wash all sheets, pillowcases, duvet covers, and mattress protectors. If your pillows are washable, toss them in too. Use a hot water cycle for a thorough clean.
Once the bedding is dry, make the bed neatly. For extra freshness, sprinkle baking soda on your mattress before vacuuming it. This small task sets the stage for a good night’s sleep.
Day 16: Declutter Dressers And Nightstands
Empty out your dresser drawers and nightstand. Wipe the interiors with a damp cloth to remove dust.
Take this opportunity to donate clothing or items you no longer use. Neatly fold and organise what remains, leaving surfaces clear for a clutter free look.
Day 17: Organise The Closet
Pull out everything in your closet and sort items into keep, donate, and toss piles. Use slim hangers to save space and keep clothes aligned.
Vacuum the closet floor and wipe down any shelves or rods. Reorganise your items by category or season to make finding things easier.
Day 18: Clean Under Beds
Clear out anything stored under your bed and decide what to keep or remove. Dust and vacuum thoroughly, ensuring you reach every corner.
If you use under bed storage bins, wipe them down before putting them back. This step helps reduce allergens and gives your bedroom a cleaner feel.
DOWNLOAD THE 30-DAY DEEP CLEANING CALENDAR FOR FREE HERE!
Day 19: Dust Ceiling Fans And Light Fixtures
Use a long handled duster or microfibre cloth to clean ceiling fans and light fixtures. Be sure to dust both the blades and the motor housing.
For fixtures, wipe them down carefully with a damp cloth to remove dirt and fingerprints. Clean lighting makes rooms feel brighter and more inviting.
Day 20: Vacuum Bedroom Floors
Finish the week with a deep clean of all bedroom floors. Vacuum carpets and rugs thoroughly, paying attention to edges and under furniture.
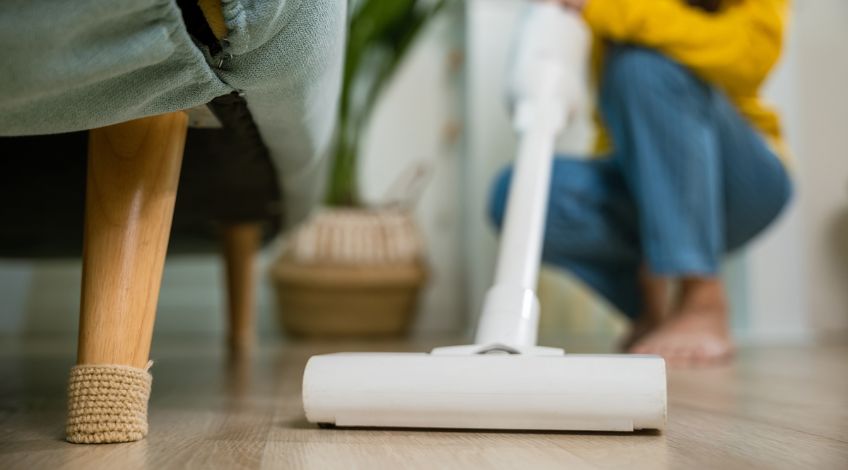
For hardwood or tile floors, mop with a gentle cleaner to remove dust and grime. Your bedroom will feel completely refreshed and ready for relaxation.
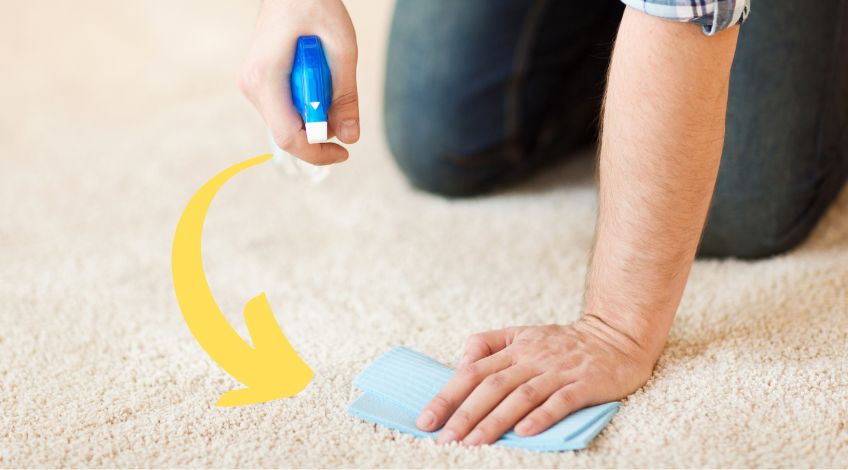
Day 21: Clean Shower And Bath Tiles
Scrub the shower walls and bathtub with a cleaning brush and a suitable cleaner. For grout lines, use a paste of baking soda and water, then rinse thoroughly.
To remove limescale, soak your showerhead in vinegar by tying a bag around it. A sparkling shower sets the tone for a spa-like bathroom experience.
Day 22: Deep Clean The Toilet
Focus on all parts of the toilet, not just the bowl. Use toilet cleaner and a brush for the inside, and disinfect wipes for the seat, base, and behind the toilet.
Don’t forget the hinges on the seat, as they often collect hidden grime. A clean toilet instantly upgrades your bathroom’s hygiene.
Day 23: Declutter The Bathroom Countertop
Clear everything off your bathroom counters and sort through your toiletries. Toss expired items or products you no longer use.
Wipe the countertop and any organisers with a damp cloth, then neatly arrange what’s left. A tidy counter makes your bathroom feel serene.
Day 24: Mirror And Glass Cleaning
Polish mirrors and shower doors for a streak-free shine. Use a mix of water and vinegar with a lint free cloth, then buff dry with newspaper or a microfibre cloth.
Clean mirrors reflect light better, giving your bathroom an instant boost of brightness.
Day 25: Tidy The Laundry Room
Wipe down the surfaces of your washer and dryer, removing detergent residue and dust. Clean out the lint trap to improve dryer efficiency.
Organise your laundry supplies, discarding empty containers and consolidating duplicates. A tidy laundry area makes chores feel less like a task.
Day 26: Clean Bathroom Floors
Vacuum and mop bathroom floors, paying close attention to corners and behind the toilet. Use a disinfectant solution to remove germs and leave the room smelling fresh.
Bathrooms see a lot of foot traffic, so this step ensures they stay hygienic and welcoming.
Day 27: Wash Bath Mats And Towels
Launder all bath mats, towels, and hand towels. Use hot water to sanitise them properly and dry them completely before putting them back.
This quick refresh adds softness and cleanliness to your bathroom essentials.
Day 28: Clean Windows And Tracks
Wash all windows with glass cleaner, wiping away dirt and smudges. Don’t forget to clean the window tracks with a small brush or vacuum attachment.
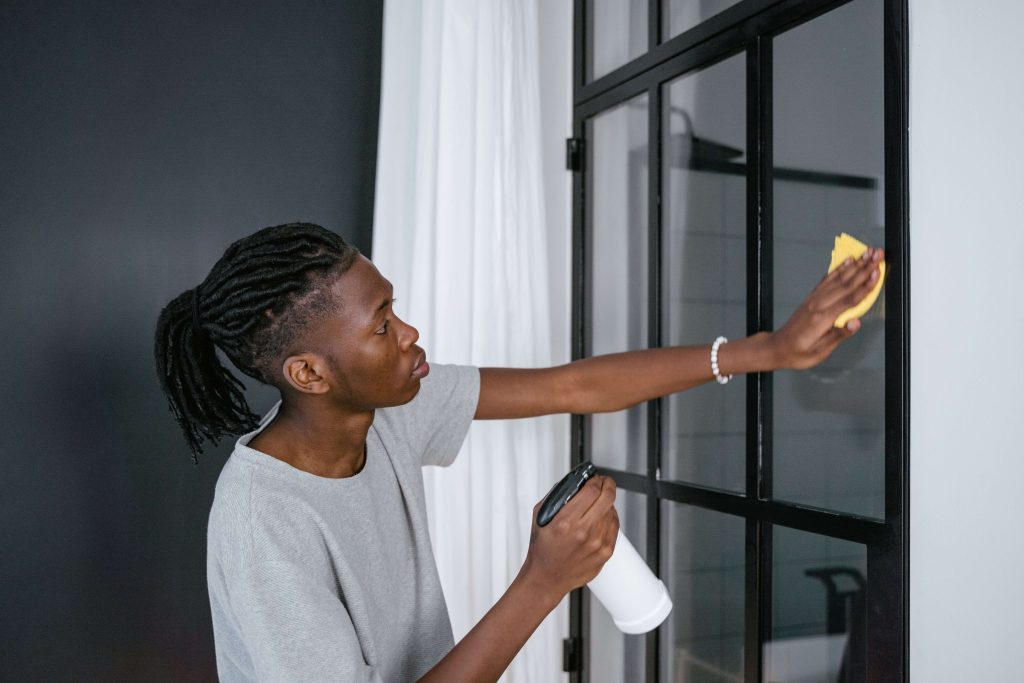
Clean windows brighten every room and let in more natural light, making your home feel airy and fresh.
Day 29: Tidy Outdoor Entryways
Sweep porches and doorsteps, and wipe down your front door. Shake out or clean the doormat to remove dust and dirt.
A tidy entryway creates a welcoming first impression for guests and for you when you come home.
Day 30: Baseboard And Floor Finale
Wipe down all baseboards with a damp cloth to remove dust and scuffs. Finish by sweeping or vacuuming and mopping hard floors for a polished look.
Celebrate your clean and organised home by taking a walk through your refreshed space. You’ve earned it!
Maintaining Your Sparkling Home
Now you’ve completed the challenge, keep the momentum going with these quick daily habits:
- 10-minute evening tidy up
- Wipe kitchen surfaces after meals
- Deal with clutter immediately
- Weekly quick clean of bathrooms
- Regular vacuum schedule
Feeling accomplished? Share your results with #30DayDeepClean and inspire others to start their own journey. For more cleaning tips and ideas, follow us on social media: you’ll find plenty of inspiration to keep your home looking its best!
SEE ALSO: 11 Simple Habits Tired Women Use Daily to Keep Their Homes Clean Without Burning Out
Also, follow us on Pinterest ...