
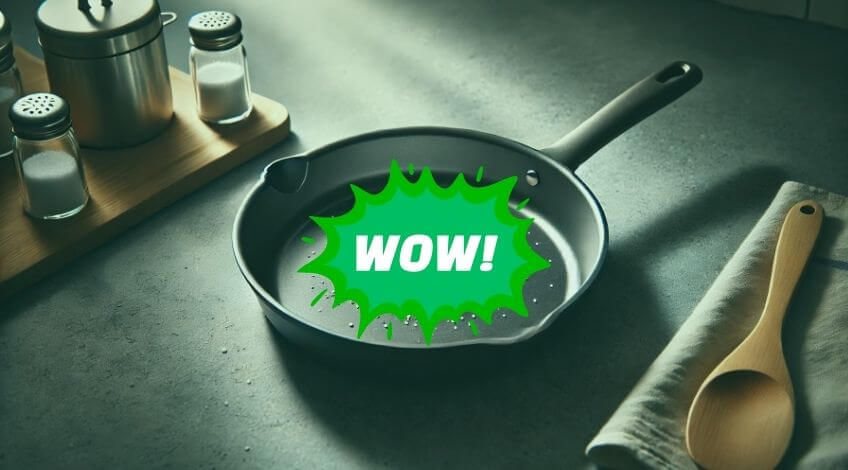
Is the Salt Hack for Nonstick Pans Worth It? I Tried It So You Don’t Have To
If you’ve ever stared at your once faithful nonstick pan that now seems determined to turn every scrambled egg into a proper disaster, you’ve probably wondered if there’s any hope left. Before you chuck it in the bin and fork out for a replacement, there’s a viral TikTok hack that claims to bring your sticky pan back from the dead using nothing more than table salt.
Here’s the truth: the salt hack does work, but not quite in the miraculous way some videos suggest. After putting this method through its paces with my own battle scarred cookware, I can tell you exactly what to expect, what works, and when you might be better off investing in a new pan instead.
What Is The Salt Hack For Nonstick Pans?
This cleaning method has been doing the rounds on social media, promising to revive tired nonstick cookware with a surprisingly simple technique. The process is straightforward: wash your pan thoroughly, heat it on the hob until it’s very hot, then cover the bottom with table salt and let it cook until golden brown.
The science behind this hack centres on salt’s abrasive properties and its ability to absorb oils and residue that have built up on your pan’s surface over time. When heated, salt creates a gentle scrubbing action that can remove some of the grime that’s preventing your nonstick coating from doing its job properly.
This method has gained popularity because it addresses a common kitchen frustration that most of us face: nonstick pans that have lost their effectiveness. What caught my attention wasn’t just the buzz around it, but the genuine enthusiasm from people claiming it genuinely restored their cookware.
How To Do The Salt Hack Step By Step
Getting this technique right requires a bit more attention to detail than some videos suggest. Here’s the proper method that actually delivers results:
Step 1: Clean Your Pan First
Start with a thorough wash using washing up liquid and a soft sponge. This isn’t the time for harsh scrubbing pads, which can damage whatever nonstick coating remains. Rinse completely and dry the pan with a clean tea towel.
This initial cleaning step is crucial because you want to remove any food particles or grease before you start the salt treatment. Think of it as preparing a canvas before painting: the better your prep work, the better your results.
Step 2: Heat The Pan Properly
Place your clean, dry pan on the hob and turn the heat to high. Let it sit for about two minutes until it’s properly hot. You’ll know it’s ready when a few drops of water sizzle and evaporate almost instantly.
Getting the temperature right is essential for this hack to work. The pan needs to be hot enough that the salt will actually cook and change colour, but not so hot that it burns immediately.
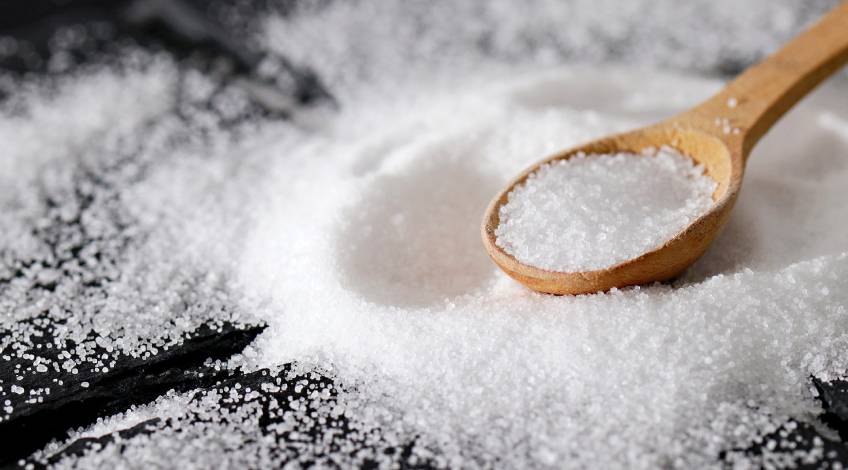
Step 3: Add The Salt And Wait
Pour enough table salt to cover the bottom of your pan evenly. Give it a gentle shake to distribute the salt, then let it cook for several minutes. The salt will gradually turn from white to a golden brown colour that resembles light brown sugar.
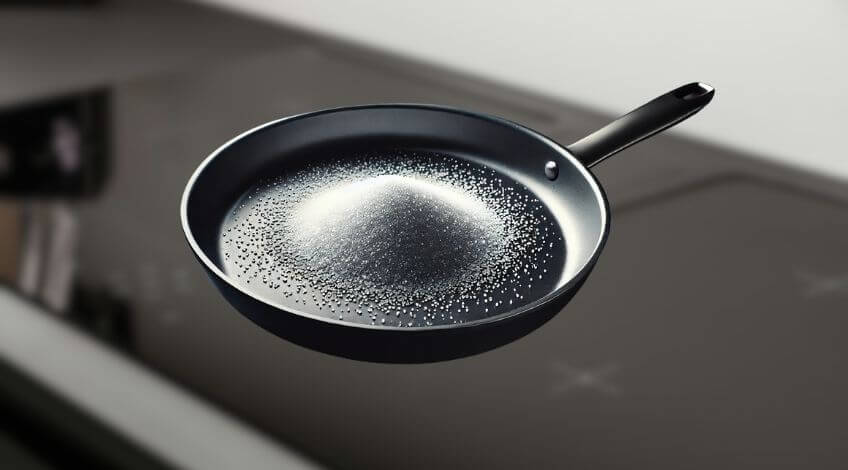
This colour change is your cue that the process is working. The salt is absorbing oils and residue while the heat helps break down stubborn buildup. Don’t rush this step: patience gives better results.
Step 4: Clean Up And Test
Once your salt has turned golden brown, remove the pan from heat and carefully dispose of the hot salt. Use a thick wad of paper towels to wipe out any remaining salt particles, being mindful that the pan will still be very hot.
Now comes the moment of truth: test your pan with a small amount of oil or butter and cook an egg. This will quickly show you whether the hack has made a meaningful difference to your pan’s performance.
My Experience: Does The Salt Hack Actually Work?
I tested this method on a nonstick pan that had become increasingly frustrating to use. Before the treatment, making pancakes was a proper nightmare, with batter sticking despite generous amounts of butter. Cheese toasties were equally challenging, often leaving bits of bread welded to the surface.
Following the method exactly as described, I heated my pan until water droplets danced across the surface, then added a generous layer of salt. The transformation from white to golden brown took about four minutes, during which the kitchen filled with a slightly toasty aroma.
After cleaning out the salt, I tested the pan with a simple cheese toastie using just a small amount of butter. While it didn’t release as effortlessly as it would have when new, I could flip it cleanly without any sticking. More importantly, when I made a batch of drop scones later that day, they lifted off easily without leaving half their surface behind.
The improvement was noticeable but not miraculous. My pan went from being frustratingly difficult to use to reasonably functional again. For a technique that costs pennies and takes about ten minutes, that’s actually quite impressive.
When The Salt Hack Works Best
This technique shows the most promise on pans with mild to moderate wear rather than severely damaged cookware. If your nonstick coating has visible scratches but isn’t completely worn away, you’re more likely to see meaningful improvement.
The hack works particularly well for pans that have become sticky due to oil buildup rather than physical damage to the coating. Over time, cooking oils can polymerise on the surface, creating a tacky layer that interferes with the nonstick properties. Salt helps break down these deposits.
For busy households looking to extend the life of their cookware without constantly replacing expensive pans, this method offers a practical solution. It’s especially useful for those who cook regularly and need their pans to perform reliably day after day.
When To Skip The Salt Hack And Buy New
If your pan’s nonstick coating is visibly peeling, flaking, or completely worn through to the base metal, no amount of salt will bring it back. At this point, the coating isn’t just ineffective: it could potentially be unsafe as small particles might end up in your food.
Deep gouges or scratches that go right through the nonstick surface are also beyond salvaging with this method. The salt hack addresses surface buildup and minor wear, not structural damage to the coating itself.
Similarly, if your pan is warped from overheating or has a damaged handle, it’s time to invest in replacement cookware rather than trying temporary fixes.
Tips For Better Results With The Salt Method
Use regular table salt rather than coarse sea salt or rock salt. The finer texture provides more even coverage and heating, which leads to better results across the entire pan surface.
Make sure your kitchen is well ventilated during the process. While the salt doesn’t produce harmful fumes, the heating process can create steam and slight smoke that you’ll want to clear away.
Don’t be tempted to speed up the process by using maximum heat. Medium high to high heat gives you better control and prevents the salt from burning before it has time to work properly.
After completing the hack, season your pan lightly with a small amount of oil to help protect the surface. This isn’t essential, but it can help maintain the improved performance for longer.
Alternative Methods For Reviving Nonstick Pans
If the salt hack doesn’t deliver the results you’re hoping for, there are other techniques worth trying. A paste made from bicarbonate of soda and water can help remove stubborn residue when applied gently with a soft cloth.
White vinegar heated in the pan for a few minutes can help break down mineral deposits and oil buildup. Let it cool, then wash normally with washing up liquid.
Some people swear by the “seasoning” method used for cast iron pans: coating the surface with a thin layer of oil and heating it until it polymerises. This can create a temporary nonstick layer, though it won’t last as long as a proper coating.
The Reality Check: Managing Your Expectations
The salt hack isn’t going to transform your battered old pan into something that performs like new cookware. What it can do is improve functionality enough to make the pan usable again, buying you time before you need to replace it.
Think of this technique as first aid for your cookware rather than a complete restoration. It’s a temporary fix that can extend the useful life of a pan by several months, which is valuable for budget conscious households.
The method works best as part of regular pan maintenance rather than a last ditch rescue attempt. If you catch the problem early and use the salt hack before your pan becomes completely unusable, you’ll get better and longer lasting results.
Is The Salt Hack Worth Your Time?
For the minimal cost and effort involved, the salt hack is definitely worth trying before you bin a sticky nonstick pan. Even if it only provides a modest improvement, that could be enough to make the difference between functional cookware and kitchen frustration.
The technique is particularly valuable for anyone trying to reduce household waste or stretch their kitchenware budget. Getting even a few extra months of use from a pan justifies the ten minutes and handful of salt required.
Share this with anyone in your life who’s been cursing their sticky pans lately! Drop a comment if you’ve tried this hack yourself, we’d love to hear about your results.
SEE ALSO: Hand-Washing Your Clothes? Avoid These Easy to Make Mistakes
Also, follow us on Pinterest ...


