
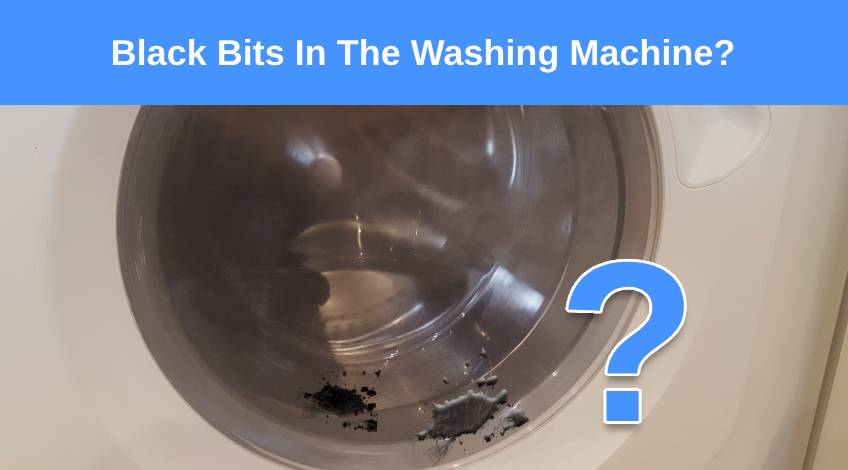
Black Bits In The Washing Machine? (here’s why & what to do)
Ever opened your washing machine to find mysterious black bits lurking in the drum? Don’t panic – you’re not alone!
Those unsightly flakes might be a combination of dirt, detergent and fabric softener residue, mould, grease, and bacteria. The good news is that for most cases, the remedy is simple: a hot maintenance wash.
However, there are instances where these black flakes could indicate a more serious problem, such as an oil leak in your washer. If that’s the case, it’s wise to consult a professional technician to prevent further damage to your trusty appliance.
Now, let’s have a deeper look into the reasons behind the appearance of the black bits, and ways on how to deal with them on your own.
Reasons Why There Are Black Bits In Your Washing Machine
A washing machine’s primary job is to clean our garments, but it’s no surprise that it might get a bit dirty in the process.
Here are the possible culprits for those black bits:
Cold Wash Cycles
Modern appliances often boast “eco-washes” that use lower temperatures. If you’re a fan of these energy-saving cycles, beware: dirt and residue can accumulate, leading to the appearance of black bits in your washing machine.
Detergent And Fabric Softener Residue
Over time, leftover detergent and fabric softener can harden in your washer’s drum and detergent compartment. As these substances accumulate, they may turn to black flakes that are usually found in your washer’s drum and detergent compartment.
Too Much Use Of Detergent
Using too much detergent is not recommended by manufacturers and will not clean your fabrics better! Instead, it will leave specs on your clothing and waxy residue on your washing machine.
Grease And Dirt From Clothing
Clothes with grease stains or dirt can leave remnants in the wash cycle, resulting in the appearance of black bits.
Mould, Mildew, And Bacteria
The damp environment inside washing machines is a breeding ground for mould, mildew, and bacteria, which can produce dark-coloured particles contaminating your laundry.
NOTE: Only washing clothes in cold water also contributes to mould and mildew growth.
Limescale And Mineral Deposits
Living in a hard water area? Limescale and mineral deposits can accumulate in your washing machine, breaking down over time and creating black particles.
Lint Buildup
Lint from clothes, especially those made of natural fibres, can clump together and turn into black bits, finding their way onto your garments.
Worn Or Damaged Parts
Worn or damaged parts, particularly those made with plastic or rubber materials, can release black particles into the wash.
Oil Leak
In rare cases, an oil leak from the washing machine’s motor or other components can result in black bits on your clothes. If this is the case and you also see oil leaks under your washer, it’s best to call a professional to deal with the issue.
Ways To Remove The Black Bits In Your Washing Machine
Now that we’ve identified the culprits, it’s time to address the issue head-on.
Here are effective ways to get rid of those black bits:
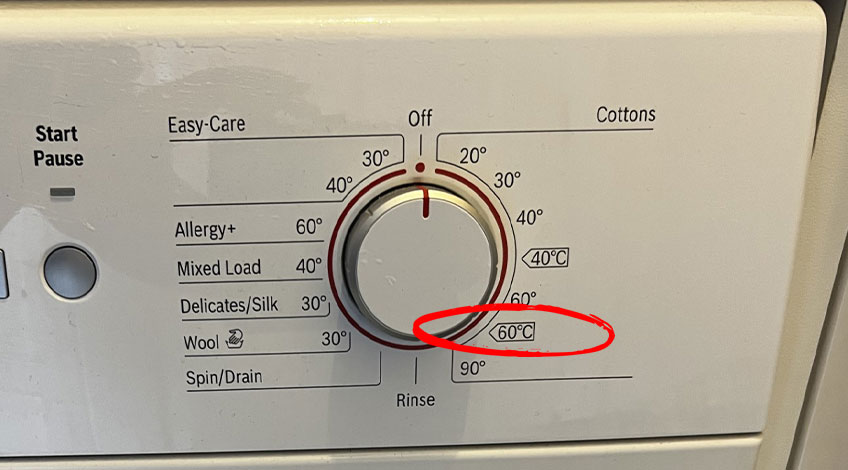
Deep Clean Using Hot Water
Solution for: Residue from cold washes, detergent and fabric softener, mould and mildew, limescale and mineral deposits, and grease or dirt remnants.
Deep cleaning your washing machine is a very effective way to remove black residue.
Running an empty cycle with hot water (around 60° Celsius) for the longest time possible will help clean your machine and flush away accumulated residues and contaminants.
Once the cycle is complete, inspect the inside of the machine, especially its drum. Run another empty cycle if it’s been a long while since your last clean. After all, some residue can be stubborn and challenging to remove.
NOTE: Check the user manual and see if your machine has a service wash programme. Follow the instructions on how to use it and your machine will be just like new.
SEE ALSO: How To Run A Clean Cycle On A Washing Machine
Using Shop-Bought Cleaners
There are several washing machine cleaners that specialise in removing stubborn mould, mildew, and detergent residues.
Here are effective cleaners you may want to look into:
Dr. Beckmann Washing Machine Cleaner
Dr. Beckmann Tablets are said to target and break down residue and mineral buildup in the washing machine.
No products found.
Dettol Washing Machine Cleaner
Dettol’s cleaner is said to kill 99.9% of bacteria and remove limescale and dirt.
No products found.
Calgon Washing Machine Tablets
Calgon tablets are said to protect against limescale buildup and improve detergent effectiveness.
No products found.
NOTE: Make sure to read the packaging of the product for the instructions! Some cleaners may need to be put in the detergent dispenser while some are directly put in the drum.
SEE ALSO: Do I Need To Use A Descaler In My Washing Machine?
Using White Vinegar
White vinegar contains acidic properties that make it an excellent natural cleaner.
And, it’s very simple to use. All you have to do is put 1-2 cups of white vinegar in the fabric softener compartment of your detergent drawer.
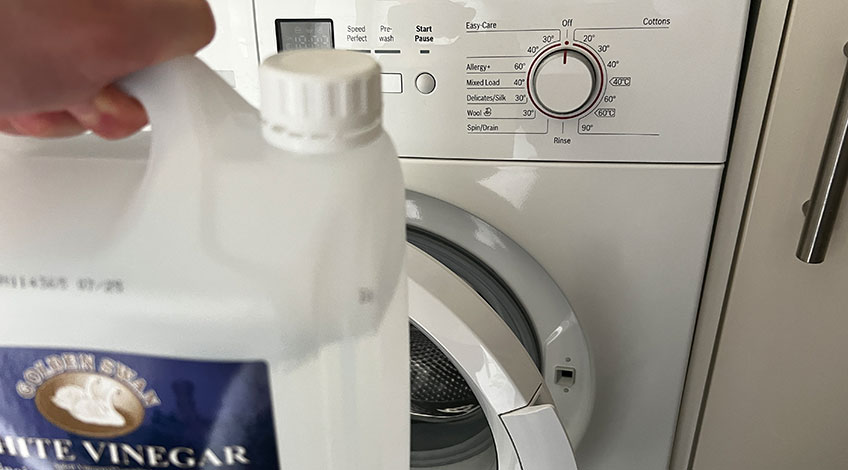
Then, run an empty cycle using the longest and hottest temperature. Once done, do a second empty cycle without the vinegar to remove any acidic residue. Wipe the drum dry using a clean microfibre cloth.
NOTE: Although bleach is an extremely powerful cleaning agent, it’s best to use milder or natural products as it contains harsh chemicals that may damage your appliance in the long run.
Using Bicarbonate Of Soda
Bicarbonate of soda is not just for baking! Because it has a high pH level, it can be used to clean the drum, tackle mould, and even neutralise odours.
Just put a half or whole cup of bicarb soda in the washer’s drum. Then run a long and empty hot wash cycle. Once done, wipe the drum dry with a clean microfibre cloth. Repeat if necessary.
Clean The Detergent Drawer
Solution for: Residue from detergent and fabric softener, mould and mildew.
The residue of detergent and fabric softener will likely harden in and under the compartment. Hence, it’s important to give it a clean now and then to prevent scum buildup and awful smells.
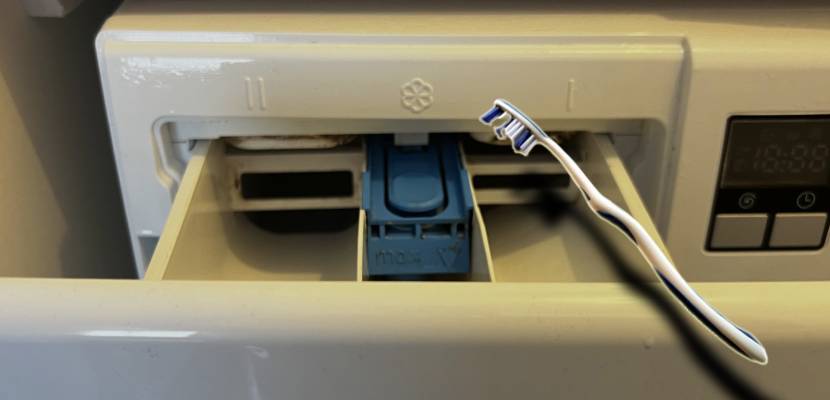
If the detergent drawer cannot be removed
Mix a solution of equal parts white vinegar and warm water, then put it inside a spray bottle. Spray the solution on the surface of the drawer, and gently scrub using a soft-bristled brush. Once done, wipe with a damp microfibre cloth and dry before closing.
If the detergent drawer can be removed
Remove the drawer, then, put it under warm running water and use a soapy sponge to gently scrub around the surfaces. Rinse and allow to dry. Make sure to clean the area around the drawer, such as its sides and the space around it before replacing it in the machine.
NOTE: Read the user manual for specific instructions on how to clean your detergent drawer. After all, not all models are the same.
Clean The Agitator (For Top-Loading Machines)
Solution for: Residue from cold washes, detergent and fabric softener, mould and mildew, limescale and mineral deposits, and grease or dirt remnants.
Top-loading washing machines have centre agitators that easily withhold and trap dirt and residue. Unfortunately, cleaning an agitator can be quite tricky, as you may need to disassemble parts of your washer.
If you’re not confident, always seek the assistance of a professional technician to prevent damage to your machine!
Read the user manual for instructions on whether it’s possible to remove the agitator cap. If not, do not attempt to remove it and wipe your drum and around the agitator cap with mild soap and water instead.
If you have a machine that has a removable agitator cap, follow instructions on how to do so. Then, wipe the inside of the agitator with a damp cloth and mild soap.
NOTE: Don’t be surprised to see the gunk under your agitator! There can be hair, dirt, and even coins that make their way into the space.
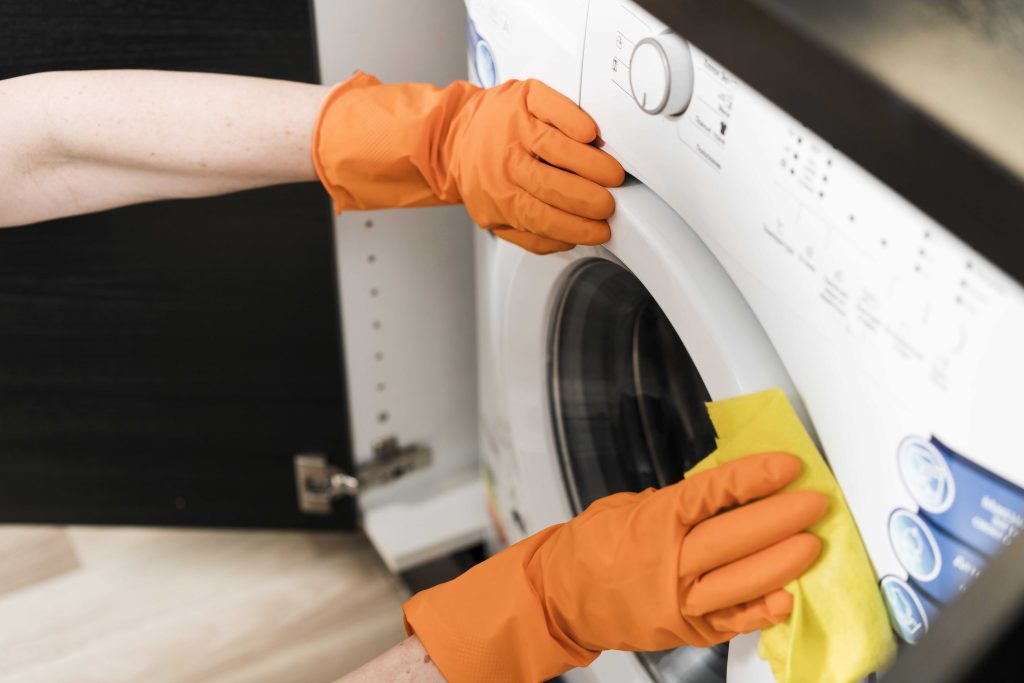
Clean The Door Seal
Solution for: Residue from cold washes, mould and mildew, limescale and mineral deposits, and grease or dirt remnants.
In most washing machines, doors have a rubber seal that’s extremely prone to mould, mildew, and bacterial growth.
WARNING: Before anything, wear gloves to avoid direct contact with the mould and mildew that may irritate your skin.
Using a natural disinfectant such as white vinegar can effectively stop fungal growth in the machine. Mix a solution of equal parts white vinegar and warm water, then put it inside a spray bottle.
Spray all areas generously and allow the solution to sit for 10-15 minutes. Then, use a soft sponge or microfibre cloth to gently wipe the solution on the surface of the gaskets. For hard-to-reach areas, use a soft-bristled brush.
SEE ALSO: What Is A Washing Machine Gasket? (& how to clean, maintain & replace it)
Clean The Lint Filter
Solution for: Residue from lint buildup, mould and mildew, limescale and mineral deposits, and grease or dirt remnants.
When lint filters have not been cleaned for a while, the lint can get stuck everywhere, from your washer’s drum to vents, and other areas where it shouldn’t be. Washers often have their lint filters in the agitator for top loaders while it could be on the rim of the drum for front loaders.
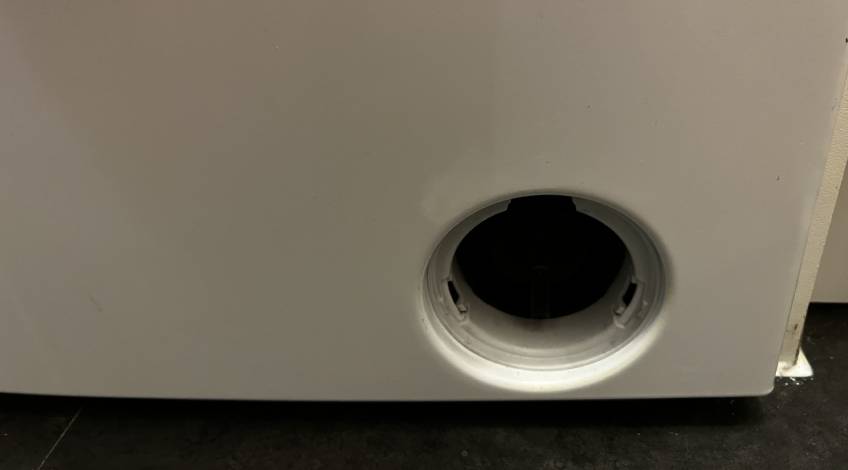
To clean the filter, remove it from the machine and soak it in warm, soapy water. Let it sit for 10-15 minutes, scrub with a soft-bristled brush, rinse under running water, and dry using a clean microfibre towel.
If you don’t have a removable filter, wipe lint and debris away using a clean microfibre cloth. Use a brush for hard-to-reach areas.
NOTE: Not all washing machines have a lint filter! If you have a High-Efficiency (HE) washer, it has its own specialised pump that removes lint in the wash cycle.
Replace Worn Or Damaged Parts
Solution for: Black bits due to damaged or disintegrating parts such as seals and rubbers.
Over time, seals and hoses will be the first to get damaged, especially since they’re made of rubber and plastic. Once they start to disintegrate, it’s time to have them replaced.

You can always get spare parts from your machine’s manufacturer. Just visit their website to see which shops are near your area, or you can also get them online.
How To Prevent Black Bits From Appearing Again
If you want to lessen your problems and make sure that you won’t have to deal with black bits in your washer again, this is totally possible.
As always, prevention is better than cure, especially if you want your washer to have a longer lifespan.
Here are some tips:
Do Regular Maintenance Sessions
It’s best to have a doable routine for keeping your machine in its best shape. This will include regular maintenance sessions, preferably once a month, such as cleaning the drum, gasket, and dispenser!
Just wipe your washer and perform hot washes to prevent the buildup of mould, mildew, and residues.
Inspect Clothes Before Washing
It’s important to check your clothes for excessive dirt, oils, or stains before tossing them into the machine. After all, the black bits may just be flakes from your old jacket or residue from damaged embellishments on your clothing.

Pre-treating heavily soiled items can prevent the release of black bits during the wash.
Air Your Washer’s Drum After Every Session
Keeping the washing machine door open after each use allows air circulation. This helps keep the drum dry and minimises the growth of mould and bacteria.
Leave your washer’s door ajar for at least an hour before completely closing it and allow the drum to ventilate.
Promptly Remove Laundry Once The Cycle Is Complete
Forgetting to remove damp laundry from your washing machine makes the environment moist, causing mould and mildew to grow exponentially.
Once the cycle is complete, remove your fabrics as soon as possible. This will also prevent unpleasant odours in your washer that could also transfer to your clothes.
Use The Appropriate Amount Of Detergent
To prevent the formation of black flakes in your washer, always use the appropriate amount of laundry detergent.
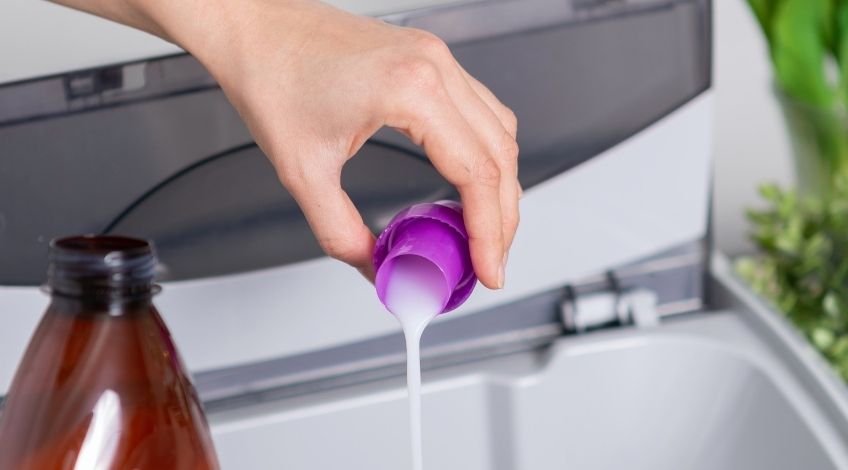
Follow the manufacturer’s recommendations for detergent usage. Using just the right amount helps prevent detergent residue buildup and reduces the likelihood of black bits in your laundry.
TIP: Using liquid variants instead of powders can also be beneficial in reducing the amount of residue in your appliance.
Switch To Natural Alternatives For Fabric Softeners
Using fabric softeners makes your clothes soft and smell awesome, but they can clog your washing machine, damage your clothes’ fabrics, and make your machine smell foul due to the residue if your washer isn’t cleaned regularly.
Thankfully, there are natural alternatives to shop-bought softeners that are not only effective, and cheaper, but also environmentally friendly. To name the top choices, white vinegar and wool dryer balls do a similar job while reducing the residue build-up in your washing machine.
Keep Your Washer Clean – Like It Does Your Laundry!
Discovering black bits in your washing machine can be a common issue with a variety of causes, ranging from residue buildup to worn-out parts.
The go-to solution for most cases is a thorough hot water cleaning cycle, effectively eliminating the pesky black flakes. However, it’s essential to address the root causes, such as detergent residue, lint buildup, or worn parts, to prevent it from happening again!
Remember, a little care and attention go a long way in ensuring your laundry (and washing machine) stays clean.
Do you have laundry tips to share? Feel free to leave a comment below!
Frequently Asked Questions
Black bits in your washing machine can result from various factors, such as detergent and fabric softener residue, dirt from clothes, mould, mildew, or even an oil leak. Identifying the cause helps determine the appropriate cleaning method.
To clean your washing machine effectively, run a hot maintenance wash with an empty drum using a washing machine cleaner or natural solutions like white vinegar or bicarbonate of soda. Regularly clean the detergent drawer, agitator (for top-loading machines), door seal, and lint filter to prevent black bits.
Effective washing machine cleaners include options like Dr. Beckmann Washing Machine Cleaner, Dettol Washing Machine Cleaner, and Calgon Washing Machine Tablets. Follow the instructions on the packaging and choose one that targets mould, mildew, and detergent residues.
While Eco washes save energy, they may contribute to black bits due to lower temperatures. Ensure to address residue buildup by occasionally running a hot maintenance wash to prevent the accumulation of dirt, detergent, and fabric softener.
High-Efficiency (HE) washing machines use less water and energy, typically have a front-loading design, and may require HE detergent. Regular washing machines are traditional top-loading or front-loading machines that use more water. The main distinction lies in efficiency and the type of detergent needed.
Also, follow us on Pinterest ...


