
Damaged Your Clothes When Removing Stains? Try this
Have you ever been in a situation where you’re trying to remove a stubborn stain from your favourite shirt, only to find out that the stain remover did more harm than good? You’re not alone!
Maybe the colour faded, or worse, the fabric got damaged. But fear not! While it’s a tricky situation, it’s not entirely unsolvable.
Let’s look into how you can mend your beloved garments and explore some handy tips to avoid future mishaps.
How To Fix Clothing That’s Been Damaged From Treating Stains
When treating stains, there are mainly two types of damage you might encounter.
First, the stain removal product itself, like bleach, can leave unsightly marks. This often results in uneven colouration, which can be as frustrating as the original stain.
Second, physical damage such as holes or tears can occur. This usually happens when too much product is used, it’s left on for too long, or the fabric is handled too harshly during the cleaning process.
Here are some methods you can use to fix your garment, depending on the kind of damage:
Fixing Bleach Stains
Clear Alcohol
One of the trickiest stains to deal with is bleach. If it’s not diluted properly, it can cause permanent discolouration. Of course, there may still be hope for your garment.
Clear alcohols, like gin or vodka, and even rubbing alcohol can be an effective solution!
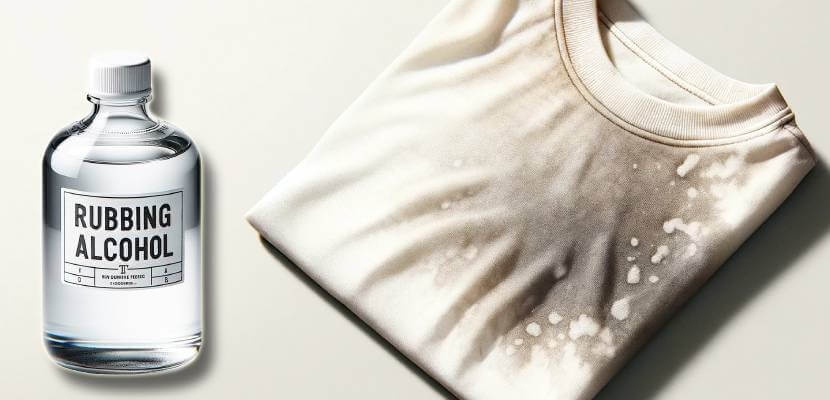
Before attempting any repair, rinse the affected area with cold water to remove any remaining bleach. Apply the alcohol gently on the stained area with a cotton wool ball. This method helps the surrounding dye to spread over the bleached area, making the stain less noticeable.
After this treatment, give your garment a normal wash.
Fabric Dye
For larger stains, fabric dye can be a lifesaver, as long as you can find a dye that matches your garment’s colour.
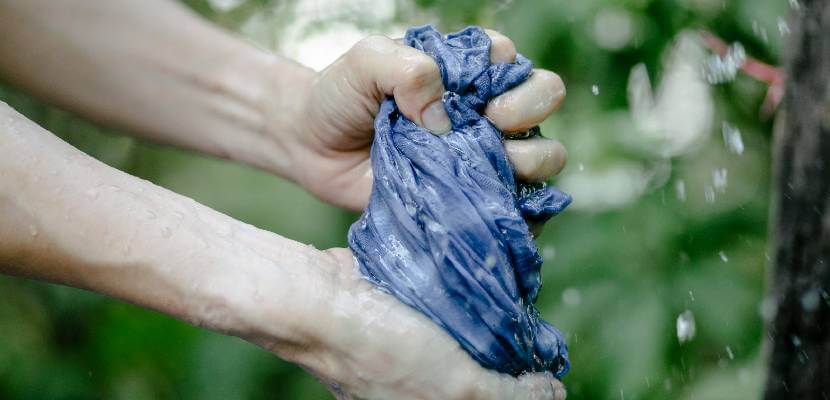
Carefully follow the instructions on the dye package, as different dyes have different application methods.
TIP: For a more uniform colour, first strip the entire garment of the existing dye using a colour remover, then apply the new dye.
Fabric Or Permanent Marker
If the stain is only small, a fabric marker may get the job done. This will work for basic coloured garments that are not difficult to match the shade. Just fill in the stained area with the marker and you’re done!
If your clothes are black, a permanent marker can work wonders, without you having to go to the shops to get a fabric marker.
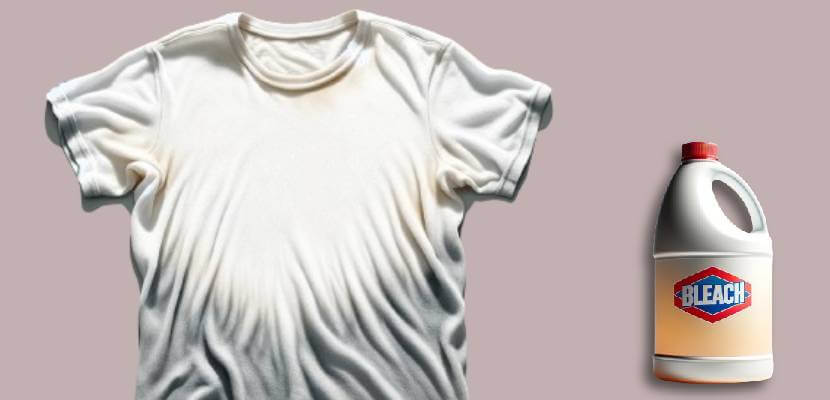
Bleach
Ironically, sometimes more bleach is the answer, especially for large stains.
Before anything, ensure that your fabric can handle bleach to avoid further damage.
When bleaching, protect yourself and your workspace. Dilute the bleach (one part bleach to four parts water), and pre-soak your garment in cold water for even absorption.
The duration your clothing should stay in the bleach solution depends on the fabric type and the colour you want to achieve. After bleaching, rinse thoroughly, wash with a mild detergent, and air dry.
WARNING: Bleaching can weaken fabric fibres, so this method should be used cautiously.
SEE ALSO: How to Bleach White Clothes (easy method)
Repairing Garments With Holes And Tears
When the clothing has been damaged to the point where there are holes or tears in it, you will need to be quite knowledgeable with sewing techniques to bring it back to its former glory.
If you really want to save your favourite garment, you can always try to patch the fabric.
All you need to do is get an iron-on patch if you want a quick fix. Most patches will last for years, but if you want a more permanent solution, sewing a patch would be better.
Iron-On Patch
Iron-on patches are a quick fix for holes.
TIP: Make sure to get a patch that will match or complement the colour and texture of your damaged clothing. These patches come in different shapes, materials, and of course, designs.
To use an iron-on patch, the first thing you have to do is ensure that your garment is clean and dry. Remove any dirt or oils that may interfere with the adhesion of the patch. Then, iron the area around the hole or tear to ensure that it is smooth and flat.
Then, do the following:
- Place the patch over the hole, ensuring it covers the hole completely. If the hole is large, you might want to place a piece of fabric behind the hole for extra support before placing the patch on top.
- Preheat your iron to the highest setting that is safe for the fabric of your garment. Avoid using steam, as dry heat is necessary for the adhesive to work effectively.
- Place a thin cloth or a piece of parchment paper over the patch to protect it and the garment. Press the iron down firmly over the patch for about 30-45 seconds. Move the iron around to ensure all parts of the patch are heated.
- Carefully peel up a corner of the patch to see if it’s sticking to the fabric. If it’s not, reapply the iron for another 10-15 seconds.
- Remove the iron and the protective cloth, and allow the patch to cool and set for a few minutes.
- Gently test the edges of the patch with your fingers to ensure it’s completely adhered to the fabric. If any edges are loose, reapply the iron.
- After the patch has cooled, check the adhesion one final time. If everything looks good, your garment is ready to wear!
Sewing A Patch
If you’re handy with a needle and thread, sewing a patch is a more durable option.
TIP: Choose a fabric patch that matches or complements your garment. The patch should be slightly larger than the hole or tear you’re covering.
- Clean and iron the garment to ensure a smooth working surface. If the fabric around the hole is frayed, trim any loose threads.
- If the patch isn’t pre-cut, size it so that it covers the hole or tear with at least a half-inch overlap on all sides. If the hole is large, you might want to place a piece of interfacing or similar fabric behind the hole for extra support before applying the patch.
- Place the patch over the hole or tear, making sure it’s centred and covers the damaged area completely. Pin the patch in place to keep it from shifting while you sew.
- Choose a thread that matches the colour of your patch or garment. Thread your needle and tie a knot at the end of the thread.
- Begin sewing from the inside of the garment to hide the knot. Use a sewing stitch that is appropriate for the fabric and the patch. Common stitches for this purpose include the straight stitch or blanket stitch.
- Sew around the edges of the patch, ensuring each stitch is small and close to the edge. Keep your stitches neat and even for a professional look.
- Once you’ve sewn around the entire patch, secure the thread with a few back stitches or a knot on the inside of the garment.
- Check the patch from both sides of the garment to ensure it’s securely attached and covers the hole or tear completely.
- Trim any excess thread and remove the pins. Iron the patched area once more for a neat finish.
TIP: If you know your way with needles, felting or darning may be a better solution, depending on the material you are working with.
How To Prevent Damaging Your Clothes When Removing Stains
As with most situations, prevention is better than cure.
Here are some ways to keep your clothes in their best condition when you’re removing marks and stains:
Wear White Or Old Clothes
When you’re removing stains from clothing, it’s important to wear either white or old clothes that you don’t mind getting dirty or damaged. After all, stain removal often involves the use of chemicals or products that can splatter or spill.
Wearing old clothes ensures that your good garments stay safe. If you choose white clothing, any accidental splashes won’t be as noticeable, and you can bleach them out later if necessary.
Prep Your Work Area
Before you start the stain removal process, prepare your work area to protect surfaces from spills or splashes. Lay down plastic sheets, old towels, or newspapers to cover the area where you’ll be working.
If you’re working on a delicate or expensive piece of clothing, place a piece of cardboard inside the garment to prevent the stain remover from seeping through to the other side.
Use Gloves And Other Protective Wear
Stain removers often contain harsh chemicals that can irritate your skin or cause allergic reactions. To protect yourself, wear rubber gloves when handling any stain-removal products.
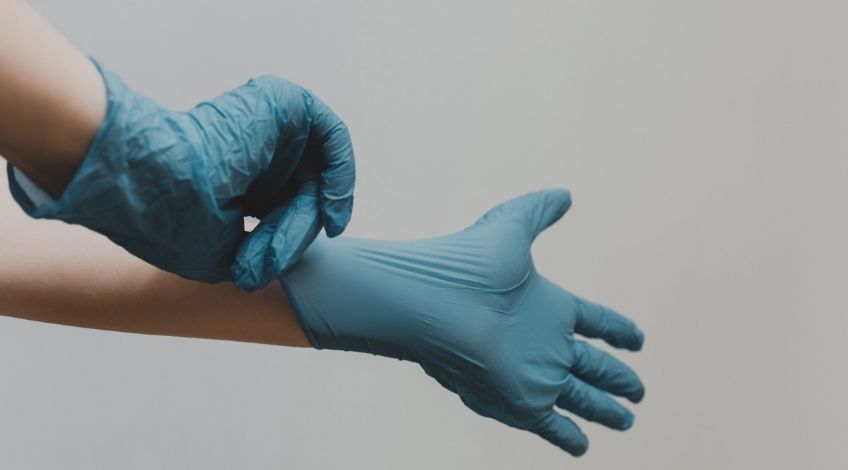
If you’re using a particularly strong stain remover or if you have sensitive skin, consider additional protective wear such as an apron and safety goggles.
Use The Recommended Amount Of Stain Remover (And Follow The Instructions!)
To avoid damaging your clothes, always use the recommended amount of stain remover. More is not necessarily better and can actually set the stain further or damage the fabric.
Read the instructions on the stain remover carefully and follow them precisely!
Different stains and fabrics require different treatments, so it’s important to use the correct method and amount of product for the specific situation.
Don’t Throw Your Clothes Away!
Accidentally damaging your clothes during stain removal can be disheartening. However, this doesn’t mean they’re beyond repair.
With some creativity and the right techniques, you can bring your damaged clothes back to life!
Do you have any questions or need further tips? Feel free to ask in the comments below!
SEE ALSO: Which Laundry Stains Can Lemon Juice Remove?
Frequently Asked Questions
To repair bleach-damaged clothes, you have a few options. You can use clear alcohol like gin, vodka, or rubbing alcohol to blend the colour around the bleached area, making the damage less noticeable. If the bleach stain is significant, fabric dye comes to the rescue, helping you recolour the garment. And for those small, pesky spots, a fabric or permanent marker can do wonders, especially on simple, solid-coloured clothes. In some cases, ironically, using more bleach in a controlled way can help even out large stains, though this should be done with caution.
Reversing the effects of bleach on clothes is challenging since bleach usually causes permanent colour removal. However, you can significantly minimise the appearance of bleach stains. Techniques like applying clear alcohol, using fabric dye, or touching up with a fabric marker can help blend or cover up the bleached areas, effectively making them less noticeable.
To remove stains from clothes at home, it’s best to address them as soon as possible. Pre-treat the stain with a suitable stain remover, then wash the garment according to the fabric’s care instructions. Using household items like bicarbonate of soda, vinegar, or lemon juice can also be effective, especially on fresh stains. Remember, the method can vary depending on the type of fabric and the nature of the stain.
To remove stains quickly, you’ll find that bicarbonate of soda and white vinegar are quite effective. These household heroes work wonders on various stains, especially when used promptly. Applying a mixture of bicarbonate of soda and water or dabbing a bit of vinegar directly on the stain before washing can lift the stain faster. For tougher stains, a combination of washing up liquid and hydrogen peroxide works miracles.
Yes, fabric markers are permanent on fabric. They’re specifically designed to withstand washing and everyday wear, making them a reliable tool for covering small discoloured spots or adding designs to your clothes. Just remember to let the ink dry completely before wearing or washing the garment to ensure the best longevity.
Also, follow us on Pinterest ...


