

Easy Way To Get Mould Off Your Washing Machine’s Rubber Seal
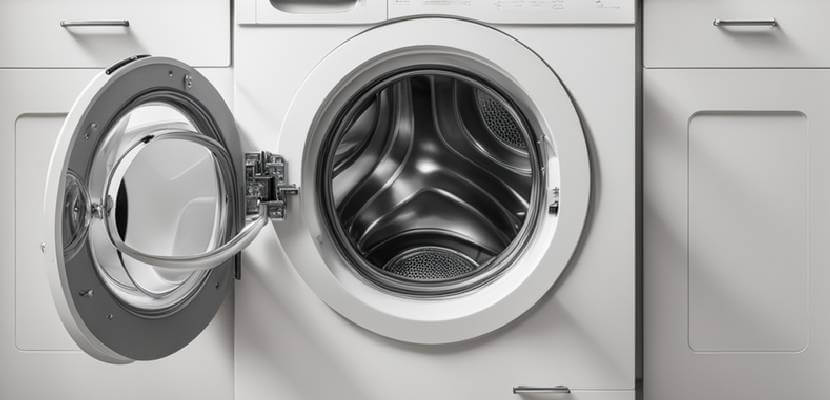
If you’ve noticed black stains around the rubber door seal (gasket) of your washing machine, you have a problem with mould. Mould spores are ever present in our water supply and they thrive in damp places. Washing machines are damp places especially if you always keep the washer’s door closed when it’s not in use.
The problem is that once the mould builds up, it can affect every wash load. You might start to notice your clothes don’t smell as fresh as they should after washing.
If you’ve started to notice mould growth on the door seal of your washer, or your laundry has an odd, bad smell, keep reading. In this article I will take you through all of the steps needed to remove mould from your washing machine’s rubber door seal.
How To Remove Mould From The Rubber Door Seal On A Washing Machine
It is important that you remove any black mould that has formed in your washing machine. We all know about cleaning the drum, detergent dispenser drawer and the lint filter and they’re important too.
But it’s essential that you remove any mould from the door seal (gasket) to prevent your laundry becoming smelly. To remove the mould from the door seal of your washer,
You Will Need;
- Hot Water
- Bucket
- White Vinegar
- Bicarbonate Of Soda
- Commercial Mould Remover
- Clean Cloth
- Soft Bristled Brush
Method
- Pre-Clean The Rubber Seal
Fill a bucket or bowl with hot water and add some washing up liquid. Dip a clean cloth in the solution and clean all of the rubber seal. Make sure that you get into all of the corners, cracks and crevices, and don’t forget to lift the rubber seal up and clean the underside as well. Rinse the cloth every time it gets dirty and you may need to replace the hot water and washing up liquid solution if it gets too dirty as well. - Clean The Seal Using White Vinegar
Make a 50/50 solution of white vinegar and hot water in a bucket and apply to the gasket using a clean cloth. As with the pre-clean, ensure you apply the vinegar solution to every part of the rubber door seal. Allow it to sit on the mould for 15 to 30 minutes. Then rinse off using clean water and a damp cloth. - Apply A Bicarbonate Of Soda Paste
If the white vinegar has failed to remove all of the mould patches, mix up a paste using equal amounts of bicarbonate of soda and warm water. Apply this paste to the mould stains and leave for 15 to 30 minutes. Then scrub using a soft bristled brush (an old toothbrush is ideal), rinse using clean water and a damp cloth. - Using Mould Remover
I’ve left this step to last because it’s often not needed. These commercial mould removers contain harsh chemicals which means you will need to wear protective gloves and be sure to work in a well ventilated area. Simply spray the mould remover onto the mould patches and work the spray into the stains using a cloth or soft bristled brush. Then remove using a damp cloth and warm water to remove the solution and any remaining mould. - Run A Hot Service Wash
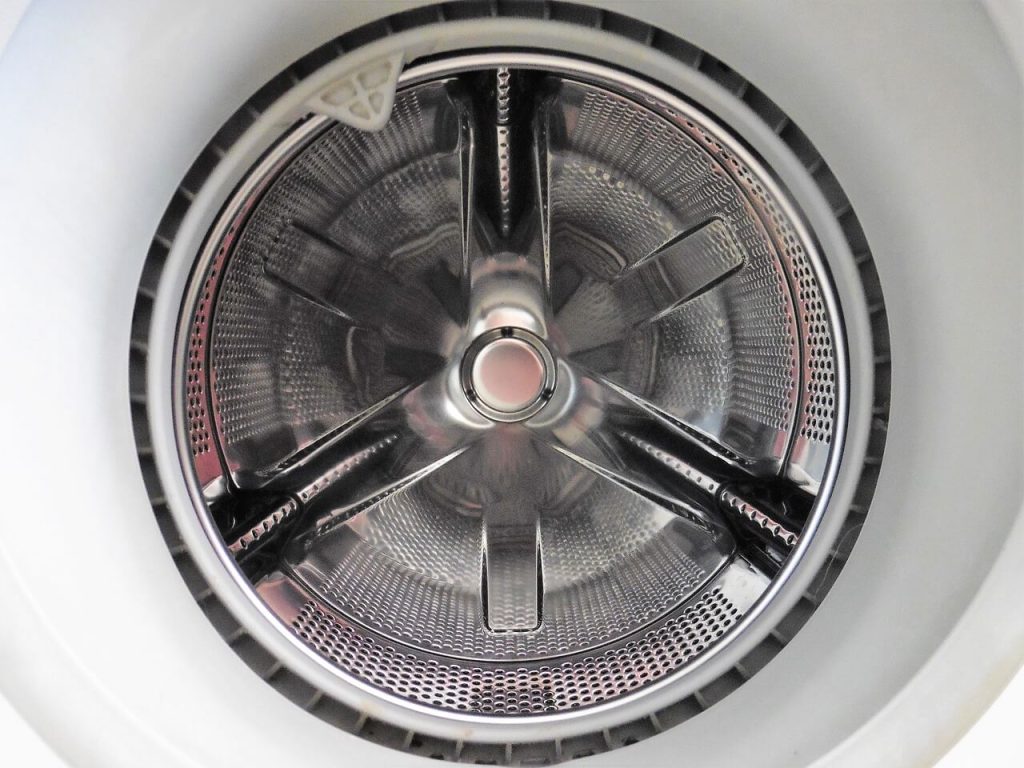
Your washing machine’s rubber door seal should now be mould free. All you need to do now is pour 2 cups of bicarbonate of soda into the empty drum and then add 2 cups of white vinegar to the detergent drawer and run the hottest wash on your machine (typically a 90o C wash). - WIpe The Door Seal Dry
Once the service wash cycle has completed, open the door and wipe the door seal dry using a clean, dry cloth. This will prevent any new mould spores from forming on the damp seal. - Leave The Washer Door Open
After every use, leave the washer door open as well as the detergent dispenser drawer. This allows air to circulate and dry out the damp places in your washing machine.
Why Use White Vinegar To Remove Mould From The Door Seal On The Washer?
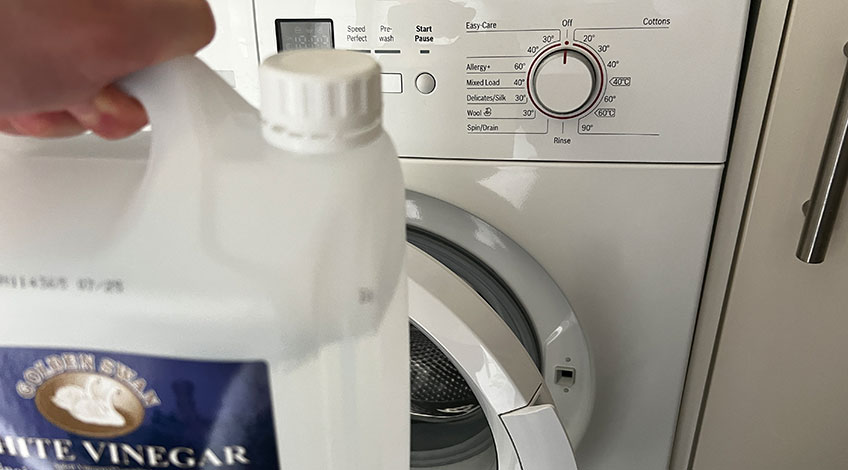
I prefer using white vinegar to remove mould because it kills mould more effectively than bleach. Bleach will only kill the surface mould spores whereas white vinegar penetrates deep into the rubber and kills the mould at its core.
Some people warn against using vinegar in washing machines saying that over exposure can cause damage to rubber seals, plastic pipes etc. However, these claims are not substantiated with any evidence and in some cases, the original articles that these claims come from were sponsored by certain cleaning products.
It is true that vinegar is acidic in nature and if you were to leave neat white vinegar on the rubber seal for a couple of weeks, it could cause problems. However, I use white vinegar diluted with water in a 50/50 mix.
Plus the white vinegar solution is washed away completely with fresh water to prevent any getting left behind. White vinegar has been used for years to remove mould and limescale without any ill effects at all.
How To Prevent Mould Build Up In Your Washing Machine
Once you have successfully removed all of the mould from your washing machine’s surfaces, there are a few steps you can take to prevent it from building up again. You should;
Remove Laundry From The Drum
Once the wash cycle has completed you should remove all laundry from the drum. Mould and mildew thrive in damp environments and wet laundry provides the perfect conditions for mould to grow.
It is also not a good idea to store dirty laundry in the washer’s drum either. This also encourages damp conditions especially if the items are left for a considerable amount of time.
Dry The Door Glass & Seal After Use
After removing the clean laundry from the drum of the machine, you should use a clean dry cloth to wipe down the door glass and door seal. This will help to keep this area dry and free from mould.
It also allows you to clean any detergent residue that could also promote mould growth.
Leave The Door Open When Not In Use
When the washer is not in use, you should always leave the door open as well as the detergent dispenser drawer to allow air to flow through the appliance.
This will naturally dry any wet areas which helps prevent mould from forming.
Run Regular Hot Wash Cycles
One of the main reasons why mould forms in washing machines is because of low temperature wash cycles. We are all encouraged to use low temperature wash cycles with many washes recommended at 40o C or even 30o C or 20o C.
These low temperature cycles are great for the environment and for energy saving. But they don’t remove many germs, bacteria or mould spores.
Washing at temperatures of 40o C or below often leaves behind detergent residue which creates the perfect base for mould to grow. All you need to do is run a hot wash every now and again.
Towels for example can often be washed at 60o C (check the wash care label), but even if you don’t have anything that can withstand a high temperature wash, you should run a hot service wash at least once a month.
Many modern washing machines can only heat to 60o C, and if yours is one of these, that’s fine. However, if your machine has a 90o C option, run this with an empty drum once a month to remove germs, bacteria and mould spores.
SEE ALSO:
Frequently Asked Questions
If the rubber seal on your washing machine is black it is caused by mould. Mould thrives in damp places and the rubber seal around a washing machine’s door is the ideal place for mould to grow.
You can remove black mould from the washing machine seal by pre-cleaning the seal using warm soapy water and a soft cloth. Then apply a mixture of white vinegar and hot water (50/50 mix) and allow to soak for around 30 minutes. Then rinse off using fresh water.
You can prevent black mould from forming on the rubber door seal of your washing machine by drying the glass door and rubber door seal with a dry cloth after every use. You should also leave the door and detergent dispenser drawer open when the machine is not in use to allow air to flow through and dry the machine naturally.
Also, follow us on Pinterest ...


