

How To Easily Remove Black Mould From Silicone Sealant
Imagine this: You’re unwinding in a warm, soothing bath, enjoying a moment of peace, until your eyes land on something unsightly. That dark, unwelcome guest clinging to the edges of your bathtub or shower? Black mould!
Not only is it an eyesore, but it can also pose health risks, particularly for those with respiratory problems. But don’t worry, we’ve got you covered!
This brief guide will walk you through why mould loves silicone sealant, how to banish it for good, and, most importantly, how to stop it from coming back. Let’s get started!
Why Does Black Mould Grow On Silicone Sealant?
You’d think silicone sealant, with its waterproof properties, would be mould resistant, right? Unfortunately, over time, sealant can loosen or peel away from surfaces, allowing water to seep behind and create the perfect environment for mould to thrive.
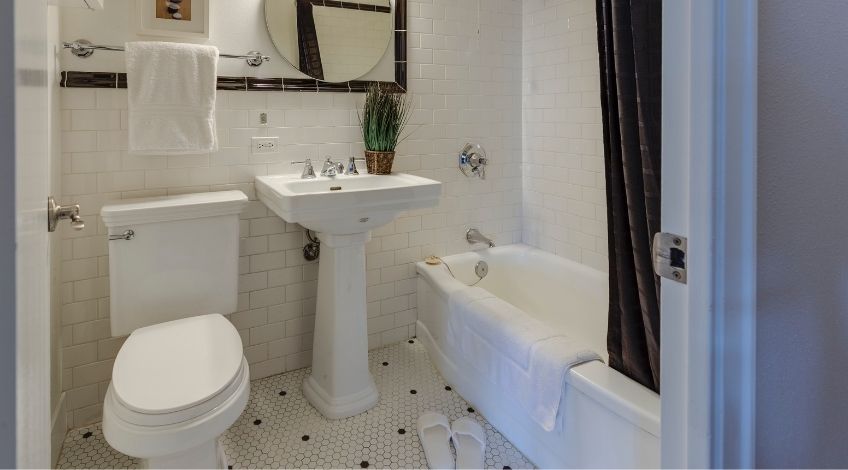
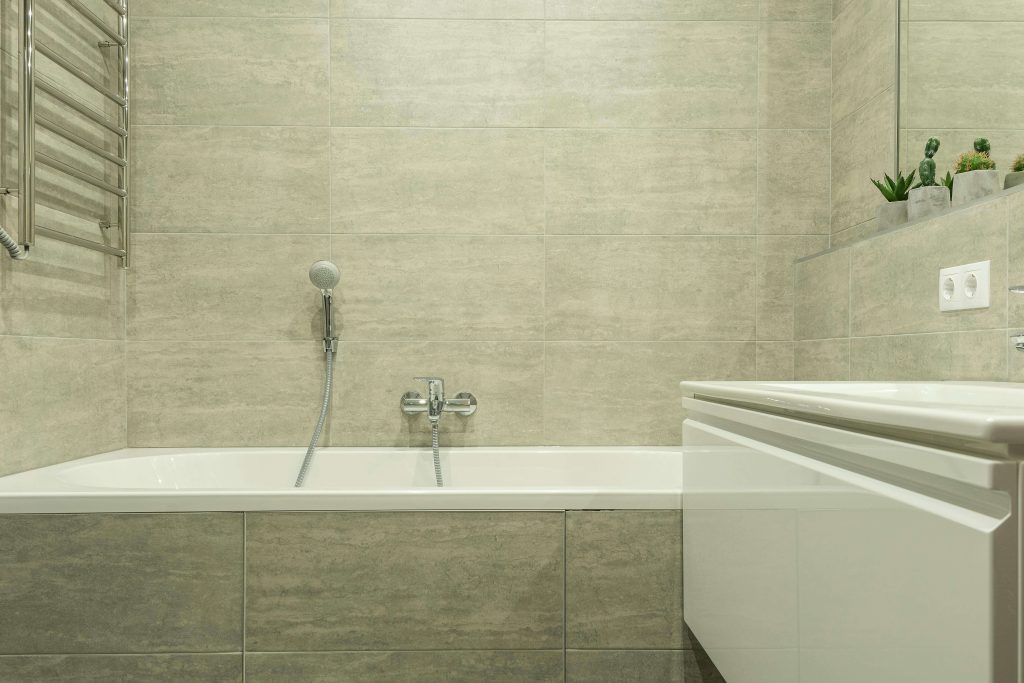
Bathrooms, with their warm, humid atmosphere, are a paradise for these stubborn spores. If moisture isn’t wiped away, those tiny spores settle in, and before you know it, black mould takes over.
How To Remove Black Mould From Silicone Sealant
When it comes to tackling black mould, you have two choices: a natural remedy or a chemical based cleaner. Whichever method you choose, always protect yourself, wear gloves and a mask to prevent inhaling mould spores.
Natural Method (Vinegar & Bicarbonate of Soda)
Let’s start with the natural solution first;
- Treat The Mould
Apply undiluted white vinegar directly onto the affected sealant. For a milder solution, mix two parts vinegar to one part water. - Allow The Vinegar Treatment Time To Work
Let it sit for 30 minutes (or overnight for heavy mould growth). - Remove The Mould
Using a soft cloth or old toothbrush, scrub the area in circular motions to lift the mould. Then rinse and wipe clean. - If That Doesn’t Work, Bring Out The Reinforcements!
For stubborn mould, mix vinegar with bicarbonate of soda to form a thick paste. Apply it, leave overnight, then scrub and rinse.
Chemical Method (mould remover or bleach)
If you prefer to use a chemical solution, this is how to do it;
- Select Your Chemicals
Choose a commercial mould remover or diluted bleach. - Follow The Manufacturer’s Guidelines Carefully
Apply to the affected area and leave it to work for the recommended time. - Remove The Product & The Mould
Wipe clean and rinse thoroughly.
For particularly stubborn spots, cover the solution with cling film or a cloth to keep it in place while it works.
If the mould is particularly stubborn and refuses to budge, you may need to cut out and replace the silicone sealant entirely.
How To Prevent Mould From Returning
The best way to deal with black mould? Stop it before it starts! Here’s how:
- Use An Extractor Fan
Whether it turns on with the light or manually, always use it to remove steam and humidity. Clean it regularly so it works efficiently. Want an upgrade? Try a humidity sensing extractor fan for automated moisture control! - Open A Window
Speed up moisture removal by cracking open a window after your bath or shower. If this isn’t enough, consider using a dehumidifier (opt for an absorbent one if you don’t want to deal with electricity in a wet space). - Wipe Surfaces Dry
After every bath or shower, take a moment to dry off wet surfaces. This removes the damp conditions mould needs to grow. - Try Anti-Mould Sealant
Some anti-mould silicone sealants claim to resist mould growth. If you’re reapplying sealant, it may be worth trying one of these products.
Keep Your Bathroom Mould Free
Black mould may be a stubborn intruder, but with the right approach, you can remove it and keep it from coming back. By making a few simple changes to your bathroom routine, you can say goodbye to black mould for good!
Like this guide? Pin it for later and share it with friends who need a sparkling clean mould free bathroom!
SEE ALSO: Easy Way To Get Mould Off Your Washing Machine’s Rubber Seal
Also, follow us on Pinterest ...


