
The Right Way to Clean Stainless Steel Pots
Staring at burnt residue stuck to the bottom of your favourite stainless steel pot and wondering how to tackle it without causing permanent damage? You’re not alone. Whether you’re a keen home cook who relies on stainless steel for perfect sears and even heating, or someone trying to keep their cookware investment looking pristine for years to come, knowing the right cleaning techniques can save you both time and money.
The truth is, most people unknowingly damage their stainless steel pots with harsh scrubbing, wrong cleaning products, or improper techniques that leave permanent scratches and dull spots.
But here’s the good news: with the right approach, you can restore even the most stubborn burnt on messes whilst keeping that mirror like finish intact. These proven methods will help you maintain your cookware’s performance and appearance without the guesswork that often leads to expensive replacements.
1. Let Your Pots Cool Down Completely Before Cleaning
Never rush straight from hob to sink! Plunging hot stainless steel into cold water is one of the fastest ways to warp your pots permanently. This thermal shock can cause the metal to expand and contract rapidly, leading to uneven surfaces that affect cooking performance.
Allow your pots to cool naturally to room temperature before starting any cleaning process. This might take 10 to 15 minutes, but it’s worth the wait to preserve your cookware’s shape and integrity. Use this time to prepare your cleaning supplies or clear up other kitchen tasks.
2. Start With Simple Soap And Warm Water
For everyday cleaning without stubborn residue, warm soapy water is often all you need. This gentle approach keeps your stainless steel looking brilliant without unnecessary harsh treatments that can dull the surface over time.
Fill your pot with warm water and add a few drops of washing up liquid. Let it soak for a few minutes to loosen any food particles, then use a soft sponge or cloth to wipe clean. This method works perfectly for maintaining pots that are used regularly but don’t have serious buildup.
3. Use The Boiling Water Method For Stubborn Food
When food is really stuck on, let physics do the heavy lifting instead of aggressive scrubbing. Add about an inch of water to your stained pot and bring it to a gentle boil on the hob. The steam and heat will naturally loosen burnt on bits without any elbow grease required.
While the water simmers, use a wooden spoon or silicone spatula to gently nudge stubborn pieces loose. The combination of heat and moisture softens even the most persistent residue, making removal effortless. Once cooled, the loosened food will wash away easily with normal washing up.
4. Try White Vinegar For Water Spots And Mineral Buildup
Hard water leaves those annoying cloudy spots that make even clean pots look grimy. White vinegar’s natural acidity cuts through mineral deposits without scratching, restoring that showroom shine that makes your kitchen look professional.
Mix equal parts white vinegar and water in your pot, bring to a gentle simmer, then let it cool completely. The acidic solution dissolves limescale and water spots naturally. Rinse thoroughly with clean water and dry immediately with a soft towel to prevent new water spots from forming.
5. Make A Bicarbonate Of Soda Paste For Tough Stains
For serious discolouration or burnt on grease, bicarbonate of soda creates a gentle abrasive that cleans without scratching. This household staple is perfect for those stubborn stains that resist other methods whilst being completely safe for regular use.
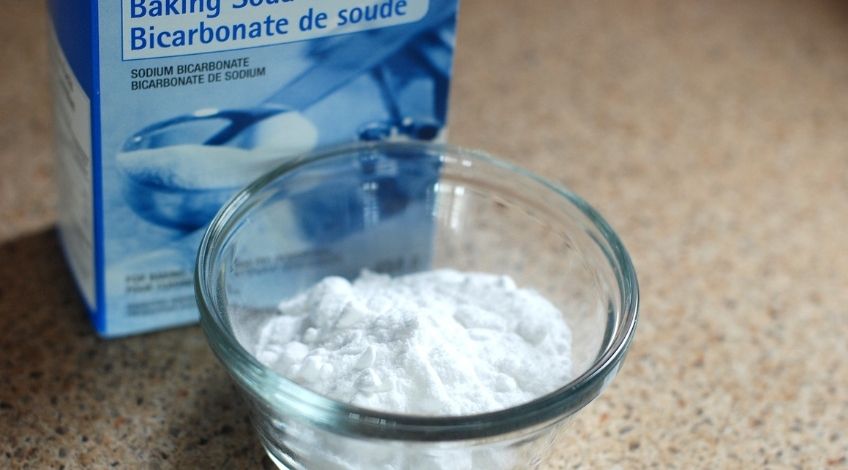
Mix bicarbonate of soda with just enough water to create a thick paste. Spread this over stained areas and let it sit for 15 to 20 minutes. The alkaline properties help break down greasy residues whilst the fine texture provides gentle scrubbing action when wiped away with a soft cloth.
6. Use Bar Keepers Friend For Professional Results
This oxalic acid based cleaner is specifically designed for stainless steel and delivers restaurant quality results at home. It’s particularly effective on tough stains, heat discolouration, and mineral deposits that resist other cleaning methods.
Dampen your pot with water, then sprinkle Bar Keepers Friend over the surface. Work it into a paste with a soft cloth or sponge, focusing on problem areas. Let it sit for a minute or two, then rinse thoroughly. Always wear gloves and ensure good ventilation when using this powerful cleaner.
7. Never Use Steel Wool Or Abrasive Pads
This cannot be emphasised enough: steel wool and harsh scouring pads will permanently scratch your stainless steel surface! These scratches not only ruin the appearance but also create tiny grooves where bacteria and food particles can hide, making future cleaning harder.
Stick to soft sponges, microfibre cloths, or silicone scrubbers for all your cleaning needs. If you need more scrubbing power, use the bicarbonate of soda paste method rather than reaching for abrasive materials that will damage your investment.
8. Clean In The Direction Of The Grain
Stainless steel has a natural grain pattern, and cleaning with this grain rather than against it helps maintain the uniform appearance. This technique is especially important when using any cleaning paste or dealing with stubborn spots.
Look closely at your pot’s surface to identify the grain direction, then wipe and scrub following these lines. This approach minimises visible scratching and keeps your cookware looking consistent and professional throughout its surface.
9. Dry Immediately After Washing
Water spots are the enemy of that pristine stainless steel finish! Even after perfect cleaning, letting your pots air dry will leave mineral deposits that dull the surface and require extra cleaning later.
As soon as you’ve rinsed your clean pot, grab a clean, dry towel and thoroughly dry all surfaces. Pay special attention to the base and handle areas where water tends to collect. This simple step keeps your pots looking spotless and reduces the need for frequent deep cleaning.
10. Avoid The Dishwasher For Your Best Pieces
Whilst most stainless steel is technically dishwasher safe, the high heat and harsh detergents can gradually dull the finish and loosen handles over time. For cookware you want to keep looking new, hand washing is always the gentler option.
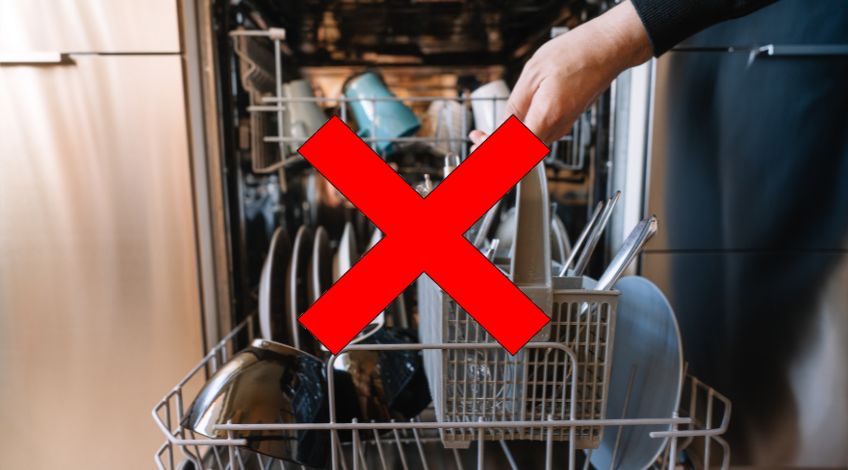
The intense heat cycles and strong dishwasher detergents can cause water spots, discolouration, and gradual wear that hand washing simply doesn’t create. Reserve the dishwasher for everyday pieces and treat your premium pots to the gentle hand washing they deserve.
11. Remove Heat Stains With Vinegar Solutions
Those rainbow coloured heat marks that appear after high temperature cooking aren’t permanent damage! They’re simply oxidation that can be removed with the right technique, restoring your pot’s original appearance.
Create a stronger vinegar solution using one part vinegar to one part water. Heat this mixture in the affected pot until it simmers, then let it cool completely. The acidic solution reverses the oxidation process, and the heat marks will disappear. Follow up with normal washing and immediate drying.
12. Use Lemon For Natural Shine And Fresh Scent
Lemon juice provides natural acidity similar to vinegar but with a fresh, clean scent that’s perfect for regular maintenance cleaning. This citrus approach is gentle enough for frequent use whilst being effective on light stains and water spots.
Cut a fresh lemon in half and rub it directly on your clean, damp pot. The citric acid brightens the surface whilst leaving a pleasant, natural fragrance. Rinse thoroughly with clean water and dry immediately for a brilliant, streak free finish.
13. Store Properly To Prevent Scratches
How you store your stainless steel pots affects their long term appearance just as much as how you clean them. Proper storage prevents the scratches and dings that happen when pots knock against each other in crowded cupboards.
Use pan protectors, soft cloths, or even paper towels between stacked pots to prevent metal on metal contact. Hang pots when possible, or store them with adequate space to avoid scratching. This simple prevention is much easier than trying to repair damage later.
14. Season Occasionally For Enhanced Performance
Whilst stainless steel doesn’t require seasoning like cast iron, an occasional light oil treatment can help maintain its non stick properties and appearance. This technique is particularly useful for pots used frequently for searing or high heat cooking.
After cleaning and drying thoroughly, apply a tiny amount of neutral oil (like vegetable or grapeseed oil) to a paper towel and wipe the interior surface. Heat the pot gently for a few minutes, then wipe away any excess. This creates a subtle protective layer that makes future cleaning easier.
Keep Your Stainless Steel Investment Shining
Maintaining beautiful stainless steel cookware isn’t complicated when you know these proven techniques. The key is choosing gentle methods that work with the material rather than against it, preserving both function and appearance for years to come.
Remember that prevention is always easier than repair. By using proper cleaning techniques from the start, you’ll avoid the scratches, stains, and dullness that make cookware look old before its time. Your stainless steel pots are an investment in your cooking success, and treating them with care ensures they’ll continue performing beautifully.
Most importantly, don’t let the fear of stubborn stains tempt you into harsh cleaning methods that cause permanent damage. These gentle but effective techniques will handle even the toughest cleaning challenges whilst keeping your cookware looking showroom fresh.
Share these tips with fellow cooking enthusiasts who care about maintaining their kitchen investments. After all, there’s nothing quite like the satisfaction of cooking with gleaming, perfectly maintained stainless steel!
SEE ALSO: This TikTok Oven Trick Will Change the Way You Clean Forever
Also, follow us on Pinterest ...


