

Wood Floors Covered In Salt Marks? This Quick Fix Actually Works
You know that sinking feeling when you walk into your hallway and see those horrible white streaks all over your lovely wooden floors? Yep, we’ve all been there. Winter might keep the pavements safe, but all that rock salt ends up making a right mess of our homes.
Here’s the thing though: you can get rid of those annoying marks completely using something you’ve probably got sitting in your kitchen cupboard right now. No need to spend a fortune on fancy cleaners or worry about permanent damage. Just a quick 10 minute fix and your floors will look brilliant again.
Why Your Floors Look Like A Salt Mine
Let’s be honest, winter is rough on our homes. Every time someone walks through the door, they’re basically bringing a mini snowstorm with them. When that salty slush melts off boots and shoes, the water evaporates but leaves behind all those crusty white deposits.
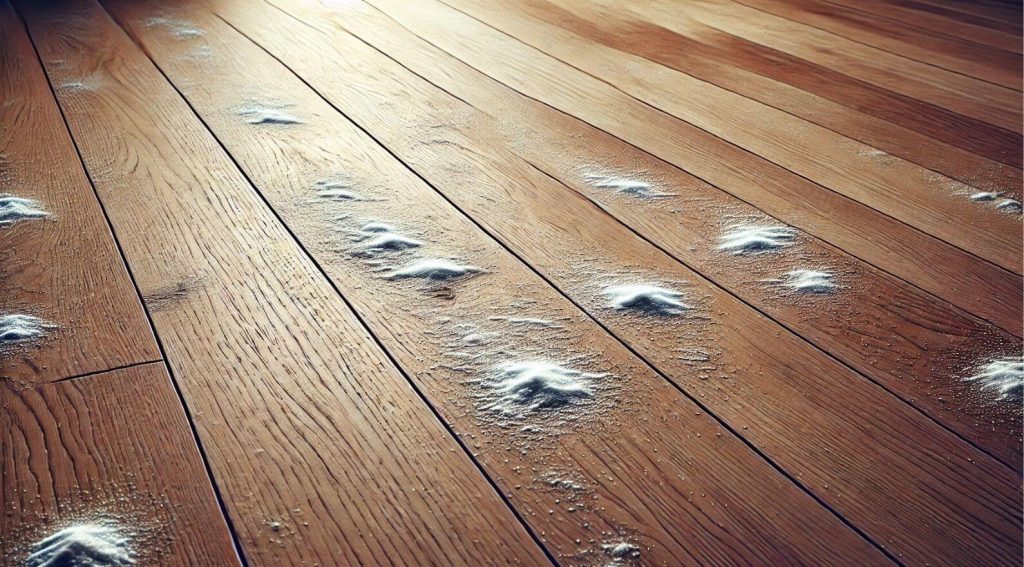
It’s not just about how awful it looks either. Salt is pretty harsh stuff, and if you leave it sitting there, it can actually scratch up your floor’s finish. Nobody wants that, especially if you’ve spent good money on nice flooring.
The trick is sorting it out quickly, but don’t panic if you’ve been ignoring those marks for weeks. This method works on old stains too.
Your Kitchen Cupboard Has The Answer
Ready for this? White vinegar. That’s it. The same stuff you use for chips is absolutely brilliant at dissolving salt without wrecking your floors.
You’ll Need
- A spray bottle (any size will do)
- White vinegar
- Warm water
- A couple of microfibre cloths
- Your vacuum
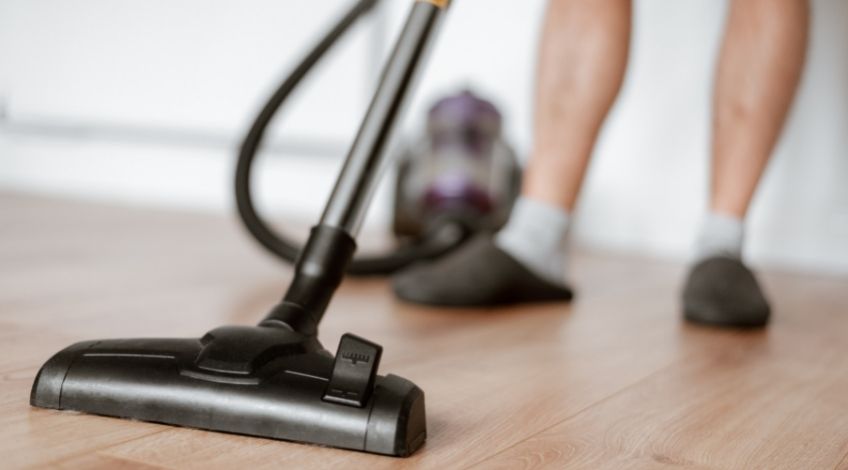
How To Do It: First, give the area a quick vacuum to get rid of any loose salt bits. You don’t want to be grinding those into your floor whilst you’re cleaning.
Mix about a tablespoon of vinegar with warm water in your spray bottle. Don’t go mad with the vinegar, you just need enough to break down the salt without being too harsh on your wood.
Getting Those Marks Gone For Good
Right, now that you’ve got your vinegar solution ready, it’s time to actually tackle those annoying white marks. The whole process takes about 10 minutes from start to finish, and once you see how well it works, you’ll wonder why you put up with those stains for so long.
Step 1: Clear The Decks
Move any furniture or rugs out the way so you can get to all the stained bits properly. There’s nothing worse than trying to clean around a coffee table only to discover more marks hiding underneath when you move it later.
Step 2: Vacuum First
This bit’s important. Any loose salt needs to go before you start with the wet stuff. Just use whatever setting you normally use for hard floors. Those gritty crystals will turn into scratchy paste once you add moisture, which is the last thing you want.
Step 3: Give It A Spray
Mist your vinegar mix over the salt marks. Don’t drench the floor, just a light spray that covers the stains. Too much water isn’t great for wood floors, so think gentle mist rather than soaking shower.
Step 4: Wait A Bit
Leave it for about five minutes. This gives the vinegar time to work on dissolving the salt. You might actually see the white marks starting to fade whilst you wait, which is always quite satisfying to watch.
Step 5: Wipe It Away
Get your damp microfibre cloth and gently wipe away the dissolved salt. Go with the grain of your wood if you can. For stubborn bits, you can press a bit harder, but no need to scrub like mad.
Step 6: Dry It Off
Straight away, use a dry cloth to mop up any leftover moisture. This stops water marks forming and keeps your floor’s finish looking good. Any dampness left behind can cause its own problems.
When To Call The Professionals
Most salt marks will surrender to your vinegar treatment without putting up much of a fight, but occasionally you’ll come across damage that needs expert attention. Knowing when to admit defeat and call in professional help can save you money in the long run.
Watch out for any boards that have started to warp, cup, or feel spongy underfoot. This means moisture has gotten underneath your flooring, which is a serious problem that needs immediate professional attention.
Your Salt Free Floors Are Just Minutes Away
Once you’ve got rid of those horrible white marks, you’ll want to keep them away. This vinegar trick is gentle enough to use regularly but tough enough for serious stains.
The secret is staying on top of it. A quick weekly treatment during winter stops the build up that turns into those stubborn marks. Your floors will look gorgeous, and you won’t have to cringe every time someone comes round.
Sometimes the simplest solutions are the best ones. With just vinegar, water, and a few minutes, you can keep your wooden floors looking absolutely spot on all winter long.
Share this with anyone who’s struggling with the same problem. We’ve all got those friends whose hallways look like a gritting lorry exploded!
SEE ALSO: Messy Kitchen Cupboards? This Pro Trick Will Change Everything
Also, follow us on Pinterest ...


