
Your Toothbrush Holder Could Be Hiding Something Gross
You use your toothbrush every single day but have you ever thought about what’s lurking in the holder it sits in?
It might look clean from the outside, but inside, it’s often one of the germiest spots in the bathroom. In fact, tests have shown that toothbrush holders can harbour more bacteria than your loo seat.
If you’ve never cleaned it (or can’t remember the last time you did), here’s what you need to know and how to fix it fast.
Why Your Toothbrush Holder Is A Germ Hotspot
Toothbrush holders are damp, dark and often overlooked during cleaning. That makes them the perfect breeding ground for bacteria, mould and even mildew.
Every time you pop your toothbrush back in after brushing, water drips down into the holder. Over time, this builds up and creates the ideal environment for nasty germs to grow.
Add to that the fact that bathrooms are humid spaces, especially in homes without good ventilation and it’s easy to see why holders collect gunk quickly.
If the base stays wet or has no drainage, bacteria and grime build up even faster.
What’s Actually Hiding In There?
A quick glance might not show much but inside, there could be:
- Mould spores (especially if there’s black or orange residue)
- Bacteria from your mouth, such as streptococcus or staphylococcus
- Toothpaste build up, which turns into crusty sludge over time
- Dust, hair or bathroom spray particles settling inside
If your holder has a slimy feel or a funny smell, it’s a clear sign that something unpleasant is growing in there.
How Often Should You Clean It?
Ideally, you should clean your toothbrush holder once a week. But if you’re short on time, even giving it a proper wash every fortnight can make a big difference.
Don’t just give it a quick rinse, aim to scrub away dried on gunk and disinfect the inside. If you’ve never cleaned it before, don’t worry, you’re not alone. Just make it part of your regular bathroom routine moving forward.
Best Way To Clean A Toothbrush Holder
You don’t need any special products, just a few basic items you already have:
- Empty the holder and remove any gunk or debris.
- Fill it with hot water and washing up liquid, then let it soak for 10 minutes.
- Use a bottle brush or old toothbrush to scrub the inside and base.
- Rinse well with clean water.
- Spray with white vinegar or a mild disinfectant and let it sit for a few minutes.
- Dry thoroughly with a clean cloth or paper towel before replacing your toothbrushes.
Avoid putting toothbrushes back into a wet holder, always dry it first to stop mould from returning.
Extra Tips To Keep It Cleaner For Longer
To keep your toothbrush holder clean for longer, choose one with proper drainage holes so water doesn’t pool at the bottom.
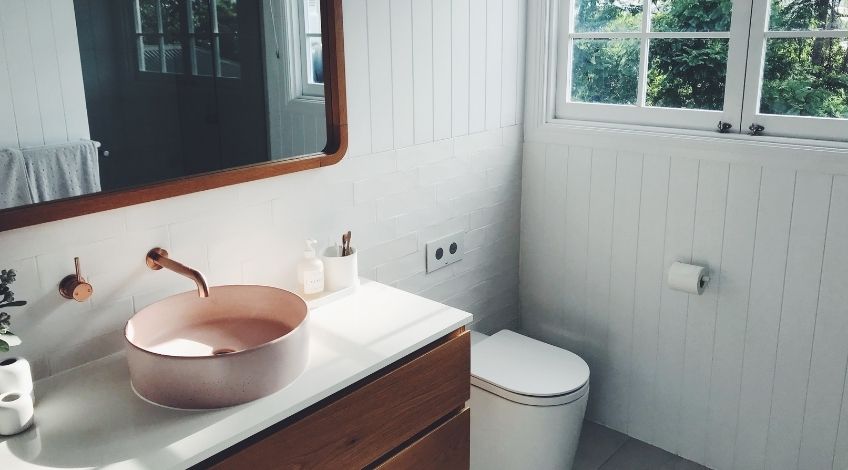
Try to keep it positioned away from the toilet to reduce the risk of splash contamination, especially in smaller bathrooms.
After brushing, rinse and shake your toothbrush before placing it back, so you’re not adding excess water to the holder.
Wipe down the outside regularly as part of your usual bathroom routine and if the holder starts to stain or smell, it might be time to replace it.
Plastic holders, in particular, can discolour over time and may be harder to keep hygienic once grime builds up.
Is It Time To Replace Your Holder?
If your holder has built up grime you can’t remove or a strong mouldy smell that lingers even after cleaning, it might be time to bin it and get a fresh one.
Look for materials that are easy to clean, like stainless steel, ceramic or silicone. Some holders even come apart fully, making them easier to wash.
And while you’re at it, check the bottom of your toothbrush too. If the handle or bristles look discoloured or slimy, it might be time to replace your toothbrush as well.
Help Your Friends Keep Their Bathroom Germ Free!
This often forgotten bathroom item can collect more grime than you think. Share this advice with others so they can stay on top of it without much effort.
SEE ALSO: 10 Easy Bathroom Cleaning Hacks That Will Save You Hours Every Week
Also, follow us on Pinterest ...


