How To Remove Glass Shelves On A Samsung Fridge
There are times when your refrigerator will need a deep clean to remove spills and other dirt and debris. To clean the fridge properly, you will need to remove the fidge’s bins, drawers and shelves.
The majority of these parts are designed for easy removal, however, having the correct know-how can make the job even easier. In this article we take a close look at the right way to remove the bins, shelves and drawers from your Samsung refrigerator.
How To Remove The Glass Shelves From A Samsung Refrigerator
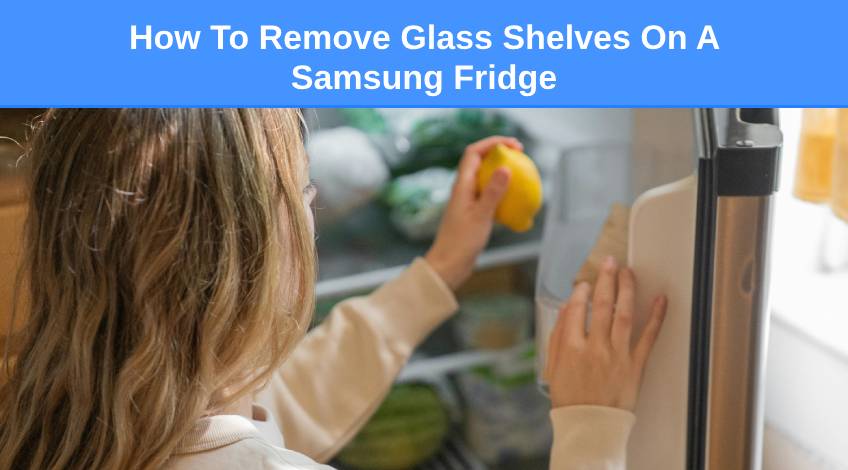
You should always exercise extreme caution when handling the glass shelves because they can damage and break relatively easily. To remove a glass shelf from your samsung refrigerator do the following;
- Open the fridge door fully to gain access to the shelf
- Hold the front of the shelf and gently lift and slide the shelf out
- If the door is restricted and doesn’t open fully, you may need to slide the shelf halfway to the front and then turn it over to remove
After cleaning the shelf in warm soapy water, and drying it fully, ensure that it is replaced the right way up. To avoid damage, never place the shelf upside down.
Take care when placing glass containers on glass shelves as the containers could scratch the surface of the shelf.
Also you should never place a shelf in the wine rack position as this could cause damage to the refrigerator (consult your user manual for model specific information).
How To Remove The Door Bins On A Samsung Refrigerator

To remove the door bins on your Samsung refrigerator all you need to do is hold the front of the bin and gently lift up and pull backwards.
After thoroughly cleaning and drying the door bin, it should be replaced by doing the exact reverse of the instructions used for removal.
How To Remove The Ice Bucket On A Samsung Refrigerator
If you haven’t used the ice dispenser for a while, ice might form into clumps inside the bucket. To remove these clumps, you will need to remove the ice maker bucket. This can be done by;
- Gently lifting the bucket up and pulling it slowly whilst holding the hand grips using both hands
- Once removed, empty the ice bucket
- To replace it, you will first need to turn the gear handle on the back of the bucket by 90 degrees
- Then place the bucket into position
- Ensure the bucket is in the correct position and listen for the clicking sound
- Press and hold the ice maker button for 3 to 5 seconds to reset the ice maker
Please note: When removing or replacing the ice maker, do not exert excessive force as this may break the ice maker’s cover. Remember to clear up any spilt water as it can make the floor slippery.
How To Remove Fridge Drawers On A Samsung Refrigerator
The fridge drawers on a Samsung refrigerator are easy to remove. All you need to do after emptying the drawer, is gently lift the front of the drawer and slide it out.
Removing The Vegetable Or Dry Drawer
To remove the vegetable drawer from the fridge or the dry drawer from the freezer, you should do the following;
- Remove the surrounding multipurpose drawers (if applicable)
- Remove the drawer cover (if applicable) by sliding the cover whilst holding the clips down on either side of the cover
- Gently pull the vegetable/dry drawer out
How To Remove The Glass Shelf Above The Vegetable Drawers On A Samsung Refrigerator

If you need to remove the glass shelf above the vegetable drawers on your Samsung refrigerator in order to clean it, you should do the following;
- Remove the vegetable drawers (see above)
- Locate the tabs found on both sides of the drawer divider
- Press the tabs to separate the shelf from the water filter housing
- Lift the shelf slightly and pull it out of the fridge (you may need to slightly angle one side of the shelf downwards to ease the removal)
- Locate the shelf glass retainer clips which are located on the back left and right corners where the glass meets the white plastic
- Carefully turn the shelf over and lay it on a clean, flat surface
- Locate the tabs that hold the retainer clips in place
- Lift each of the back corners of the shelf (one at a time) and gently push in on the tab that is holding the clip
- Once both clips have been removed, gently raise the shelf and separate the glass from the shelf frame
- Clean the glass panels using warm soapy water or glass cleaner, taking care to not use hot water on cold glass
- Dry using a lint-free cloth or kitchen towel
- Reinstall the glass shelf by reversing the removal process
Please note: It is important that you exercise extreme caution when working with glass as it can break easily and cause injury.
You should also be aware that if the retainer clips are damaged, they cannot be replaced individually. You will need to replace the entire shelf if the clips are damaged.
It is possible to use the shelf if the clips are damaged however, you will need to take extra care when moving the shelf to prevent dropping the glass which will break if dropped.
Never use hot water on cold glass as this could cause the glass to crack.
SEE ALSO: How To Add Apps To A Samsung Refrigerator
Frequently Asked Questions
You can remove the glass shelf on a Samsung refrigerator by doing the following; Open the fridge door fully to gain access to the shelf, hold the front of the shelf and gently lift and slide the shelf out. If the door is restricted and doesn’t open fully, you may need to slide the shelf halfway to the front and then turn it over to remove.
It is recommended that you clean the shelves in your refrigerator every 3 to 4 months. You should remove all of the contents and then take the drawers, bins and shelves out of the fridge and wash them in soapy water. Ensure they are dry before replacing.
You can keep the door bins on your refrigerator clean by removing them and washing them in soapy water and then ensuring they are fully dry before replacing.
Also, follow us on Pinterest ...


