
How To Remove Mould From All Areas Of Your Shower
There’s nothing worse than discovering mould creeping its way across your shower. Not only is it unsightly, but it can also pose serious health risks and leave your bathroom smelling damp and unpleasant.
If you’ve been battling persistent mould, don’t worry, you’re not alone! Poor ventilation, constant humidity, and damp surfaces create the perfect environment for mould to thrive. But fear not! This guide will take you through the best ways to remove mould from your shower, including the silicone, grout, and even your shower curtain. Let’s get stuck in!
How To Remove Mould From The Shower Drain & Walls
Mould loves warm, damp areas, making your shower drain and walls the perfect breeding ground. It may seem overwhelming at first, but with the right method, you can get rid of it quickly and effectively.
What You’ll Need:
- Bleach
- Water
- Spray bottle
- Coarse brush (or an old toothbrush for tight spots)
- Gloves and old clothes (bleach can stain!)
Step By Step Removal:
- Make Your Mould Busting Solution
Mix up a bleach and water solution (one part bleach to two parts water) and pour it into a spray bottle. - Apply To The Affected Areas
Spray the solution generously over the affected areas, including the drain, and leave it for 10 minutes. - Attack The Mould
Take a coarse brush and scrub away the mould. For hard to reach areas, use an old toothbrush. - Rinse The Mould & Bleach Away
Rinse thoroughly with water and admire your sparkling clean shower!
This method also works wonders on shower tiles and walls, but be careful, if you have coloured grout, bleach can cause discolouration. If that’s the case, opt for a natural solution instead (more on that later!).
How To Remove Mould From Shower Grout
Grout is porous, meaning it absorbs water and takes longer to dry, making it a hotspot for mould growth. Here’s how to tackle it effectively:
What You’ll Need:
- Bleach
- Water
- Spray Bottle
- Nylon Brush
Step By Step Removal:
- Make The Cleaning Solution
Mix a new batch of bleach solution (one part bleach, two parts water) and pour it into a spray bottle. - Cover The Affected Area
Spray the solution onto the affected grout areas. - Scrub Away Visible Mould
Use a nylon brush and scrub thoroughly. - Rinse Clean
Rinse the area well and say goodbye to mould!
How To Remove Mould From Shower Silicone
Silicone sealant can be tricky, as mould clings to it stubbornly. But don’t worry, we have a tried and tested method to restore your shower sealant to its former glory!
What You’ll Need:
- Bleach
- Baking Soda
- Paintbrush
- Clingfilm
- Bowl (for mixing)
Step By Step Removal:
- Make A Cleaning Solution
Spoon some baking soda into a bowl and slowly add bleach, stirring until you create a thick paste. - Apply To The Affected Area
Use a paintbrush (or your gloved fingers) to apply the paste to the mouldy silicone. - Cover & Allow To Work
Cover the paste with clingfilm to keep it in place and let it sit for one to two hours. - Rinse Away The Mould
Remove the clingfilm and rinse with warm water. If mould remains, repeat the process.
If the mould is still refusing to budge, you may need to cut out the silicone and reseal it with fresh, mould resistant sealant.
Health Risks Of Mould In The Shower
Mould isn’t just an eyesore, it can seriously impact your health. Black mould, which often appears in bathrooms, can trigger respiratory issues, asthma attacks, and allergic reactions. Prolonged exposure to mould spores can even lead to chest infections.
The World Health Organisation (WHO) has linked black mould exposure to increased childhood asthma cases. Even if you’re otherwise healthy, breathing in mould spores can irritate your lungs and throat, causing persistent coughing and shortness of breath.
Ways To Prevent Mould From Returning
Now that you’ve successfully removed black mould from your shower, you don’t want to let it get a foothold again. To prevent black mould from returning you should employ some (or all) of the following;
- Use An Extractor Fan
Always turn on your extractor fan when showering to remove steam and reduce humidity. - Open A Window
Let fresh air in after showering to speed up moisture evaporation. - Wipe Surfaces Dry
A quick wipe-down of tiles, glass, and silicone after each use can prevent mould from forming. - Invest In A Dehumidifier
If your bathroom lacks ventilation, a dehumidifier can help absorb excess moisture. - Try Anti Mould Sealant
When resealing your shower, opt for anti mould silicone to discourage future growth.
Natural DIY Mould Removal Methods
Not a fan of bleach? No problem! There are plenty of natural alternatives that are just as effective.
White Vinegar
White vinegar is a natural disinfectant and is a great mould killer. All you need to do is spray undiluted vinegar onto the affected area, leave for 20 minutes, then scrub and rinse.
You should always have a bottle of white vinegar in your cleaning arsenal.
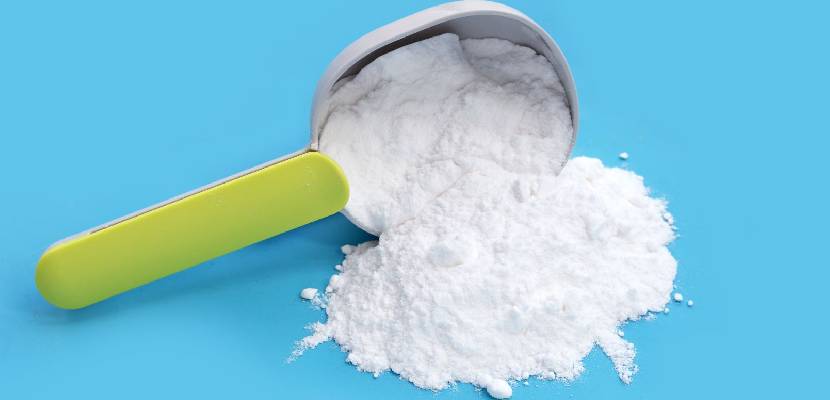
Baking Soda
Baking soda is another great cleaning product. It’s cheap to buy and lasts forever in a sealed container.
Mix baking soda with water to form a paste, apply to the mould, leave for 20 minutes, then scrub away.
Hydrogen Peroxide
Hydrogen peroxide is a powerful mould remover. Use a 3% hydrogen peroxide solution, spray onto the mould, let it sit for a few hours, and wipe clean.
If the black mould issue is serious, try mixing hydrogen peroxide with white vinegar for a powerful mould killer.
Borax
Borax is another cheap and cheerful destroyer of mould. Mix with water, scrub the solution onto the area, and wipe away. It’s excellent for tiles and grout!
Ammonia
Ammonia should be sprayed onto the mould and left to work for a couple of hours. Then simply wipe it away and take the black mould with you.
Be sure to only ever use clear ammonia and never mix it with bleach because the fumes produced are toxic!
How To Clean A Mouldy Shower Curtain
Shower curtains are a magnet for mould, but don’t throw yours out just yet, try these easy cleaning methods first!
1: Baking Soda & Vinegar
These all natural ingredients can make short work of black mould. Just follow these simple steps;
- Use The Washing Machine
Remove the curtain and place it in the washing machine with a couple of bath towels (they act as gentle scrubbers). - Add Baking Soda
Add half a cup of baking soda with your detergent and start the cycle. - Add White Vinegar
When the cycle reaches the rinse stage, add half a cup of white vinegar. - Dry Outdoors
Once washed, hang the curtain to dry. Outdoors on a washing line is best but if not, put it back on its track to dry naturally. Repeat if needed.
2: Bleach Solution
If the black mould has spread far and wide on your shower curtain, you might feel that natural products like vinegar and baking soda aren’t strong enough. In which case, it’s time to employ some bleach action. All you need to do is;
- Use The Washing Machine
Place the curtain in the washing machine with bath towels. - Add Bleach
Mix half a cup of bleach with a quarter cup of laundry detergent and water. - Start The Cycle
Start the wash cycle, and once the machine is full of water, add the bleach mixture. - Dry Naturally
Finish the cycle and hang to dry.
If the mould still won’t budge after two washes, lay the curtain flat and scrub manually.
Upgrade To Anti Mould Shower Accessories
To make your life easier, consider investing in mould resistant shower curtains and bath mats. These are specially designed to prevent mould growth, saving you time and effort in the long run.
Plus, if you need to replace the silicone sealant at any time go for a mould resistant formula.
Final Thoughts
Mould doesn’t have to be a permanent fixture in your bathroom! By using the right cleaning methods and taking preventative measures, you can keep your shower fresh, clean, and mould free.
Have you tried any of these mould removal tips? Let us know in the comments! And don’t forget to save this guide for later, you never know when you’ll need it again!
If you have found this article useful share it with your socials so others can reap the benefits too!
SEE ALSO: Easy Way To Get Mould Off Your Washing Machine’s Rubber Seal
Also, follow us on Pinterest ...


