
I Tried Cleaning My Couch with This Pantry Staple-Now It Looks Like New!
You’re settling down for movie night, and as you sink into your sofa, you notice those dreaded stains staring back at you. The mystery stain from last week’s takeaway, the muddy paw prints your dog left behind, or perhaps the juice spill your toddler swore didn’t happen. Sound familiar?
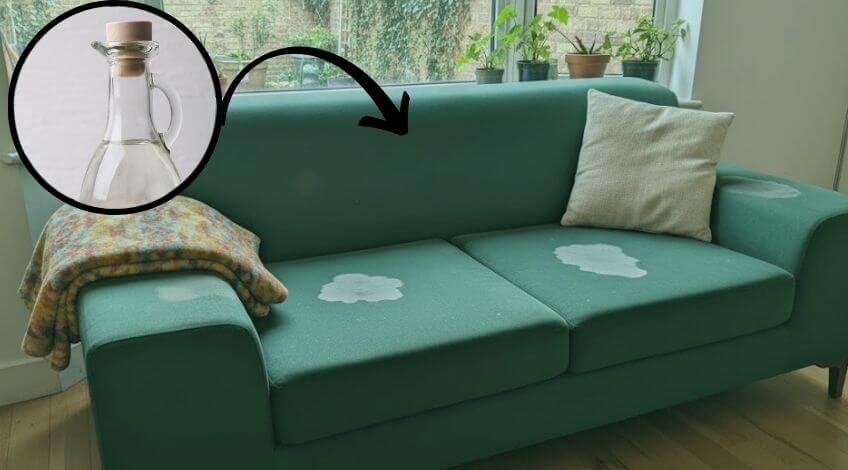
If you’ve been avoiding having guests over because your couch looks more “well loved” than “well kept”, I’ve got brilliant news. The answer to your upholstery woes has been sitting in your kitchen cupboard this whole time. I’m talking about white vinegar, and after testing it on my own disaster of a sofa, I can honestly say it’s transformed my furniture from grimy to gorgeous. Let me show you exactly how I did it!
Why White Vinegar Works Wonders On Upholstery
Before we get stuck in, let’s talk about why this humble pantry staple is an absolute game changer for your couch.
White vinegar is mildly acidic, which means it can break down dirt, grime and oils that accumulate on fabric surfaces. This is because the acetic acid in vinegar works to dissolve these substances without damaging the fibres of your upholstery.
Plus, it’s a natural deodoriser! If your sofa smells a bit musty or has absorbed cooking odours over time, vinegar neutralises those unpleasant smells rather than just masking them.
The best part? It’s incredibly safe for most fabric types and won’t leave behind harsh chemical residues that could irritate your skin or harm your pets. And let’s be honest, when you’ve got little ones crawling all over the furniture or dogs that think the sofa is their personal bed, you want something that’s both effective and safe.
What You’ll Need To Get Started
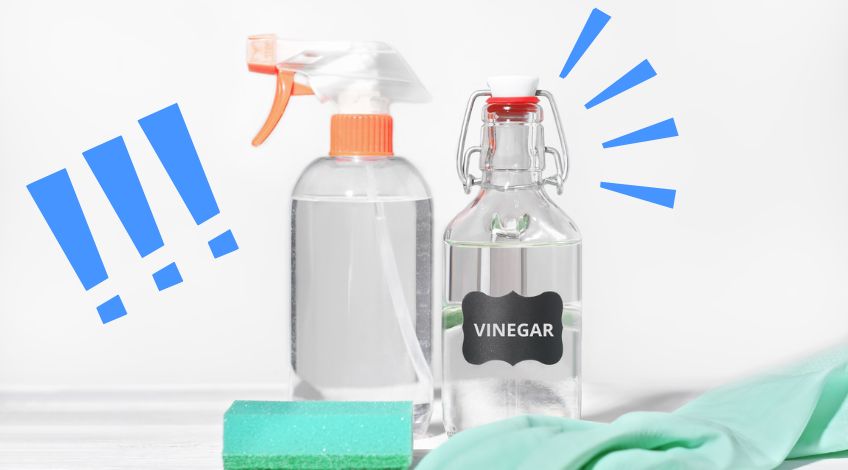
Here’s the brilliant thing about this cleaning method: you probably have everything already! No need to dash out to buy expensive upholstery cleaners or rent a steam cleaner.
You will need these:
- White vinegar (the regular distilled kind from any supermarket)
- Warm water
- A spray bottle
- Clean microfibre cloths or towels
- A soft bristled brush (an old toothbrush works perfectly)
- A vacuum cleaner with an upholstery attachment
- A small bowl for mixing
That’s it! Simple, affordable and you can start right away.
The Complete Cleaning Process That Actually Works
Right, let’s get to the good stuff. Here’s exactly how I cleaned my couch and achieved results that honestly shocked me.
Step 1: Give Your Couch A Proper Vacuum
Before you do anything wet to your sofa, you need to remove all the loose dirt, crumbs, pet hair and dust. Trust me on this, if you skip this step, you’ll just be pushing dirt around and making mud instead of cleaning!
Remove all the cushions and vacuum every surface. Get right into the crevices where the cushions meet the frame because that’s where all the nasty stuff hides. I found an alarming amount of crisps, coins and what I hope was just dust in mine!
Use your upholstery attachment and go over the entire surface methodically. Don’t rush this bit, a thorough vacuum makes the actual cleaning so much more effective.
Step 2: Mix Your Cleaning Solution
This couldn’t be simpler. In your spray bottle, mix equal parts white vinegar and warm water. For my three seater sofa, I used about 250ml of each, but you can adjust depending on how large your couch is.
Give it a good shake to combine everything properly. The warm water helps the vinegar work more effectively, but don’t use hot water as this can set certain types of stains.
Step 3: Do A Spot Test First
I cannot stress this enough: always test your solution on a hidden area first! Choose a spot that’s not visible, like the back of the couch or underneath a cushion.
Spray a small amount of your vinegar solution and blot it with a clean cloth. Wait about 15 minutes and check for any discolouration or damage. If everything looks fine, you’re good to go!
NOTE: This step saved me once when I discovered that a vintage chair I owned didn’t react well to the solution. Better to find out on a hidden spot than right in the middle of your sofa!
Step 4: Start Cleaning Section By Section
Now for the satisfying part! Work in small sections, about the size of a cushion at a time. This prevents the fabric from getting too saturated and ensures even cleaning.
Spray your vinegar solution lightly over one section. You want the fabric damp, not soaking wet. Too much liquid can damage the padding underneath or lead to mildew growth, and nobody wants that.
Let the solution sit for about 3 to 5 minutes. This gives the vinegar time to break down the grime and lift stains from the fibres.
Step 5: Blot And Scrub Away The Grime
Using a clean microfibre cloth, blot the area firmly. Don’t rub aggressively as this can damage the fabric or push stains deeper into the fibres. Instead, use a dabbing motion to lift the dirt.
For stubborn marks or ground in stains, use your soft bristled brush in gentle circular motions. I found this particularly helpful on the arm rests where my family tends to rest their greasy hands!
Keep blotting with fresh sections of your cloth as it picks up dirt. You’ll probably be shocked at how much grime comes off. I certainly was!
Step 6: Rinse With Clean Water
Once you’ve cleaned a section, lightly spray it with plain water and blot again with a clean, dry cloth. This removes any vinegar residue and prevents the fabric from feeling stiff once it dries.
This rinsing step is optional, but I found it helped eliminate the vinegar smell more quickly and left the fabric feeling softer.
Step 7: Let It Dry Completely
Open windows or turn on a fan to help your couch dry faster. Depending on your fabric type and how damp it got, this can take anywhere from 2 to 6 hours.
Avoid sitting on the couch until it’s completely dry. If you’re impatient like me, you can speed things up by pointing a fan directly at the cleaned areas or using a hairdryer on a cool setting.
Tackling Specific Stains And Problems
Let’s address some common couch catastrophes and how the vinegar method handles them.
Pet Stains And Odours
If you’ve got pets, you know the struggle. For fresh accidents, blot up as much as possible first, then treat with your vinegar solution. The vinegar neutralises the ammonia in urine, which eliminates the smell rather than covering it up.

For older pet stains, you might need to apply the solution, let it sit for 10 minutes, then blot and repeat. I had to do this twice on a spot where my dog had an accident months ago, but it did eventually come out!
Food And Drink Spills
Red wine, coffee, tea and juice stains respond really well to this method. The key is not to let them set. Even if a stain has dried, the vinegar solution can often lift it with a bit of patience and elbow grease.
For particularly stubborn food stains, mix a tiny bit of washing up liquid into your vinegar solution for extra cleaning power. Just a drop will do!
Grease And Oil Marks
These are trickier but not impossible. Spray the area generously and let the solution sit for longer, about 10 minutes. The vinegar helps break down the oils, making them easier to blot away.
You might need to repeat this process a few times for old grease stains. Don’t get discouraged if they don’t disappear immediately!
What About Different Fabric Types?
Not all upholstery is created equal, so here’s what you need to know about cleaning different materials.
Microfibre And Synthetic Fabrics
These are the most forgiving and respond brilliantly to the vinegar method. I found my microfibre sofa looked absolutely brand new after cleaning. These fabrics dry quickly too, which is a bonus.
Cotton And Linen Blends
Natural fibres love vinegar! They clean up beautifully and the vinegar actually helps brighten the fabric. Just be careful not to oversaturate as these materials absorb more liquid.
Velvet And Delicate Fabrics
Approach these with caution. Always do that spot test I mentioned earlier! For velvet, you’ll want to use less solution and work very gently. Consider using a steamer alongside the vinegar for these fancy fabrics.
Leather And Faux Leather
Hold on! Don’t use this method on leather. Vinegar can damage leather finishes. For leather furniture, stick to products specifically designed for that material.
When This Method Might Not Be Enough
Let’s be realistic: vinegar isn’t a miracle worker for every situation. Here’s when you might need to consider other options.
If you’ve got deep set stains that have been there for years, professional cleaning might be necessary. Sometimes stains penetrate so deeply that home methods just can’t reach them.
If your couch smells of smoke or has absorbed strong odours over many years, you might need multiple treatments or professional deodorising.
For valuable antique furniture or expensive designer pieces, it’s worth getting professional advice before attempting any cleaning method yourself.
Your Sofa Transformation Starts Today
If you’ve been putting off cleaning your sofa because you thought it was too difficult, too expensive or just impossible, I promise you this method will change your mind. That bottle of white vinegar in your cupboard is about to become your new best friend!
The transformation you’ll see is genuinely satisfying. There’s something brilliant about rescuing furniture you thought was past its best and making it look presentable again. Plus, think of all the money you’re saving by not replacing or professionally cleaning your couch!
Give it a try this weekend. Your future self (and your guests) will thank you for it!
If you found this helpful, share it with your friends on Facebook who’ve been complaining about their grotty sofas!
SEE ALSO: I Poured Salt Down My Drain And I Couldn’t Believe What Happened Next!
Also, follow us on Pinterest ...


