15 Ironing Tips That Are Pure Genius
Let’s face it – ironing isn’t everyone’s favourite chore. But with the right know-how, you can turn this boring task into a breeze.
Whether you’re prepping for a job interview, sprucing up your Sunday best, or just trying to look sharp for a night out, these 15 genius ironing tips will have you looking crisp and wrinkle-free in no time!
Make Your Ironing Days Easier With These Tips
With the right approach and a few handy tips, you can make your ironing days much more manageable. Who wants to dread this chore anyway, when we have to do it at least once every two weeks in our lifetime?
From investing in effective tools to using steam wisely, these tips will simplify the process and give you great results. Let’s start!
Tip #1: Invest In Effective Tools
First things first – your ironing game is only as good as your tools. Think of it like this: you wouldn’t try to chop down a tree with a butter knife, would you? The exact same principle applies to ironing.
A good iron doesn’t have to break the bank, but it should have adjustable temperature settings and a decent steam function. Look for one with a smooth, non-stick soleplate – it’ll glide over your clothes like a dream.
And don’t forget about the ironing board! A wobbly board is a recipe for disaster, and possibly a few burnt fingers. Go for a sturdy one with a heat-resistant cover.
For those of you who iron frequently (bless your hearts), consider investing in a garment steamer. These are brilliant for delicate fabrics and those tricky-to-iron items like pleated skirts or suit jackets.
Plus, they’re a lifesaver when you’re travelling and need to freshen up your clothes quickly!
Tip #2: Use Steam Wisely
Steam is your secret weapon in the battle against wrinkles. It’s like kryptonite to creases! Most modern irons come with a steam function, and it’s particularly useful for thicker fabrics like denim or linen.
Here’s a pro tip: hold the iron slightly above the fabric and give it a few short bursts of steam. This helps to relax the fibres before you even touch the iron to the cloth. It’s especially handy for those stubborn wrinkles that just won’t budge.
But remember, not all fabrics do well with steam. Delicate materials like silk can water spot, so always check the care label before you go steam-happy!
Tip #3: Make Use Of Tinfoil
Now, here’s a tip that might sound a bit bonkers, but trust me, it works wonders. Place a sheet of tinfoil under your ironing board cover.
I know, it sounds like something out of a sci-fi film, doesn’t it? But there’s an explanation to this madness.
The foil reflects heat, which means you’re effectively ironing both sides of the garment at once. It’s like having an extra pair of hands!
This trick is particularly brilliant for items like trousers or thick shirts. You’ll cut your ironing time in half, leaving you more time to do, well, literally anything else.
Tip #4: Use Distilled Water
If you live in an area with hard water (and let’s face it, that’s most of the UK), using distilled water in your iron can be a game-changer.
Hard water can leave mineral deposits in your iron, which can then transfer to your clothes. Nobody wants mysterious white flecks on their favourite black shirt, do they?
Using distilled water prevents this buildup and can extend the life of your iron. It’s a small change that can make a big difference.
Plus, it helps avoid those annoying white marks that can appear on dark clothes when ironing with regular tap water. It’s a win-win!
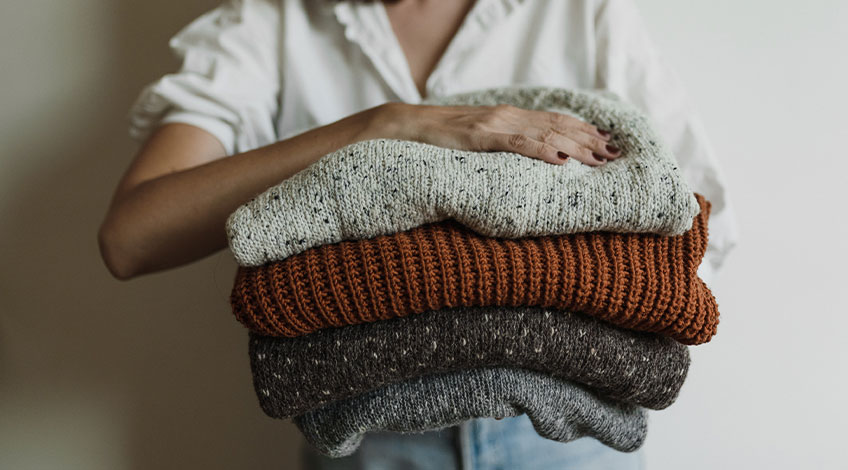
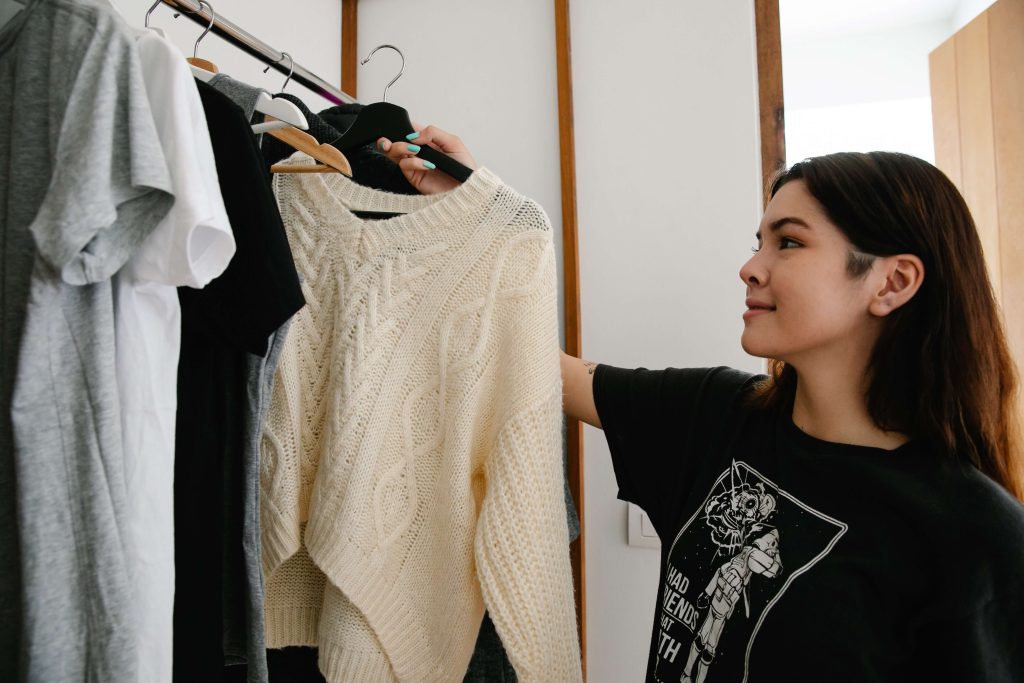
Tip #5: Prep Clothes Before Ironing
A little preparation goes a long way. Before you plug in that iron, take a moment to sort your clothes by fabric type and required temperature. It’s like creating a battle plan – you wouldn’t charge into war without a strategy, would you?

This prep step can save you time and prevent damage to delicate fabrics. Start with the items that need the lowest heat and work your way up. That way, you’re not constantly adjusting the temperature and waiting for the iron to cool down.
Also, give your clothes a once-over for any stains or spots that need treatment. Heat can set some stains permanently, turning a small splatter into a permanent feature!
Tip #6: Choose The Right Iron Settings
Different fabrics need different levels of heat – it’s not a one-size-fits-all situation. Always check the care label on your garments and adjust your iron accordingly.
It’s like following a recipe – get the temperature wrong, and you could end up with a disaster on your hands (or on your favourite blouse).
As a general rule, start with lower temperatures for delicate fabrics like silk or synthetics. You can gradually increase the heat for cotton and linen.
Here’s a quick guide:
- Synthetic fibres: Low heat
- Silk and wool: Medium heat
- Cotton and linen: High heat
When in doubt, start low and work your way up. You can always add more heat, but you can’t un-melt a polyester shirt!
Tip #7: Iron Clothes When They’re Still A Bit Damp
Here’s a little secret: slightly damp clothes are often easier to iron. It’s like they’re giving you a helping hand in smoothing out those wrinkles.
If your clothes have already dried, no worries – you can recreate this effect with a spray bottle filled with water. Just give your garments a light misting before you start.
This moisture helps the fibres relax, making it easier to smooth out wrinkles. It’s particularly useful for stubborn creases that just won’t budge.
Think of it as giving your clothes a little spa treatment before the main event!
Tip #8: Iron In The Right Order
Ironing in the right order is like solving a puzzle – start with the easiest pieces and work your way up to the trickier bits.
Begin with items that require the lowest heat setting and gradually move to those needing higher temperatures.
For example, you might start with a silk scarf, move on to a polyester blouse, then tackle those sturdy cotton trousers. This approach saves time as you won’t need to wait for your iron to cool down between garments.
A good order might be:
- Synthetic fabrics (like polyester)
- Silk
- Wool
- Cotton
- Linen
It’s all about working smarter, not harder!
Tip #9: Allow Your Iron To Warm Up
Patience is a virtue, especially when it comes to ironing.
Give your iron time to reach the desired temperature before you start. Most irons have an indicator light that shows when they’re ready to go.
Using an iron before it’s fully heated is like trying to spread cold butter on bread – it’s just not going to work well. You’ll end up with uneven results and might even damage delicate fabrics.
So, while your iron is heating up, why not sort through your ironing pile or put on your favourite podcast? Make the most of that waiting time!
Tip #10: Turn Clothes Inside Out
Here’s a nifty trick: try ironing clothes inside out!
This technique can help preserve the colour and texture of the fabric, especially for dark or printed items. It’s particularly useful for those band t-shirts or graphic tees you want to keep looking fresh.
This method also helps prevent that unwanted shiny effect that can occur on some materials. You know the one – where your black trousers start looking a bit too… well, shiny.
Nobody wants to look like they’re wearing disco pants to the office!
Tip #11: Develop An Ironing Technique
Ironing is a bit like dancing – it helps to have a routine. Establish a systematic approach to ironing each type of garment.
For example, when ironing a shirt, you might start with the collar, then move to the cuffs, sleeves, front panels, and finally the back.

This methodical approach ensures you don’t miss any areas and helps you work more efficiently. Before you know it, you’ll be ironing on autopilot, leaving your mind free to plan dinner or daydream about your next holiday.
Tip #12: Practice Caution On Delicate Garments
Delicate fabrics need a gentle touch. When ironing items like silk blouses or lace-trimmed tops, use a low heat setting and place a thin cotton cloth between the iron and the garment.
This extra layer acts like a bodyguard, protecting the fabric from direct heat and helping prevent damage.
Remember, it’s always better to err on the side of caution with delicates. You can always give it another gentle press if needed, but you can’t undo heat damage.
Treat your fancy frocks with care, and they’ll thank you by looking fabulous for years to come!
Tip #13: Pay Attention To Seams And Edges
Seams and edges are often the trickiest parts to iron. For a truly polished look, pay extra attention when ironing these areas.
When ironing along seams, use the pointed end of the iron to get right into the creases. For trouser legs or sleeve seams, fold them precisely and press firmly to create a sharp crease.
It’s a good idea to iron collars, cuffs, and hems first as this ensures a crisp finish and prevents the fabric from bunching up.
For particularly stubborn seams, try using a sleeve board or a tailor’s ham to provide better support!
No products found.
Tip #14: Hang Or Fold Immediately
You’ve done the hard work, now don’t let it go to waste! Once you’ve ironed an item, hang it up or fold it immediately to maintain its crisp appearance.
Leaving freshly ironed clothes in a pile is like sitting on it – all that effort, ruined!
Invest in some good quality hangers for your shirts and dresses. For items that need folding, like t-shirts or trousers, try to handle them as little as possible to avoid creating new wrinkles.
Your future self will thank you when you open your wardrobe to find everything looking fresh and ready to wear.
Tip #15: Maintain Your Iron Regularly
Your iron works hard for you, so show it some love in return. Regular maintenance can prevent buildup that might stain your clothes and keep your iron working efficiently.
To clean your iron, try running it over a damp cloth while it’s still warm (but unplugged, of course!). For tougher buildup, you can use a specialised iron cleaning product.
Also, descale the water tank if necessary. This keeps your iron in top condition and ensures it works efficiently every time. A clean iron glides more smoothly and reduces the risk of staining your clothes.
BONUS: Create Your Own Wrinkle-Release Spray
For those days when you just can’t face the ironing board (we’ve all been there), a wrinkle-release spray can be a lifesaver. And the best part? You can make your own!
Mix one part white vinegar with three parts water in a spray bottle. When you need a quick fix, lightly mist the wrinkled areas of your garment, then gently tug and smooth the fabric.
It’s not quite as effective as a proper ironing session, but it can help you look presentable in a pinch.
This homemade spray is particularly useful for travel. Pack a small bottle in your suitcase, and you’ll be able to freshen up your clothes on the go. No more turning up to business meetings looking like you’ve slept in your suit!
Tips For Ironing Delicate Clothes
Delicate fabrics can be intimidating to iron, but with a gentle touch and the right technique, you can keep them looking their best!
When ironing items like silk blouses or wool jumpers, always use the lowest heat setting and a pressing cloth. A clean, white cotton handkerchief works well as a pressing cloth. Iron these items inside out to protect any delicate outer surfaces.
Avoid using steam on very delicate fabrics, as it can leave water spots. Instead, use a spray bottle to lightly dampen the fabric if needed. Always iron silk and wool when they’re completely dry to avoid stretching the fabric.
For items with pleats or ruffles, iron from the inside of the garment to maintain the shape of the detailing. Take your time and be patient – rushing through delicate items is a recipe for disaster!
What About Fitted Sheets?
Start by folding the sheet in half, tucking the corners into each other. Then fold it in half again, creating a long rectangle. Now you can iron the top layer, flip it over, and repeat on the other side.
This method makes it much easier to manage the bulky fabric and ensures you get a nice, crisp finish.
Remember to use a medium-high heat for cotton sheets, and a lower heat for synthetic blends!
Tricks For Ironing Clothes With Embellishments
Sequins, beads, embroidery – they all add beautiful detail to our clothes, but they can be a nightmare to iron. The key here is to protect both the embellishments and your iron.
Always iron these garments inside out on a low heat setting. Place a towel underneath the embellished area to provide a soft surface that allows the decorations to sink in without being flattened. You can also use a pressing cloth on top for added protection.
TIP: For heavily embellished areas, you might want to skip the iron altogether and use a steamer instead! This allows you to freshen the fabric without risking damage to the decorations.
SEE ALSO: Best Clothes Steamers
Now, Start Ironing Your Wrinkly Laundry – And Let Us Know How It Goes!
By adding these tips to your ironing routine, you’ll find the task becomes quicker, easier, and dare we say it – maybe even enjoyable? Okay, that might be stretching it, but at least you’ll have crisp, wrinkle-free clothes with minimal fuss!
Remember, practice makes perfect. Don’t be discouraged if your first attempts aren’t flawless. With time, you’ll develop a knack for creating beautifully pressed clothes with minimal effort.
So, next time you’re faced with a pile of wrinkled laundry, don’t despair. When you follow these tips, you’re ready to transform those rumpled clothes into a wardrobe that looks fresh from the dry cleaners!
Do you have questions? Leave a comment below!
SEE ALSO: Can You Dry Clothes With An Iron? (read this first)
Frequently Asked Questions
To make your ironing better, start by investing in good-quality tools, such as an iron with adjustable temperature settings and a steam function. Use distilled water to avoid mineral buildup, and sort your clothes by fabric type before ironing. Iron clothes when they’re slightly damp and always use the right temperature setting for each fabric.
The right setting to iron silk garments is a low heat setting. Always check the care label first and use a pressing cloth to protect the fabric. Iron the garment inside out to avoid any direct heat damage.
To warm up your iron the right way, plug it in and wait for it to reach the desired temperature. Most irons have an indicator light that shows when they’re ready. Use this waiting time to sort your ironing pile or prepare your garments.
There isn’t a strict limit to using an iron every day, but frequent use can cause wear and tear. Regularly maintain your iron by cleaning it and using distilled water to prevent mineral buildup. This ensures it remains in good condition and functions effectively.
The kind of iron you should buy is one with adjustable temperature settings and a decent steam function. Look for a model with a smooth, non-stick soleplate for easy gliding. If you iron frequently, consider a garment steamer for delicate fabrics and quick touch-ups.
Also, follow us on Pinterest ...