
The DIY Furniture Polish That Actually Keeps Dust Away Longer
Let’s be honest: dusting furniture is one of those chores that feels utterly pointless. You spend ages wiping down every surface, only to find a fresh layer of dust has settled by the next day. It’s frustrating, especially when you’re trying to keep a clean home without constantly battling grime.
But what if we told you there’s a homemade furniture polish that doesn’t just make your wood shine, it actually repels dust for days? No harsh chemicals, no expensive shop bought products, just simple ingredients you probably already have in your kitchen.
Whether you’re trying to reduce cleaning time or someone who prefers natural solutions over chemical laden sprays, this DIY polish is about to change your furniture care routine for good.
Why Shop Bought Furniture Polish Doesn’t Keep Dust Away
The truth is, many shop bought sprays contain silicone and synthetic oils that leave behind a sticky residue. This residue actually attracts dust particles like a magnet, meaning you’re wiping down the same surfaces over and over again.
Plus, those aerosol sprays often contain harsh chemicals that aren’t great for your family or pets. If you’ve got curious kids or animals who like to explore, you’re basically coating your furniture with ingredients you’d rather not have them touching or breathing in.
The other problem? Cost. Those fancy furniture polishes aren’t cheap, and when you’re going through bottles trying to keep up with dust, the expense really adds up over time.
The Simple Three Ingredient Solution
Here’s the good news: you only need three ingredients to make a furniture polish that actually works. Olive oil, white vinegar and lemon essential oil (or fresh lemon juice if you don’t have the oil).
That’s it!
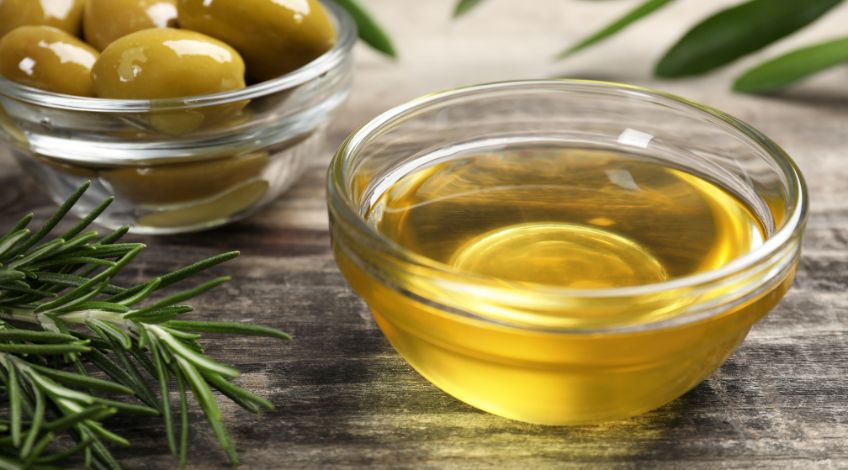
The olive oil nourishes and protects the wood while creating a protective barrier. The white vinegar cuts through existing grime and helps condition the wood without leaving residue. And the lemon? It adds a fresh scent while also boosting the cleaning power naturally.
This combination doesn’t just clean your furniture, it creates a finish that dust struggles to cling to. The result is surfaces that stay cleaner for much longer between wipes.
How To Make Your DIY Dust Repelling Polish
Making this polish couldn’t be simpler. You’ll need a clean spray bottle or jar with a lid and you’re ready to go.
What You’ll Need
Start by gathering these ingredients:
- Half a cup of olive oil (regular olive oil works perfectly, no need for extra virgin)
- Quarter cup of white vinegar
- 10 to 15 drops of lemon essential oil, or the juice from half a lemon
Mix It Up
Pour the olive oil into your container first, followed by the white vinegar. Add your lemon essential oil or fresh juice. If you’re using a spray bottle, give it a good shake for about 30 seconds to combine everything. If you’re using a jar, pop the lid on and shake vigorously.
The mixture will separate slightly when it sits (oil and vinegar naturally do this), so just give it a quick shake before each use. This is completely normal and doesn’t affect how well it works!
Application Tips
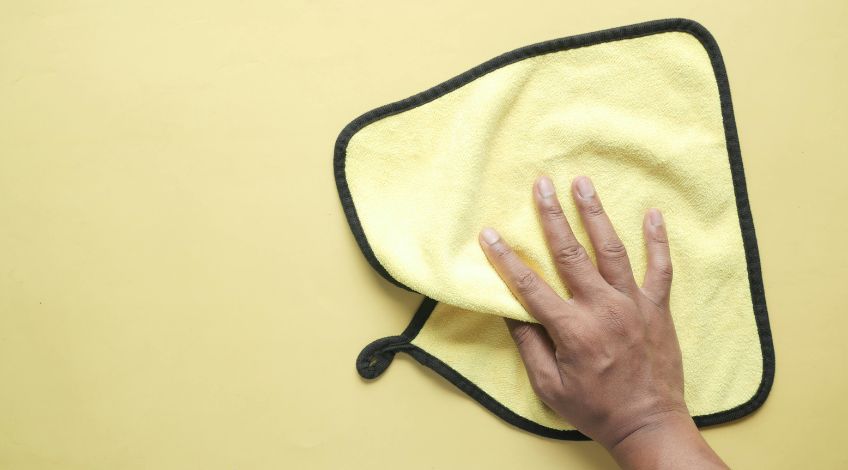
Here’s where technique matters. Grab a soft, lint free cloth, a microfibre cloth works brilliantly for this. Shake your polish mixture, then spray or pour a small amount onto your cloth. Never apply it directly to the furniture surface.
Wipe the furniture following the direction of the wood grain. Use gentle, even strokes and don’t saturate the wood. A little goes a long way! You’re looking for a light, even coating rather than a heavy, oily layer.
Let the polish sit for about a minute, then take a clean, dry cloth and buff the surface gently. This removes any excess oil and brings out that gorgeous natural shine.
Why This Formula Actually Keeps Dust Away
The secret lies in how these ingredients work together. Unlike silicone based polishes that attract static (and therefore dust), this natural formula creates a smooth, sealed surface that dust particles can’t easily grip onto.
The olive oil penetrates slightly into the wood, conditioning it from within while leaving just enough protection on top. This is important because dry, untreated wood is actually rougher at a microscopic level, giving dust more places to settle.
The vinegar helps clean and slightly condition the wood without leaving behind the sticky residue that commercial cleaners often do. It also has mild antibacterial properties, which is a nice bonus if you’ve got little ones touching everything.
And that lemon? Beyond smelling lovely, it contains natural oils that help repel dust. Lemon also has gentle cleaning properties that cut through any waxy buildup from previous products you might have used.
Best Surfaces For This Natural Polish
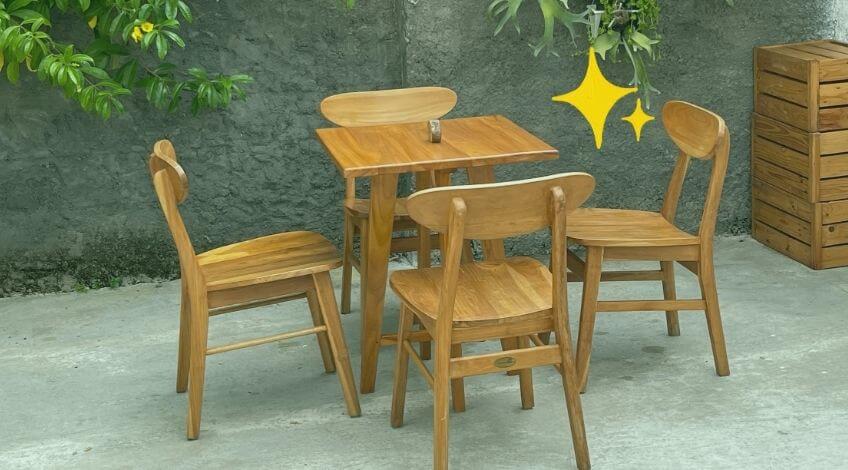
This homemade polish works beautifully on most wooden furniture. Dining tables, coffee tables, wooden chairs, side tables and cabinets all benefit from this treatment. You can use it on bookshelves, wooden bed frames and even wooden door frames if you fancy.
It’s particularly brilliant for antique or vintage furniture because it’s so gentle. Unlike harsh chemical polishes, this won’t strip away existing finishes or damage delicate wood.
However, there are a few surfaces to avoid. Don’t use this on untreated or unsealed wood, as the oil can penetrate too deeply and cause staining. It’s also not suitable for painted furniture or laminate surfaces, stick to those with a proper wood finish.
If you’re unsure about a piece, test the polish on a hidden area first. The inside of a drawer or the underside of a table work perfectly for this. Wait 24 hours and check the results before treating the entire piece.
How Often Should You Polish Your Furniture?
Here’s one of the best parts about this DIY polish: you don’t need to use it often. Because it actually repels dust rather than attracting it, you can get away with polishing once every two to three weeks, sometimes even longer depending on your home environment.
Between proper polishing sessions, simply dust with a dry microfibre cloth. You’ll notice the dust comes away more easily and there’s far less of it compared to when you were using commercial products.
If you’ve got particularly high traffic furniture, like a dining table that sees daily use, you might want to polish weekly. But for pieces that don’t get handled as much, monthly is absolutely fine.
Adapting The Recipe For Different Needs
Feel free to adjust this recipe based on what works for your home. If you find the shine isn’t quite enough, add an extra tablespoon of olive oil. If you prefer a more matte finish, reduce the oil slightly and increase the vinegar.
Not a fan of lemon scent? Try orange essential oil instead. It has similar dust repelling properties and smells gorgeous. Lavender essential oil is another lovely option, though it won’t boost cleaning power quite as much as citrus oils do.
For darker woods, some people add a tiny splash of brewed black tea to the mixture. The tannins in tea can help enhance the colour of dark wood while also adding extra protective properties.
Storage And Shelf Life
Store your furniture polish in a cool, dark place away from direct sunlight. A cupboard under the sink or in your cleaning supplies area works perfectly. The mixture should last for several months, though you’ll probably use it up well before then!
If you notice the smell changing or the ingredients not mixing properly even with shaking, it’s time to make a fresh batch. But honestly, this rarely happens because the ingredients are quite stable.
Also, label your bottle clearly, especially if you’ve got young children in the house. Even though the ingredients are natural, you don’t want anyone drinking it by mistake!
Your Furniture Deserves Natural Care
Making the switch to DIY furniture polish isn’t just about reducing dust, though that’s certainly a brilliant benefit. It’s about taking control of what you’re bringing into your home and choosing safer, more effective alternatives to commercial products.
Your wooden furniture will thank you for the gentle, nourishing care. Your family will appreciate the lack of harsh chemical smells. And your cleaning routine will become so much easier when dust isn’t reappearing within hours of wiping it away.
Give this simple three ingredient recipe a try and see the difference for yourself. You’ll wonder why you ever bothered with expensive shop bought polishes in the first place!
If you found this helpful, share it with your friends on Facebook or Pinterest!
SEE ALSO: Why You Should Always Clean Your Washing Machine Door Seal (You’ll Be Grossed Out!)
Also, follow us on Pinterest ...


