
The Grossest Thing Hiding in Your Kitchen (and How to Clean It in 5 Minutes!)
Picture this: you’ve just spent ages scrubbing your worktops, wiping down the hob and making everything look spotless. Your kitchen gleams like something out of a home magazine. But there’s one hidden spot that’s absolutely crawling with bacteria, food particles and goodness knows what else, quietly undermining all your hard work.
The worst part? It’s something you use every single day, and most people never think to clean it properly.
We’re talking about your kitchen sponge. That innocent looking yellow square sitting by your sink is actually one of the most disgusting things in your entire home. Studies have shown that kitchen sponges can harbour more bacteria than your toilet seat! But before you panic and bin every sponge in sight, we’ve got a brilliant 5 minute solution that will sort this out once and for all.
Why Your Kitchen Sponge Is A Bacterial Nightmare
Your trusty washing up sponge might look harmless, but it’s basically a five star hotel for germs. Every time you wipe down a surface or scrub a plate, you’re picking up food particles, grease, and bacteria. Then that sponge sits by the sink, staying damp and warm, which creates the perfect breeding ground for all sorts of nasties.
The porous structure of sponges makes them particularly problematic. All those little holes that make them great for cleaning also provide countless hiding spots for bacteria to multiply. Within hours of use, your sponge can contain millions of bacteria, including some pretty unpleasant varieties like E. coli and Salmonella.
Think about it: you use the same sponge to clean your plates, wipe your worktops, and tackle spills. Each time you’re potentially spreading bacteria from one surface to another. It’s like using the same tissue to blow your nose and then clean your glasses, but somehow we’ve all accepted this as normal kitchen behaviour!
The 5 Minute Sponge Cleaning Solution
Here’s the brilliant news: you can completely sanitise your kitchen sponge in just 5 minutes using something you’ve probably already got in your kitchen. This method kills the majority of bacteria and will leave your sponge fresh and ready for action.
The Microwave Method
This is hands down the quickest and most effective way to clean your sponge:
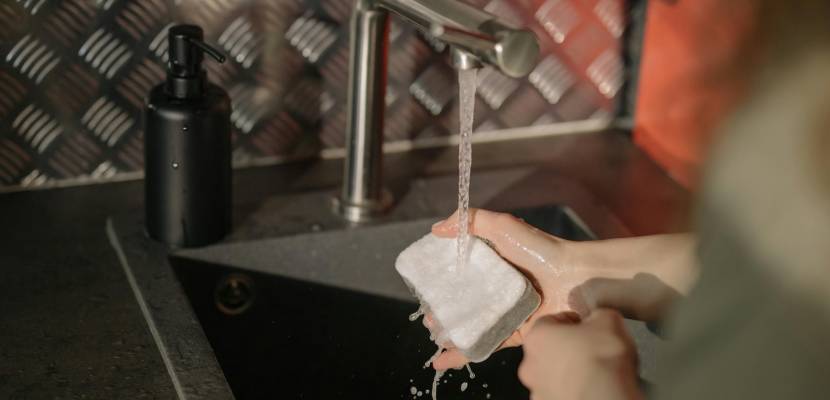
Step 1: Rinse Thoroughly
Give your sponge a good rinse under hot running water to remove any visible food particles or debris. Squeeze it several times to work out any trapped bits.
Step 2: Soak In Clean Water
Place the damp sponge in a microwave safe bowl and add enough water to cover it completely. The water is crucial as it creates steam that helps kill bacteria.
Step 3: Microwave On High
Pop the bowl in the microwave and heat on full power for 2 minutes. The high temperature and steam will kill virtually all bacteria and germs.
Step 4: Let It Cool
Leave the sponge in the microwave for another minute to cool down. It will be scorching hot, so don’t rush this bit!
Step 5: Squeeze And Store
Carefully remove the bowl (it will be hot too!) and give the sponge a final squeeze. Store it somewhere it can air dry properly.
That’s it! Your sponge is now cleaner than when you first bought it.
The Dishwasher Alternative
If you don’t have a microwave or prefer this method, you can also sanitise your sponge in the dishwasher. Simply pop it on the top rack and run a full hot cycle with heated dry. The high temperature will do the trick, though it takes longer than the microwave method.
How Often Should You Clean Your Sponge?
For people who love a spotless kitchen but hate lengthy cleaning sessions, this is perfect: clean your sponge every other day using the microwave method. It only takes 5 minutes, including cooling time, and you can easily fit it into your evening routine.
If you’re doing particularly messy cooking (think raw meat or sticky sauces), give your sponge the microwave treatment straight after. Better safe than sorry when it comes to food safety.
Signs Your Sponge Needs Replacing
Even with regular cleaning, sponges don’t last forever. Here’s when it’s time to bin yours:
- The sponge starts falling apart or losing chunks when you squeeze it. Once the structure breaks down, it becomes harder to clean properly and bacteria can hide in the damaged areas.
- You notice a persistent smell that doesn’t go away after cleaning. If your sponge still whiffs after a microwave session, it’s time for a new one.
- The sponge has turned an odd colour or has stains that won’t shift. Discolouration often means bacteria have really taken hold.
Smart Sponge Storage Tips
Where you keep your sponge between uses makes a huge difference to how quickly bacteria multiply. Here are some clever storage ideas:
- Get A Sponge Holder With Drainage
Those little plastic caddies with holes in the bottom allow air to circulate and water to drain away, preventing that soggy bacterial breeding ground situation. - Try A Magnetic Holder
Stick a magnetic sponge holder to the side of your sink or dishwasher. This keeps the sponge off wet surfaces and allows air circulation from all sides. - Use A Dedicated Drying Rack
Keep a small rack specifically for your sponge, positioned where it gets good airflow but isn’t in the way of food prep.
Alternative Cleaning Tools To Consider
If you’re thinking about reducing your reliance on traditional sponges, there are some brilliant alternatives worth considering:
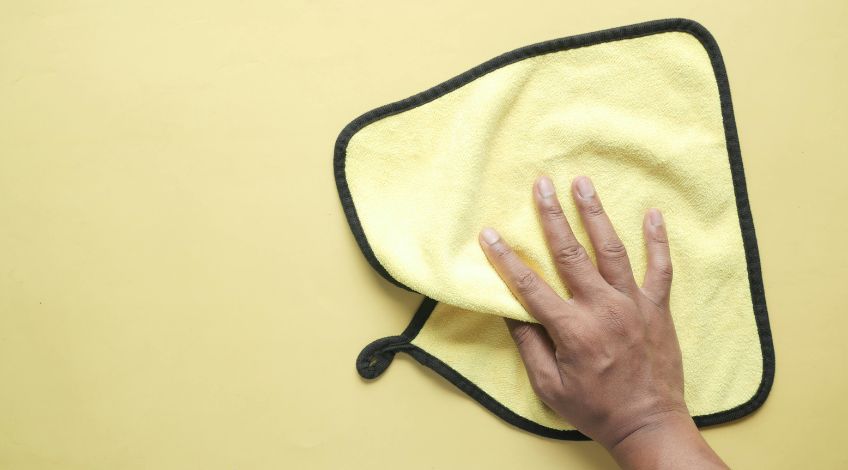
Microfibre Cloths
These can be thrown in the washing machine after use and are excellent for most cleaning tasks. They’re particularly good for wiping down surfaces without leaving streaks.
Silicone Scrubbers
These non porous alternatives don’t harbour bacteria in the same way as traditional sponges. They’re easy to clean and last much longer.
Dishcloths
A stack of cotton dishcloths that you can rotate through means always having a fresh one to hand. Chuck the used ones straight into the washing machine.
Your 5 Minute Kitchen Hack
The beauty of this sponge cleaning method is how it fits perfectly into a busy lifestyle. You don’t need special products, lengthy soaking times or complicated procedures. Just 2 minutes in the microwave, a bit of cooling time and you’re sorted.
This small change will have a massive impact on your kitchen hygiene. You’ll stop spreading bacteria around your clean surfaces, your dishes will actually be properly clean and you can feel confident that your spotless kitchen really is as clean as it looks.
Next time you’re doing your evening kitchen tidy up, just pop that sponge in the microwave. By the time you’ve finished wiping down the worktops, it’ll be ready to go. It’s such a simple habit, but one that makes all the difference between a kitchen that looks clean and one that actually is clean.
If this tip has elevated your kitchen routine, share it with your mates on Facebook!
SEE ALSO: Fall Wardrobe Wash Guide: How To Freshen Up Sweaters, Coats, And Blankets
Also, follow us on Pinterest ...


