Tumble Dryer Timer Not Working? Here’s why & what to do
Your tumble dryer relies on a timer to control every cycle and the duration of the cycles. If the timer is not working correctly (or not at all) you will either end up with wet laundry or over dry clothes.
Neither outcome is ideal and can be frustrating, but don’t worry, because in this article we look at all of the reasons why the dryer timer on your dryer has stopped working. We also offer the best solutions to get your dryer up and running again.
Why Is The Dryer Timer Not Working?
There are several reasons why the dryer timer on your tumble dryer might have stopped working. These include;
| Possible Cause | Best Solution |
|---|---|
| Timer Needs Resetting | Reset the timer |
| Lint Filter Clogged | Clean lint filter |
| Dirty Moisture Sensors | Clean the moisture sensors |
| Faulty Timer Motor | Replace the timer motor |
| Damaged Timer Knob | Replace the timer |
| Wiring Fault | Check and reconnect/replace the wiring if necessary |
| Dirty Contacts | Clean the contacts |
| Faulty Cycling Thermostat | Replace the cycling thermostat |
| Faulty Heating Element | Replace the heating element |
| Faulty Control Board | Replace the control board |
Above is a list of all of the possible causes for the dryer timer to stop working. Let’s look into these issues in more detail.
Timer Needs Resetting
In many cases, the dryer timer stops working due to a glitch and will need to be reset before it works again. This should always be the first thing you check whenever the dryer timer stops working.
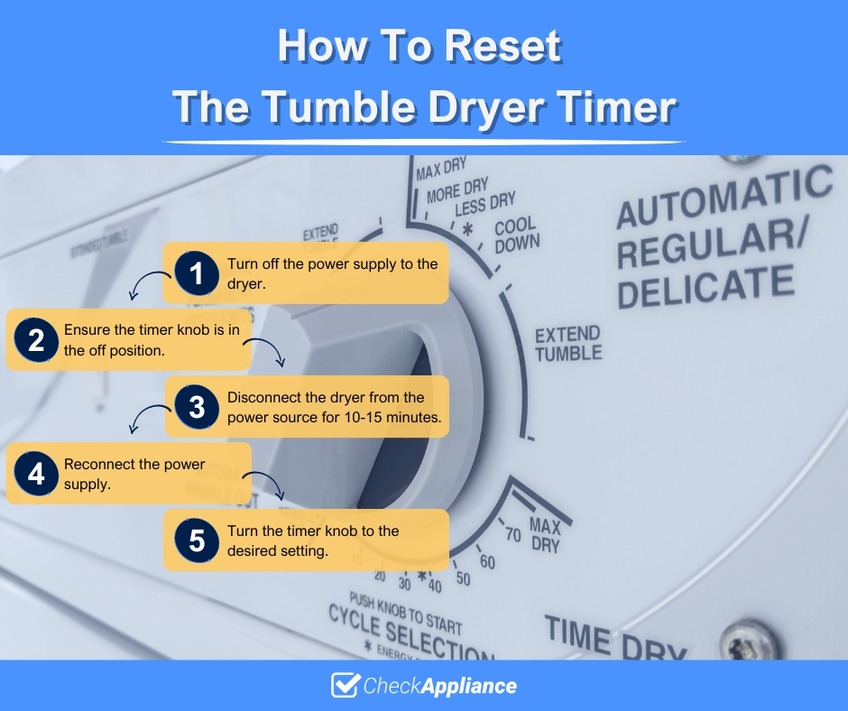
To reset the dryer timer all you need to do is disconnect the power supply to your dryer by removing the plug from the wall socket or switching the circuit breaker to the off position.
Ensure that the timer knob is in the off position and leave the power disconnected for 10 to 15 minutes. Once this time has elapsed, reconnect the power supply and turn the timer knob to the required position and check whether the dryer timer is working as it should.
Clogged Lint Filter
The lint filter traps lint, hairs and other particles that fall from your laundry as it rubs together in the drum. If this becomes clogged, it can cause the drier to need more time to dry your laundry.
You will need to empty the lint filter and ensure you empty it on a regular basis from now on.
Try running the dryer again and see if this has solved the issue. If not, continue down this list.
Dirty Moisture Sensor
Almost all modern dryers have moisture sensors which are typically located behind the lint filter. It comprises 2 strips of metal which can become coated in a waxy substance which is usually the remnants of fabric softener or dryer sheets.
The moisture sensor works by detecting how much moisture is in the drum and sends a message to the control board to either keep going or stop the appliance.
If the moisture sensor becomes coated in dirt, wax or softener residue, it cannot function as it should. This leads to the situation where the dryer either stops before the laundry is dry, or keeps going long after the clothes have dried.
To clean the moisture sensor all you need is a soft cloth and some distilled white vinegar. Pour some vinegar onto the soft cloth and gently wipe the moisture sensors.
The moisture sensor is fairly sensitive so don’t use anything that’s abrasive to clean it. Just a soft cloth and white vinegar. Once the sensor is clean and dry, run the dryer again to check that it’s working correctly.
Faulty Timer Motor
If none of the above has solved the issue, you’ll need to investigate the dryer timer in more detail. The first thing to do is check whether the timer motor is faulty.
When the timer motor is working correctly, it senses when the heat has reached the correct setting and powers up the spin cycle. If your dryer isn’t running through the cycle as it usually does, the timer motor could be the problem.
You’ll need to test the timer motor and if necessary, replace it. You can either perform this task yourself or get an expert to do it for you. If you decide to do it yourself, you’ll need a multimeter and a screwdriver.
How To Test The Timer Motor
- Disconnect the power supply
Before attempting to dismantle any electrical appliance, you should always remove the plug from the wall socket or switch the circuit breaker to the off position. - Locate the timer
Depending on the make and model of dryer you own, you will need to remove the control console and possibly the panel to the rear of the control console. - Set the multimeter to Rx1
Test the connections on the timer motor for continuity. If your multimeter doesn’t have the Rx1 setting, set it for ohms and for it to be working correctly you should get a reading of somewhere between 2,000 and 3,000 ohms.
If the timer motor fails the multimeter test, it will need to be replaced. There are many different types and styles of timer motors depending on the make and model of dryer you own.
This makes it difficult to accurately describe how to fit a replacement timer motor. However, most are held in by bolts whilst some are held in place purely by connectors.
We recommend taking a few photos of the old motor in place to assist you when fitting the replacement. One thing that’s incredibly important when replacing the timer motor, is making sure that the timing shaft is in the right position.
That’s where taking photos of the old motor comes in very handy and can save you lots of time and frustration.
Damaged Timer Knob
The dryer timer is controlled by a knob which is connected to the timer shaft. The timer shaft is what is used to select cycles and dryer times. If the knob is damaged or broken, this could be the cause of the timer malfunction.
You will need to replace the damaged component before the appliance will operate properly again.
Wiring Fault
The dryer timer is connected to the control board and other components of the dryer by electrical connections. If any one of these connections is damaged or weak, it could be the root cause of the dryer timer not functioning correctly.
This means, you will need to check each and every wire connected to the dryer timer to see if there are any issues. We recommend getting a technician to do this for you.
Dirty Contacts
The contacts on the dryer timer are make or break really. If any of these contacts has an accumulation of dust, dirt or any other debris, it could be the reason why the dryer timer isn’t functioning as it should.
You will need to inspect, and clean the contacts if necessary to get the timer working properly again.
Faulty Cycling Thermostat
The cycling thermostat regulates the temperature inside the drum of the dryer. As well as controlling the dryer timer through its cycles. When the heater circuit is activated, and the dryer achieves the correct temperature, the thermostat sends a message to start the dryer timer.
The timer keeps running until the heater cuts in again when the temperature drops. If the cycling thermostat is faulty it could send incorrect signals to the dryer timer, preventing it from working as it should.
You will need to test the cycling thermostat using a multimeter after disconnecting the appliance from the power supply. This involves removing the back access panel to access the cycling thermostat.
You’re looking for a reading of zero ohms on a properly functioning cycling thermostat. If yours reads differently, it will need to be replaced.
Other signs of a faulty cycling thermostat include the dryer fails to heat up at all or it overheats.
Faulty Heating Element
The heating element is responsible for heating the air that is then forced into the drum to dry your laundry. If the heating element is faulty it could cause the dryer to overheat or not heat up at all.
You will need to check the heating element for continuity using a multimeter set to Rx1. If you get any reading above zero it means the heating element is faulty and will need to be replaced.
Faulty Control Board
The control board communicates with all of the components on the dryer to make it function properly. If the control board is faulty, it won’t send the correct message to the correct part at the right time.
You will need to replace the control board if it proves to be faulty.
SEE ALSO: Can You Put Soaking Wet Clothes In The Tumble Dryer?
Frequently Asked Questions
There are several reasons why a dryer timer might stop working which include; the timer has developed a fault, the cycling thermostat is defective, the heating element is defective or the control board is defective.
In some cases it might be possible to reset a dryer timer. All you need to do is disconnect the appliance from the power supply for 10 to 15 minutes before reconnecting the power. This should be enough to clear any glitches and restore proper functionality to the dryer timer.
To clean the moisture sensor on a tumble dryer, simply wipe it with a soft cloth dipped in distilled white vinegar. This will remove any deposits of fabric softener or dryer sheets and restore it to full working order.
Also, follow us on Pinterest ...